
|
I loved documenting the process of making my wedding dress and watching it evolve from the first ideas to the final garment. If you would like me to make and document your wedding dress creation or anyone else in your bridal party please email me for a quote. My prices are competitive and I will give you the most authentic experience of creating your wedding dress, with an EDITION dress you know the dress is made for you, and only you. It will also allow you to be comfortable all day and night (even play table tennis with a glass of wine in hand!) 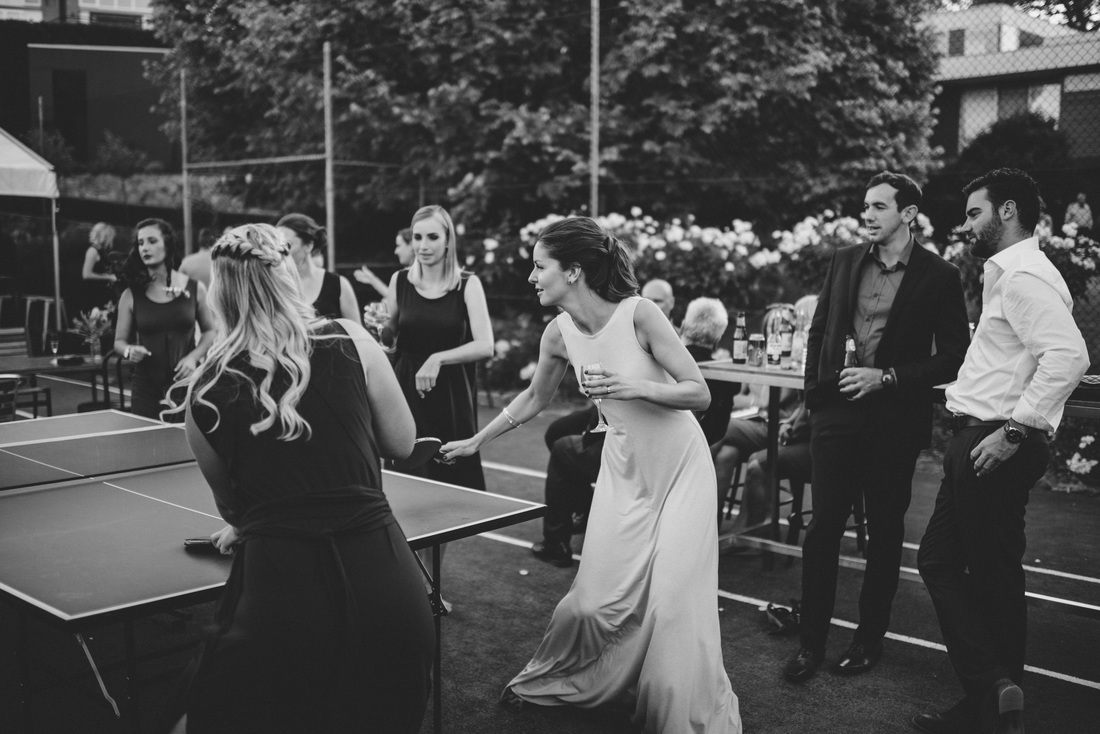 Photographer | Lauren Campbell - laurencampbell.com.au 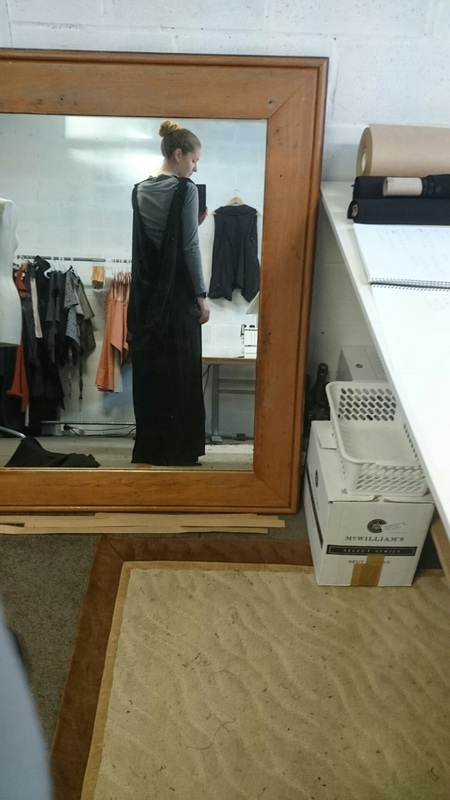 I knew from the start that I wanted to flatter my body shape, feel comfortable and for the garment to have great movement. I wanted to show off my back as it is my best feature and have a high neck so it looks elegant and hides my neck rash! 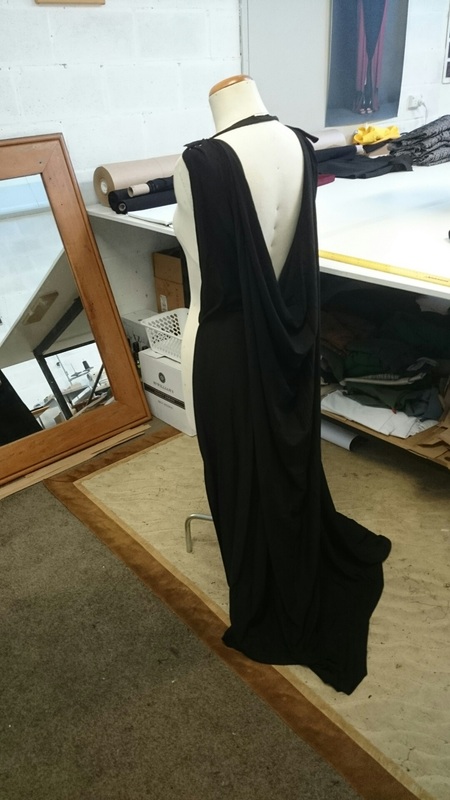  I love simple dresses and love a center seam as it elongates the body and adds some subtle detail. This practice garment had the slinky feel I was after. I wanted to walk the line between sexy (but not too sexy!) and elegant. 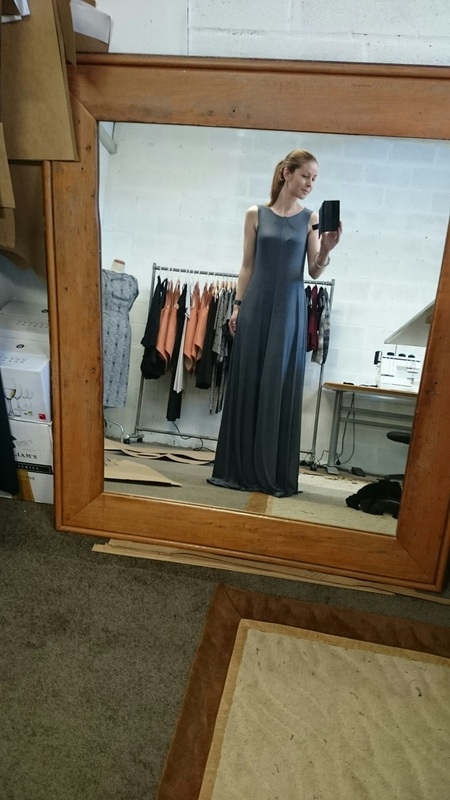 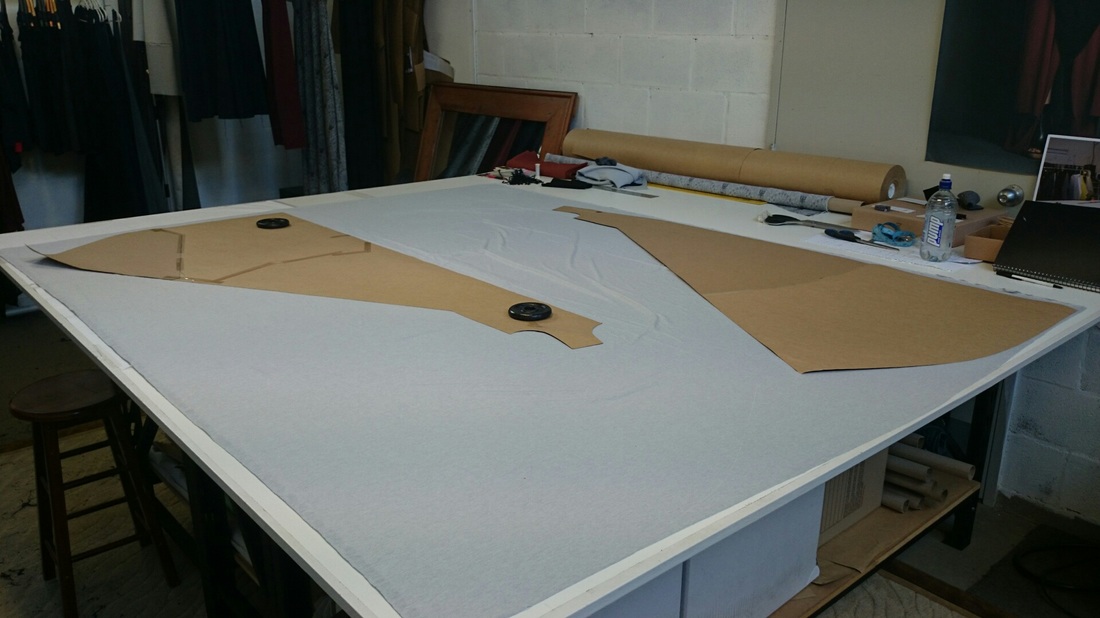 I found a beautiful Merino wool blend fabric in a silvery/grey in a small fabric store in Canberra. I bought 2m of the fabric as it was 160cm wide so I knew I could fit my long dress on it. With this dress I wasn't able to make it with zero waste as a very small amount of fabric was left over around the armholes but it was minimal waste. 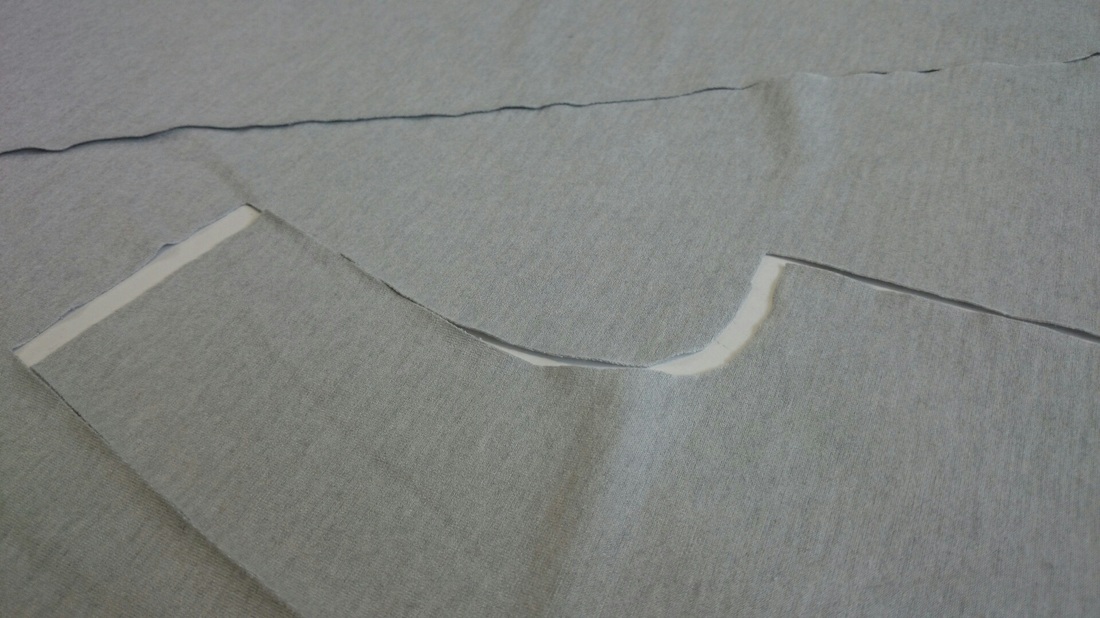 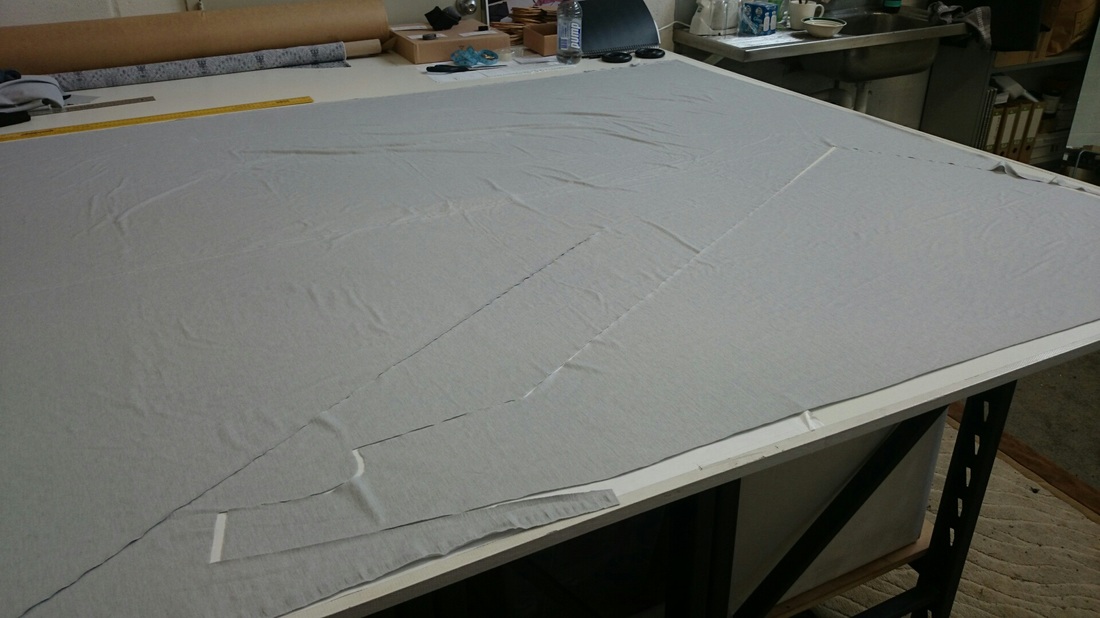 Once I cut out the fabric I pinned it and looked at it on my body to make sure the fabric was falling in the way I wanted and the colour was what I wanted. 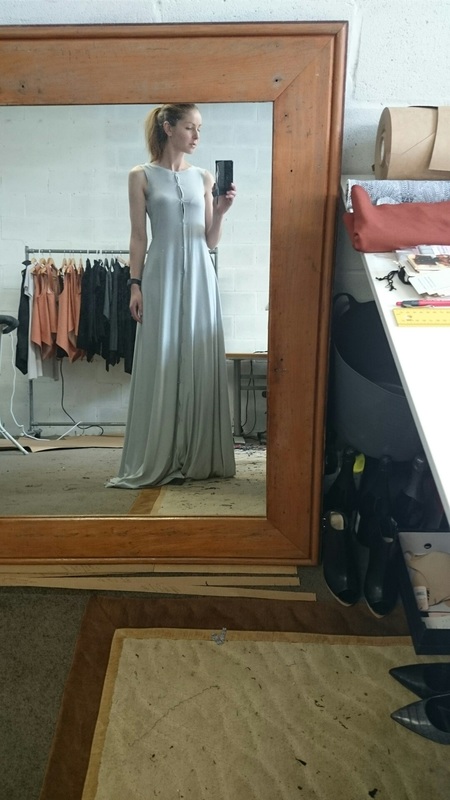 I decided to overlock the center back and centre front of the dress so that their wasn't a bulky seam as I wanted it to be a subtle feature of the garment and sit close to the body. 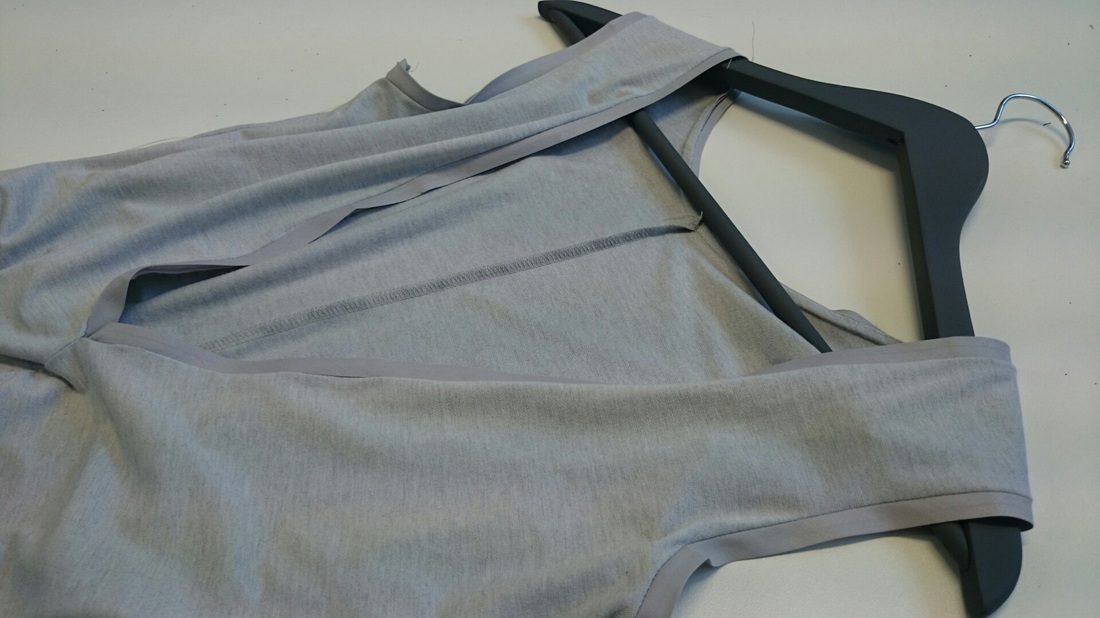 Around the armholes and neckline that continued down the back I thought I would use binding as the Merino wool is a stretch fabric I didn't want it to stretch and the binding would create a beautiful detail. 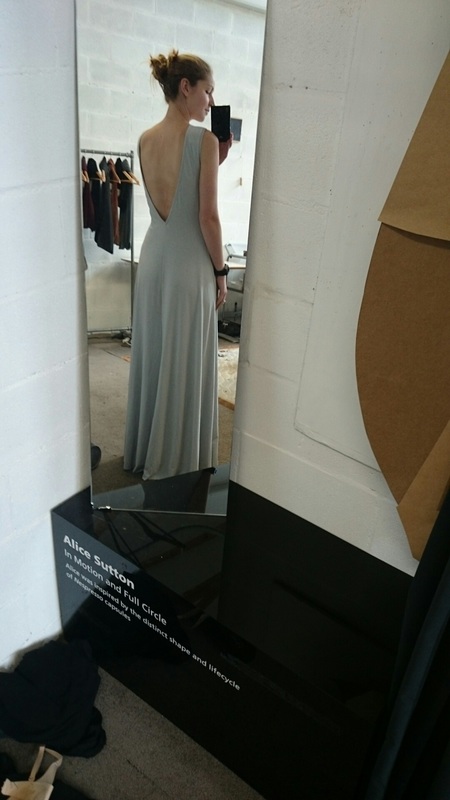 It took a long time to work out how low I wanted the split at the back to go to as it was an important part of the garment but I also didn't want the straps to fall off my shoulders during the day. 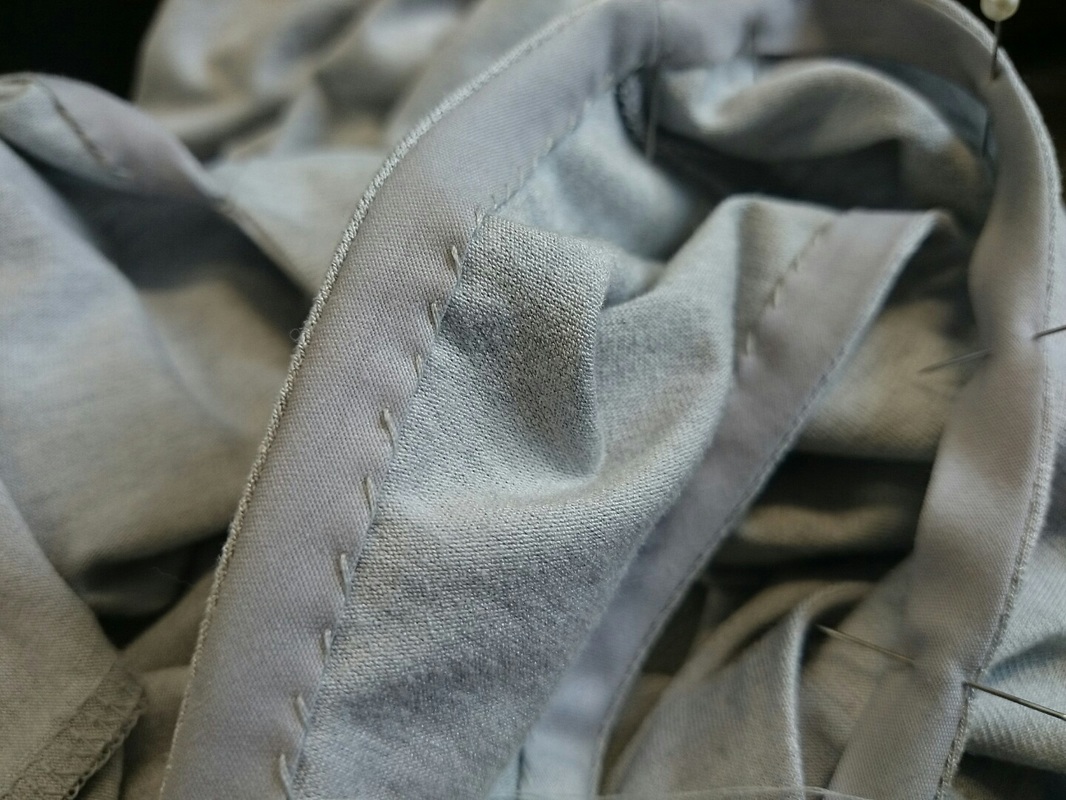 Once the binding was stitched on to the dress with my flat machine I decided to hand stitch the binding down around the armholes and neckline that continued down the back. I loved the hand stitched detail (once finished!) during the process I was going a little nutty!! 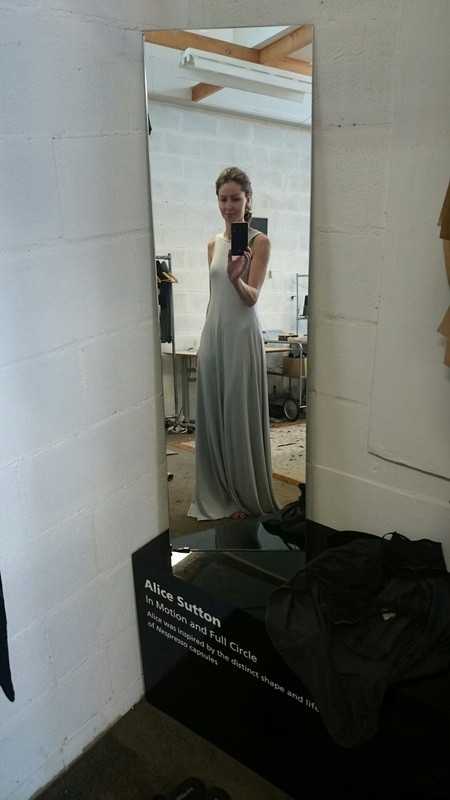 Once I bought my shoes I was able to work out what length I would hem the dress, as I wanted it to be as long as possible without tripping on it! 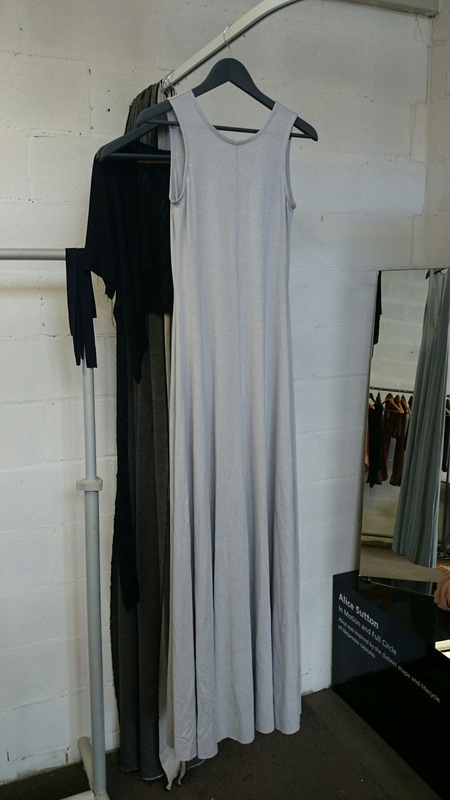 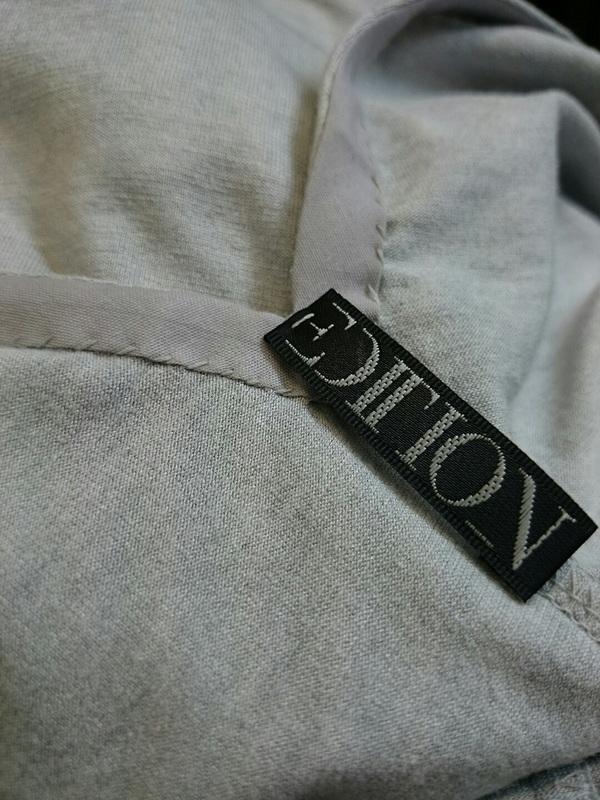 The finishing touch was to add the EDITION label and then the dress was good to go! 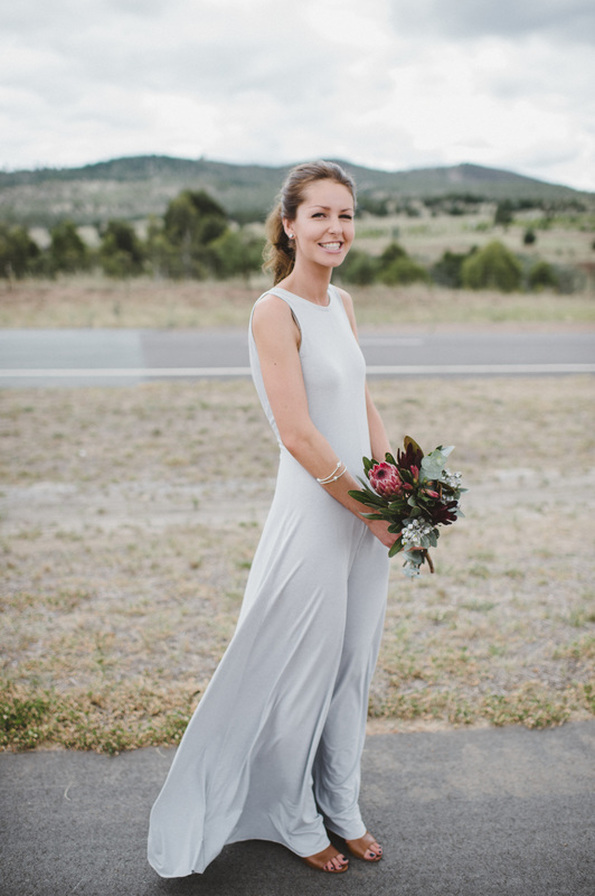 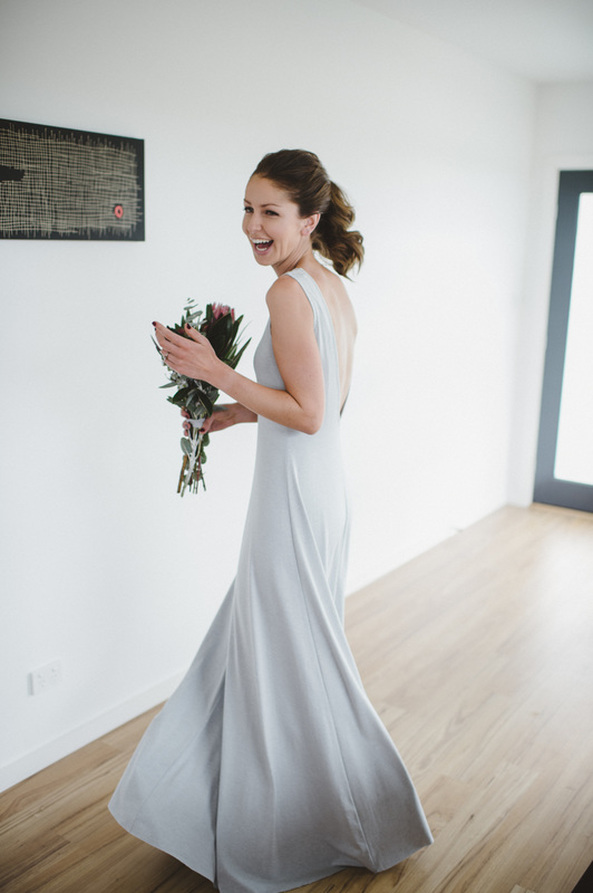 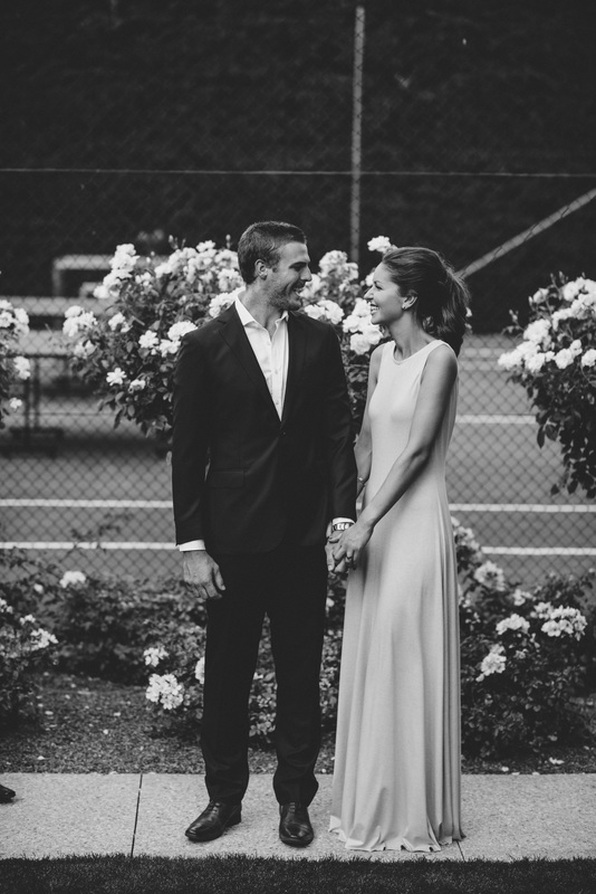 In the image below hugging my Dad you can see the hand stitched detail around the back and armholes of my dress. 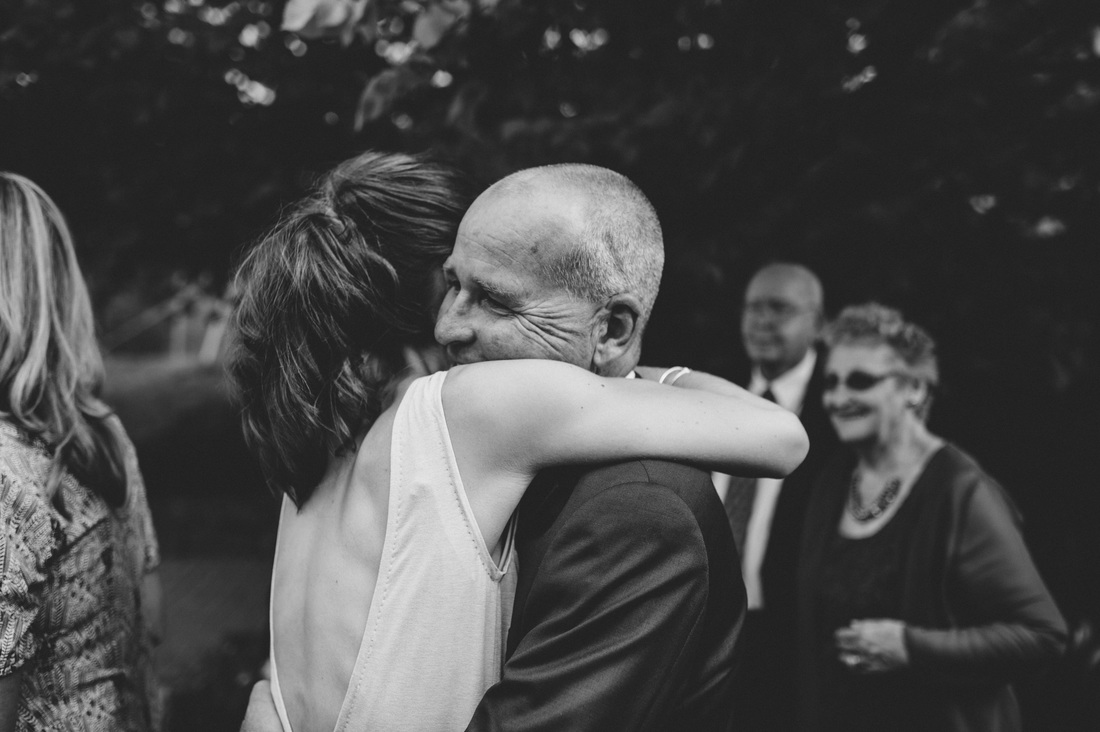 The last 4 photos are by photographer Lauren Campbell. My hair was done by Leslie Henshaw and makeup by Hayley Boyle.
5 Comments
|
Archives
June 2023
|
 RSS Feed