
|
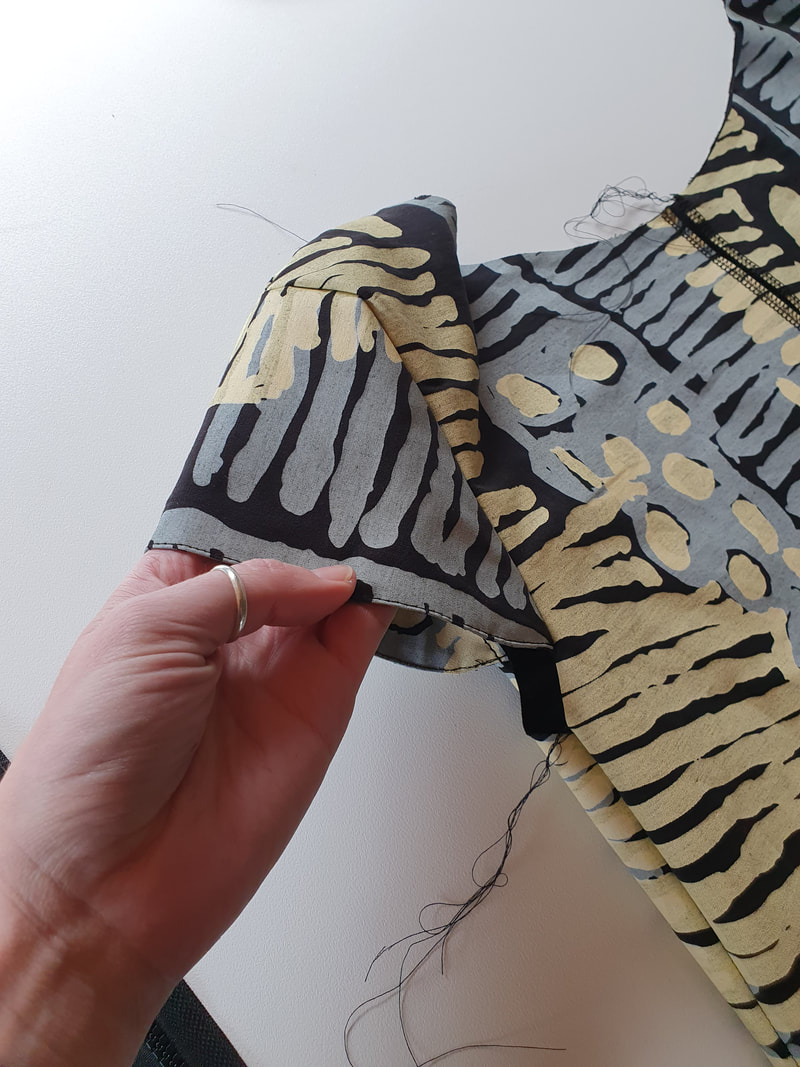
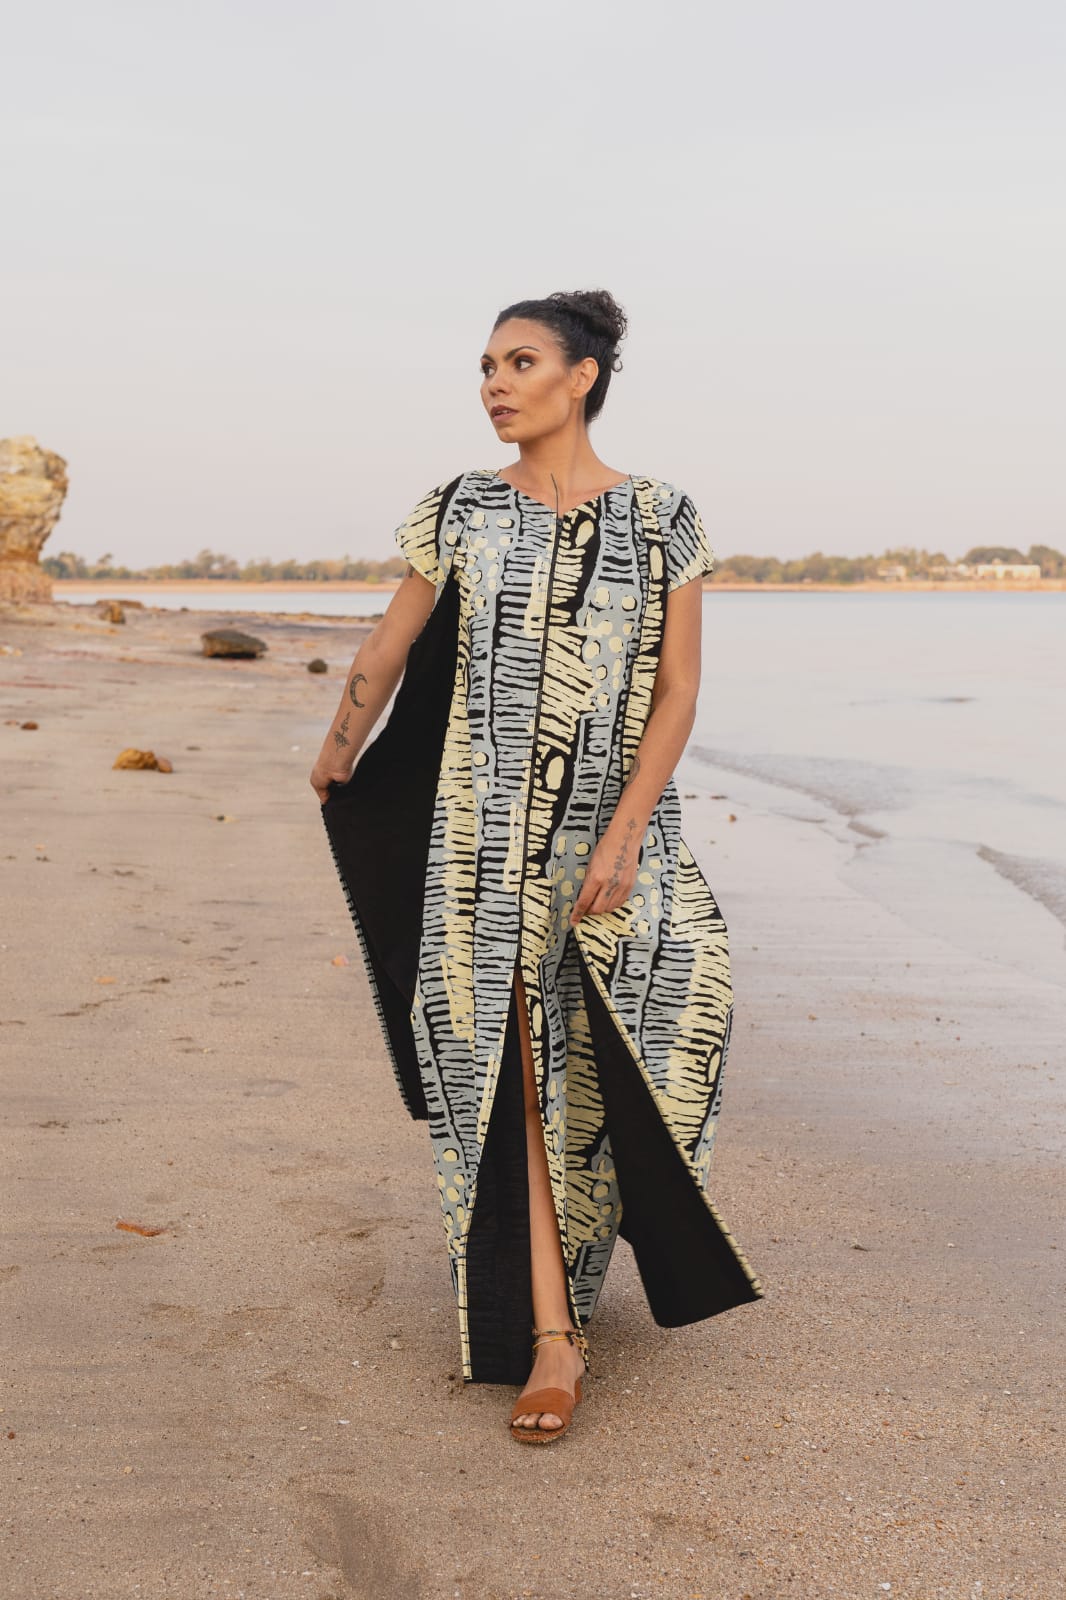
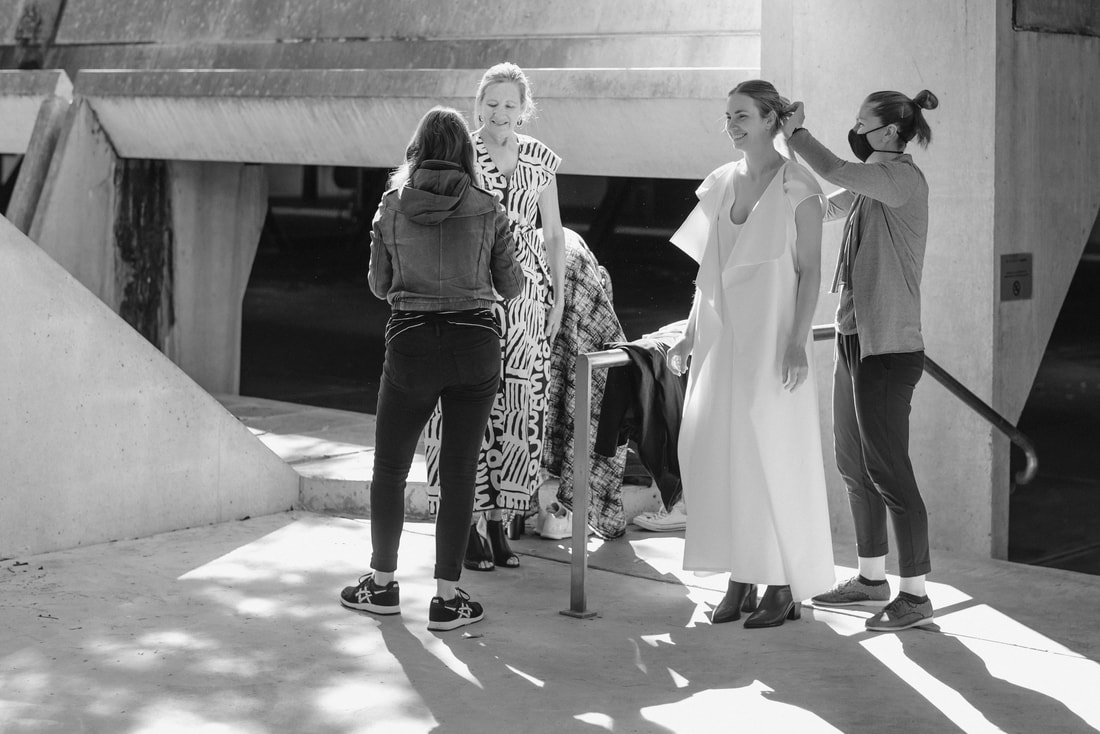
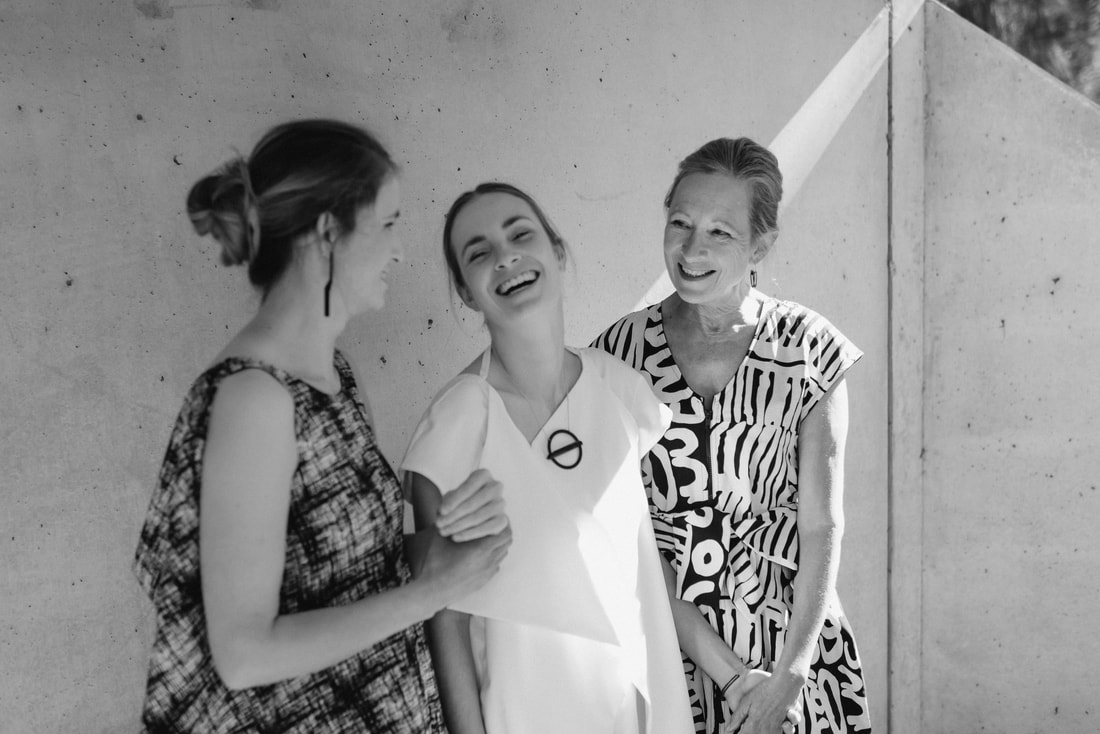
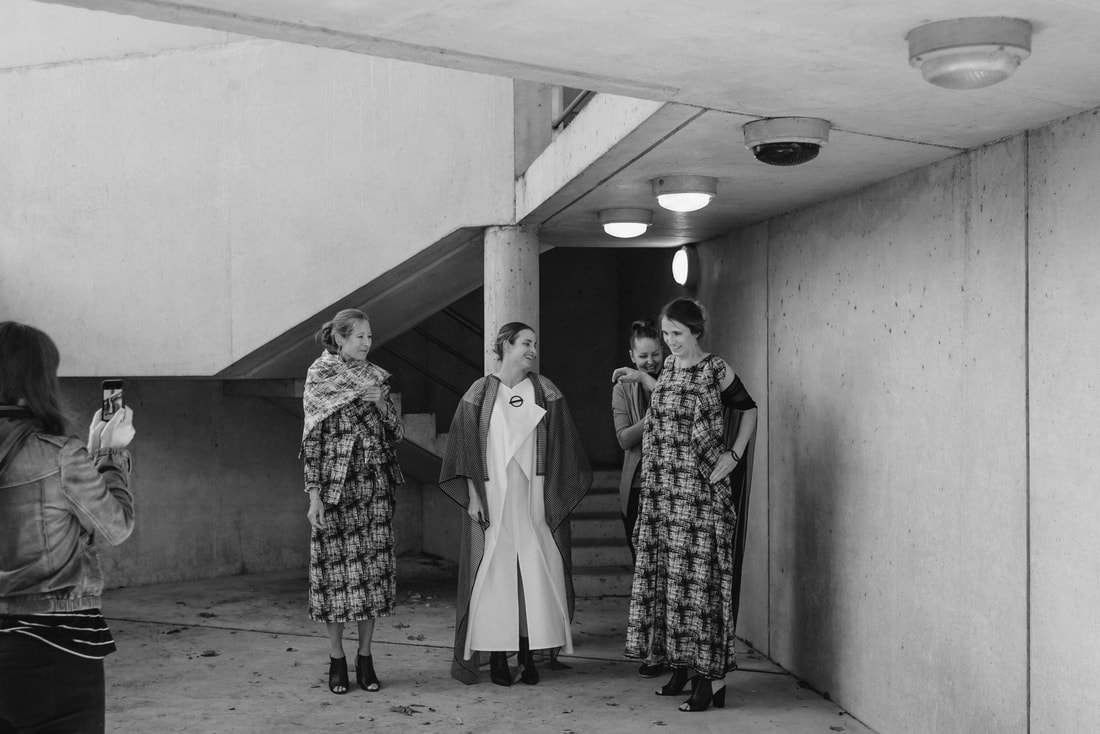
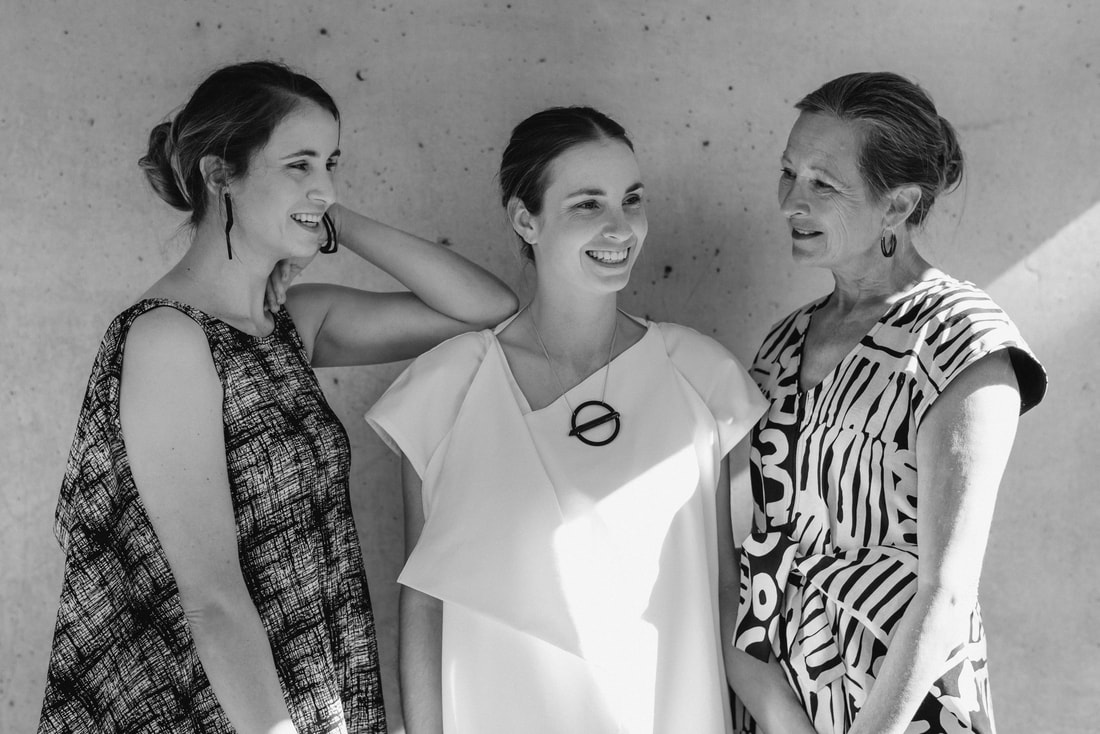
This collaboration was so special. Kayannie made this beautiful 'Bush Tomato' fabric with the help of Estelle Briedis by screen printing it by hand at CCAS for Design Canberra 2022. When the fabric didn't sell Kayannie came to me to see what she thought I could make. I then approched the incredible Holly Komorowski from home.byholly to see if she would like some very special new pieces. To photograph the dresses I worked with my favourite Lauren Campbell, I'm so proud of this work and to work with the best creatives in Canberra. 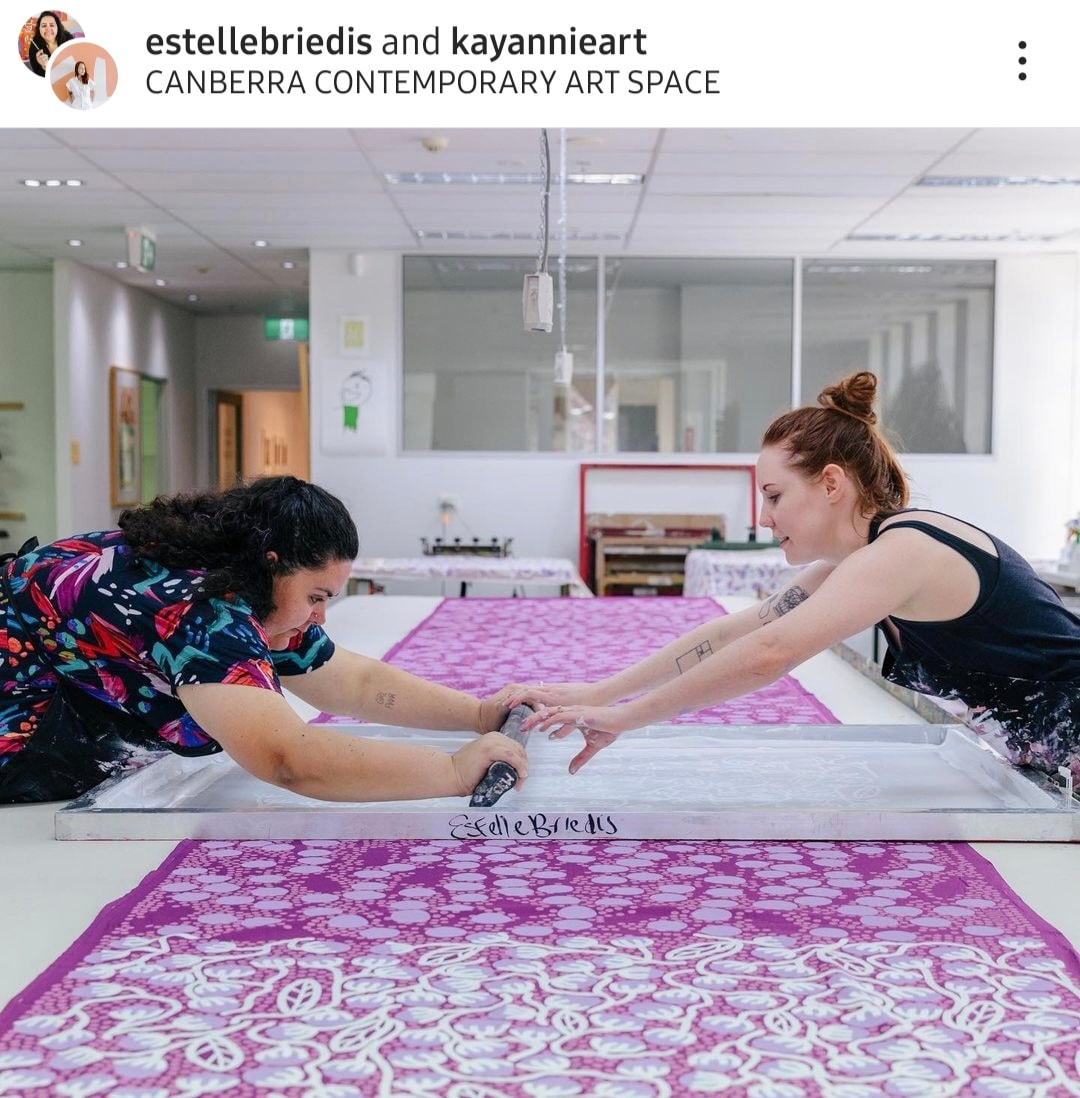 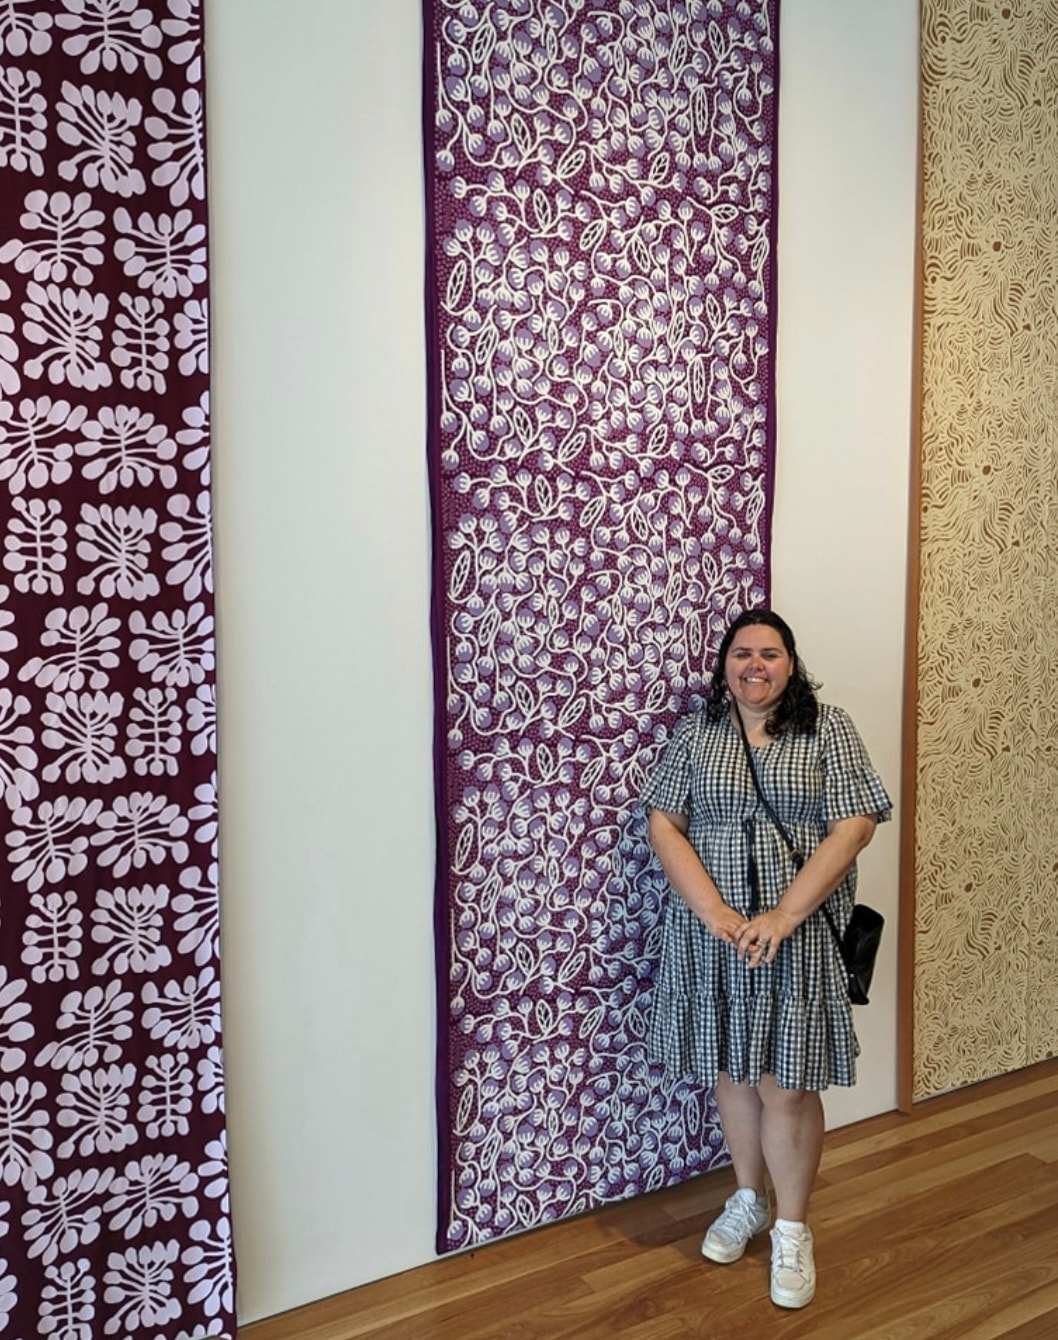 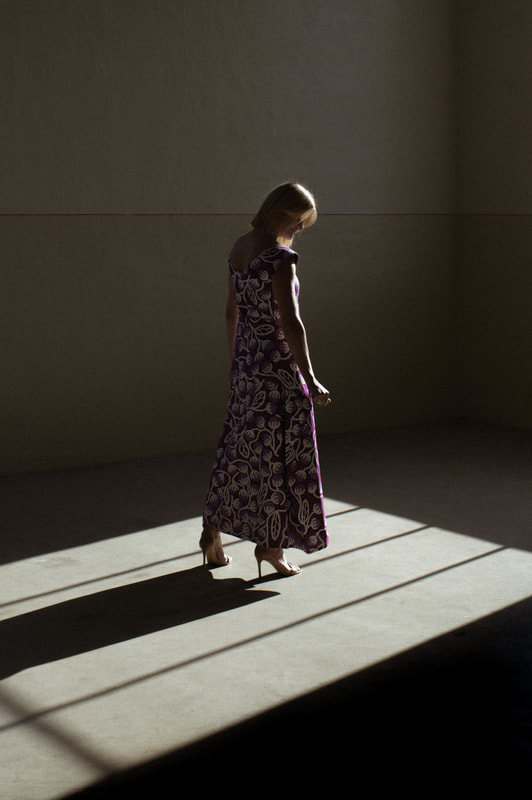 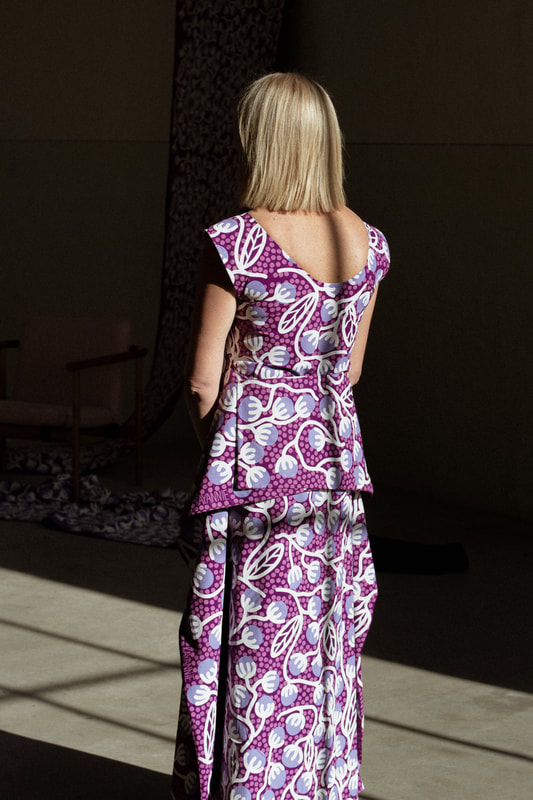 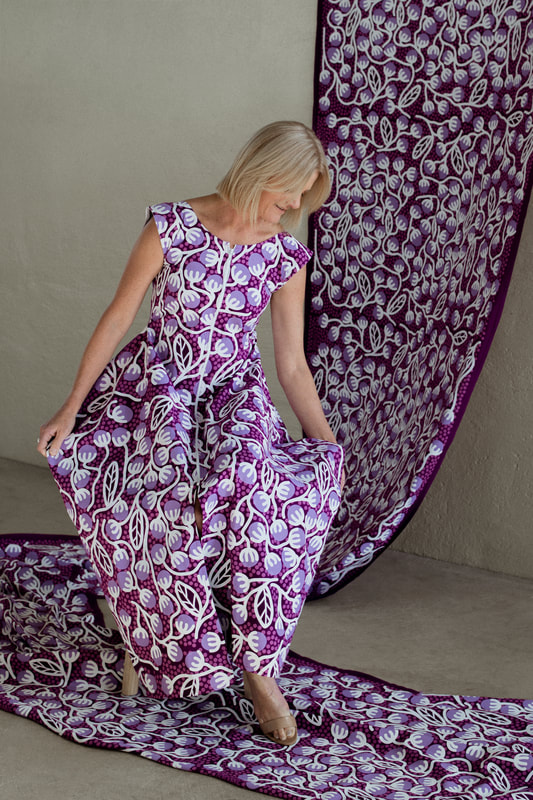 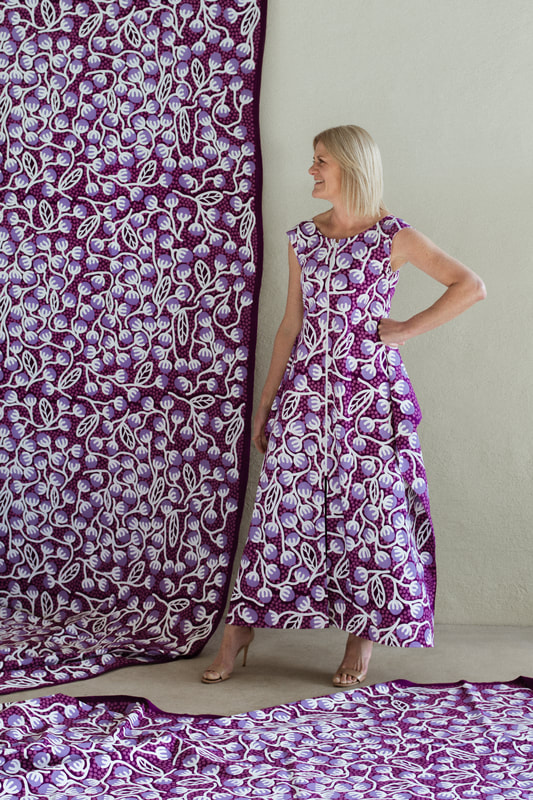 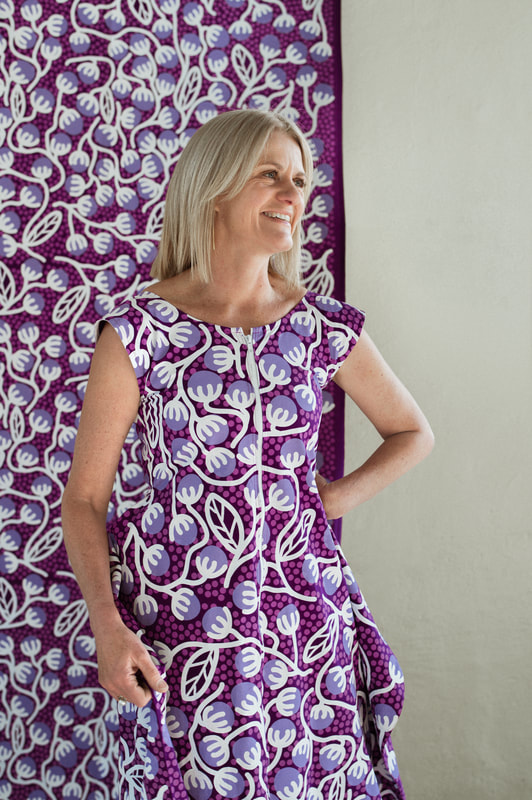 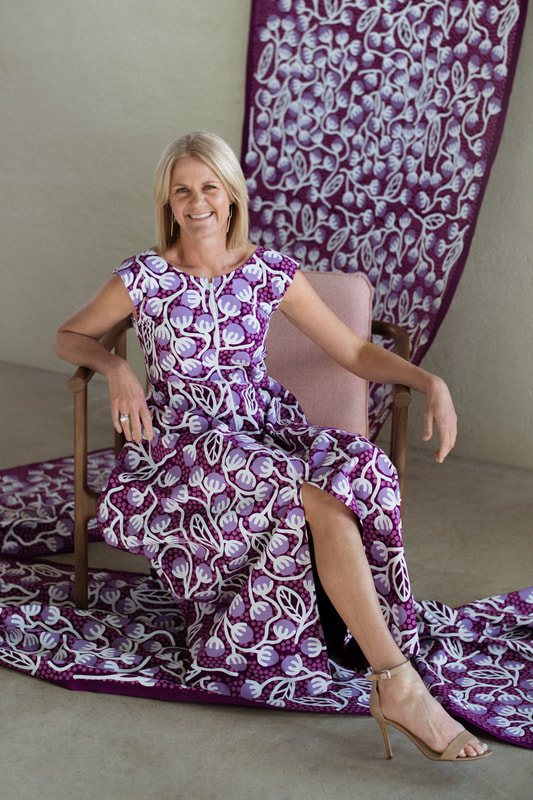 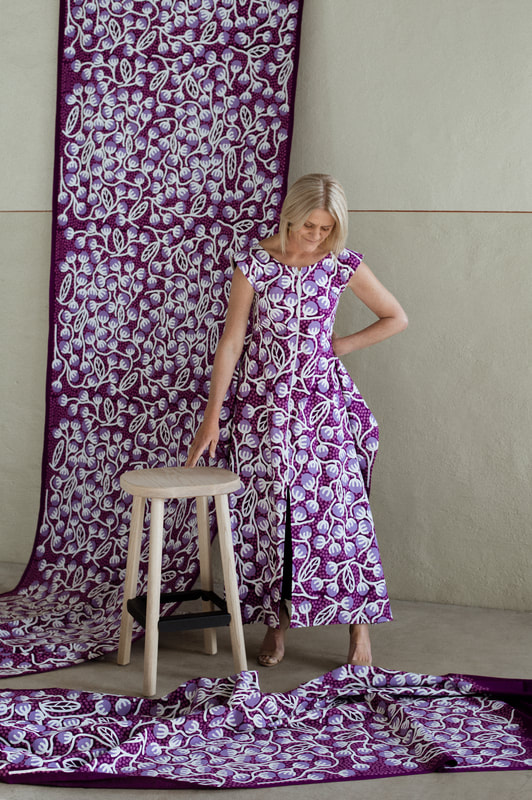  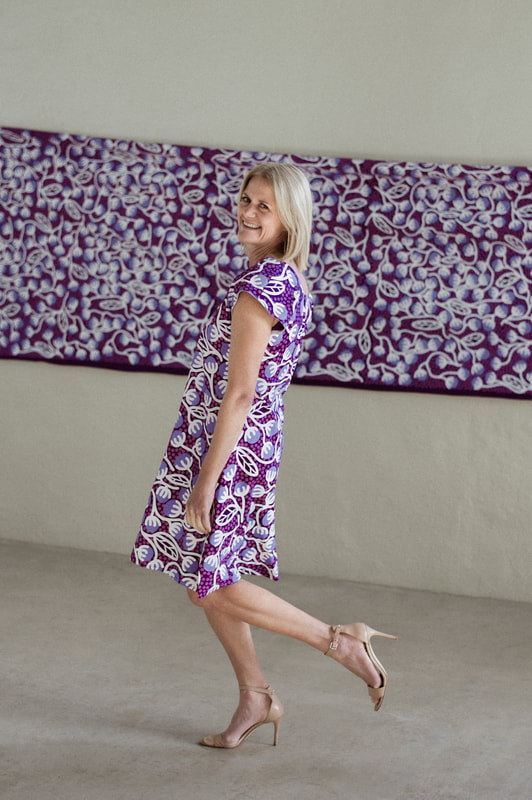 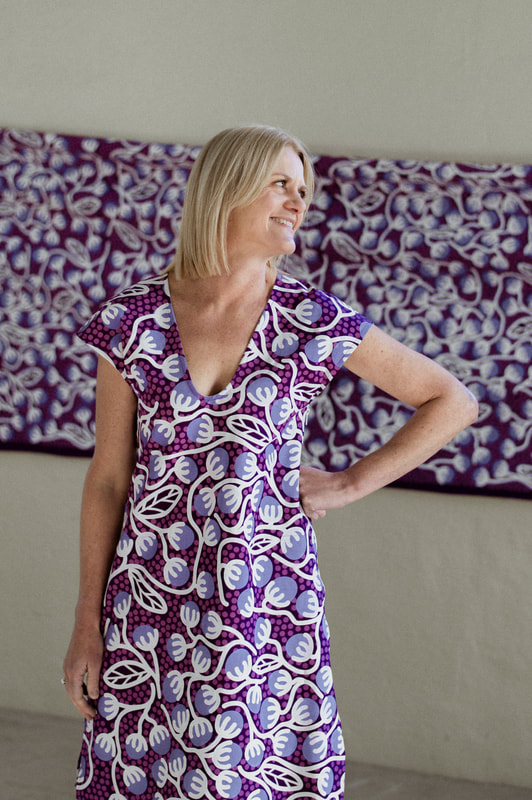
0 Comments
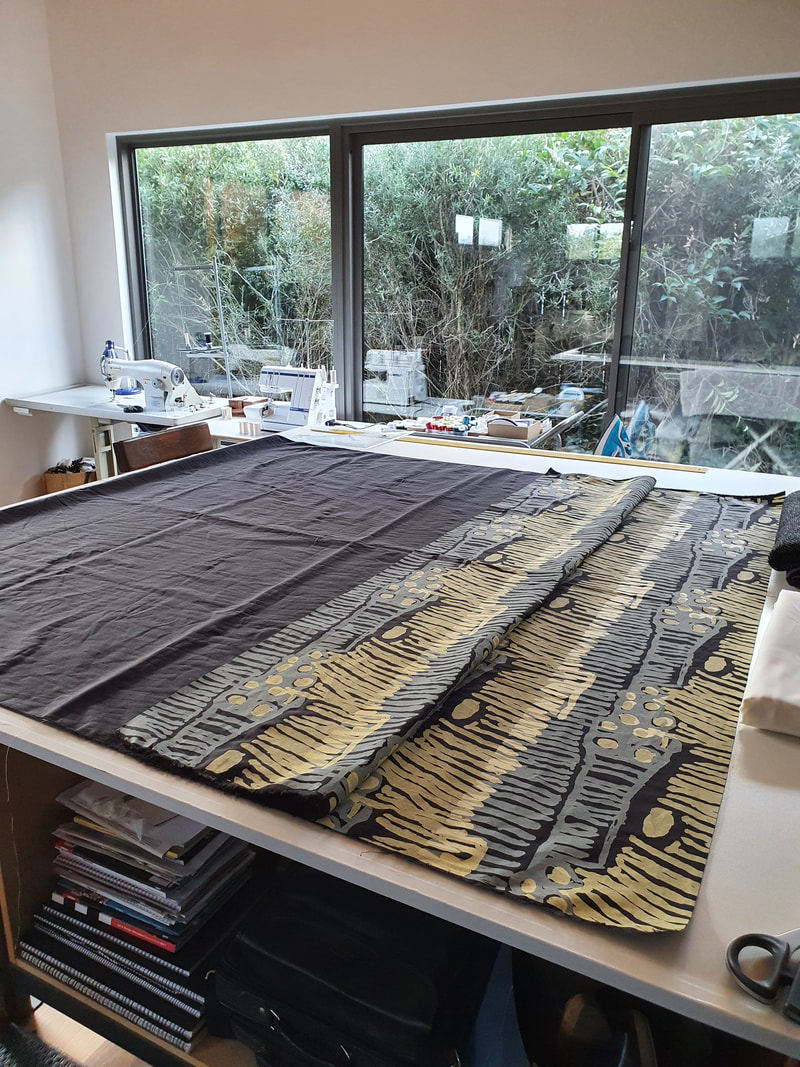
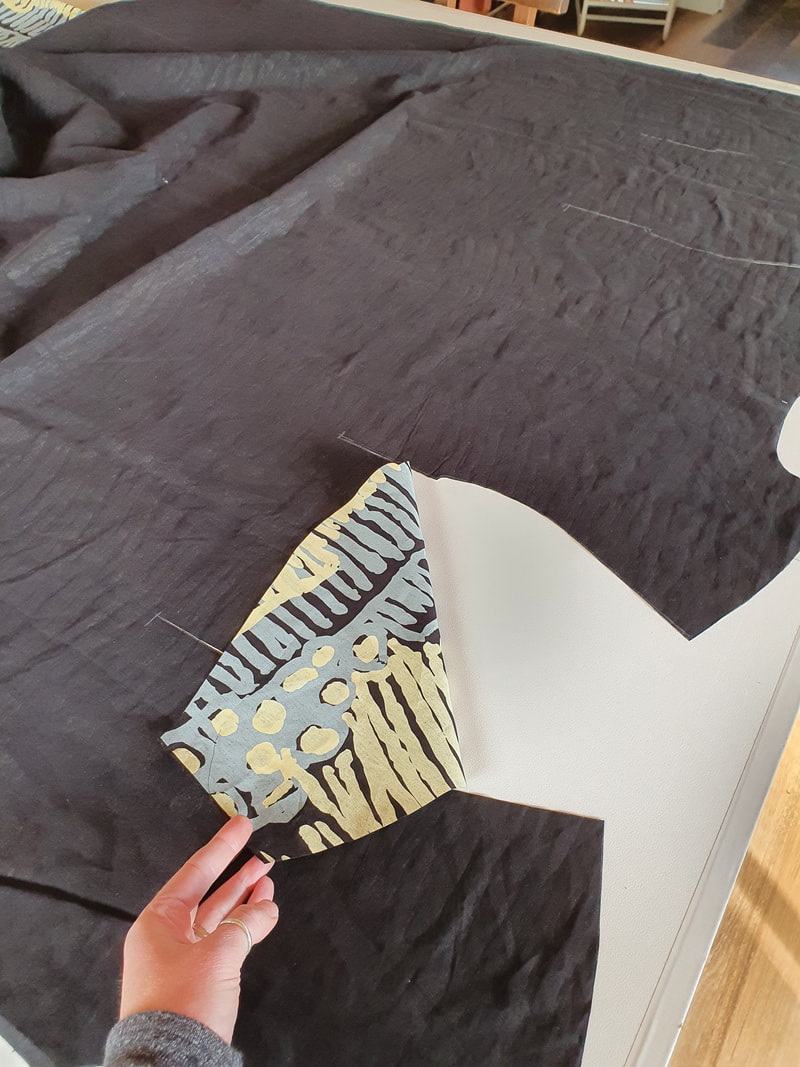
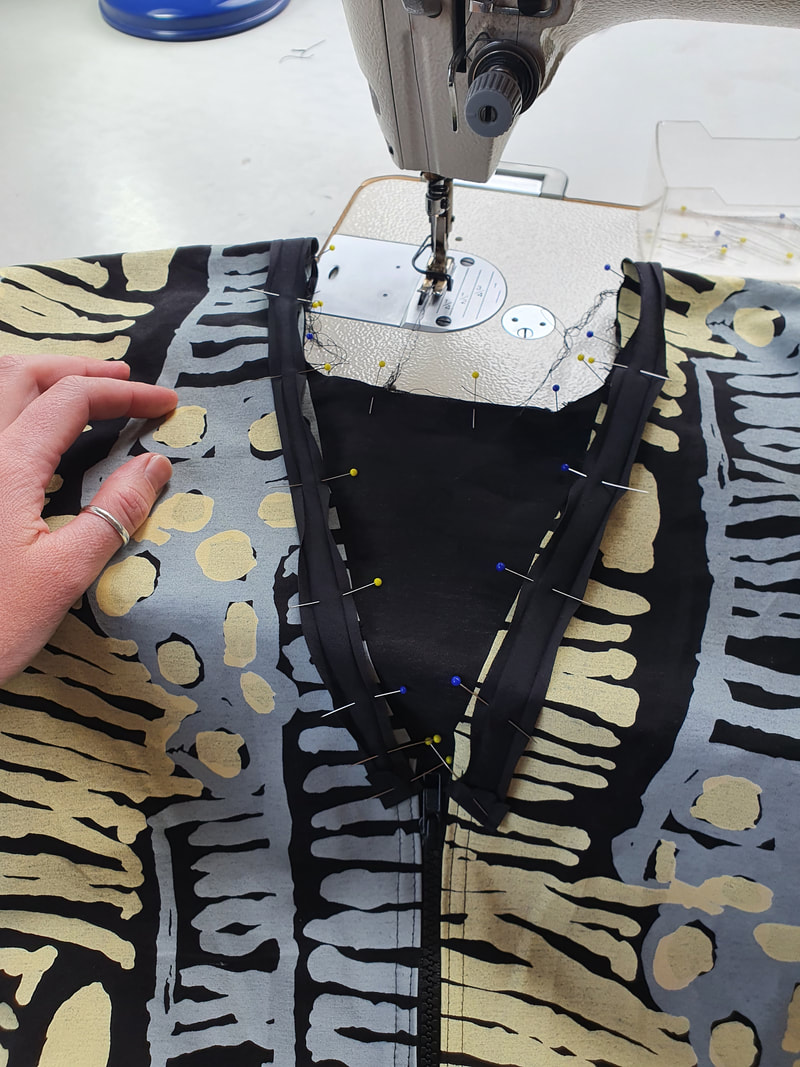
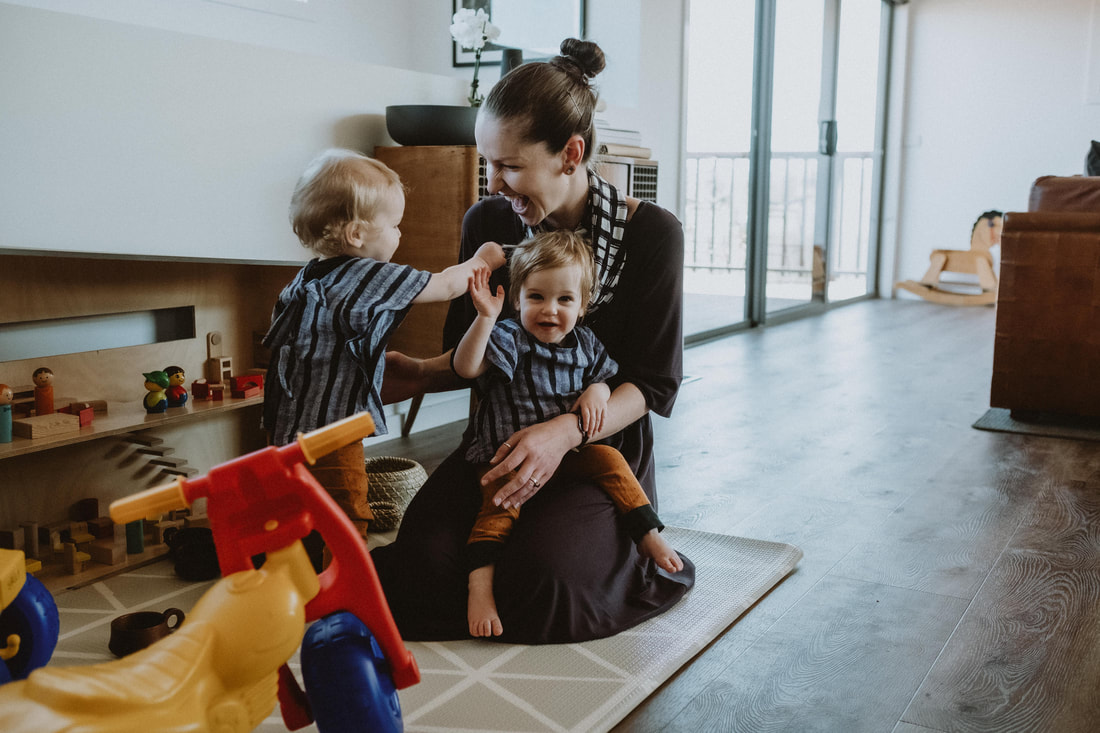
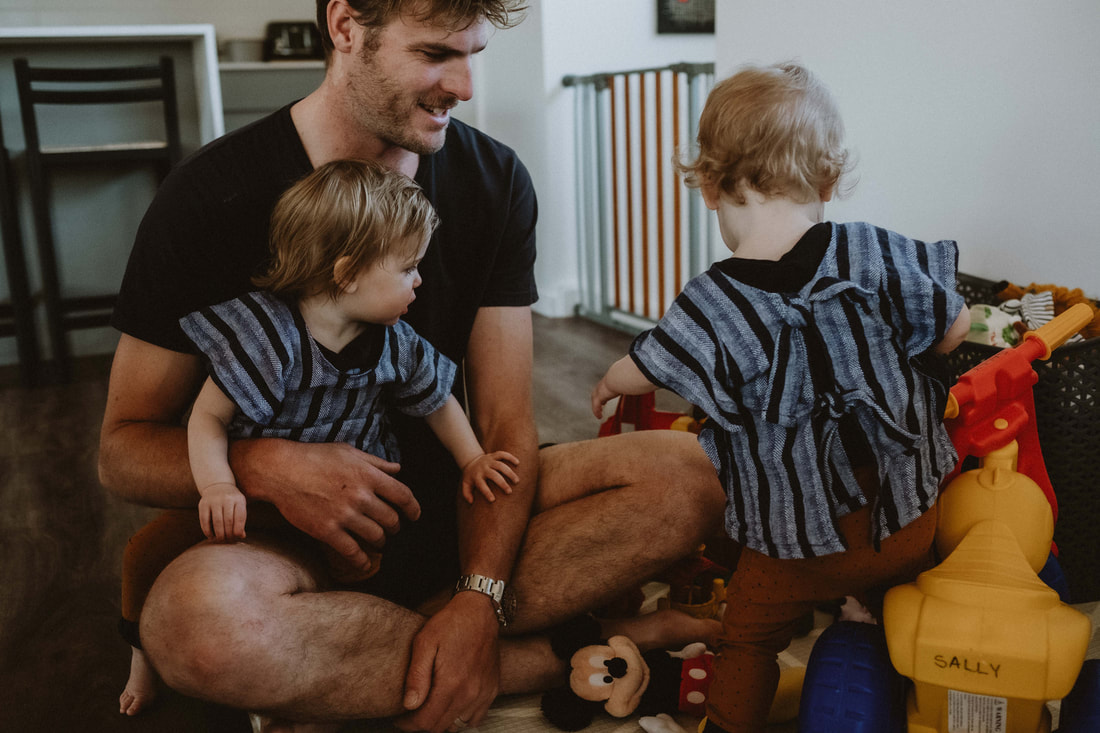
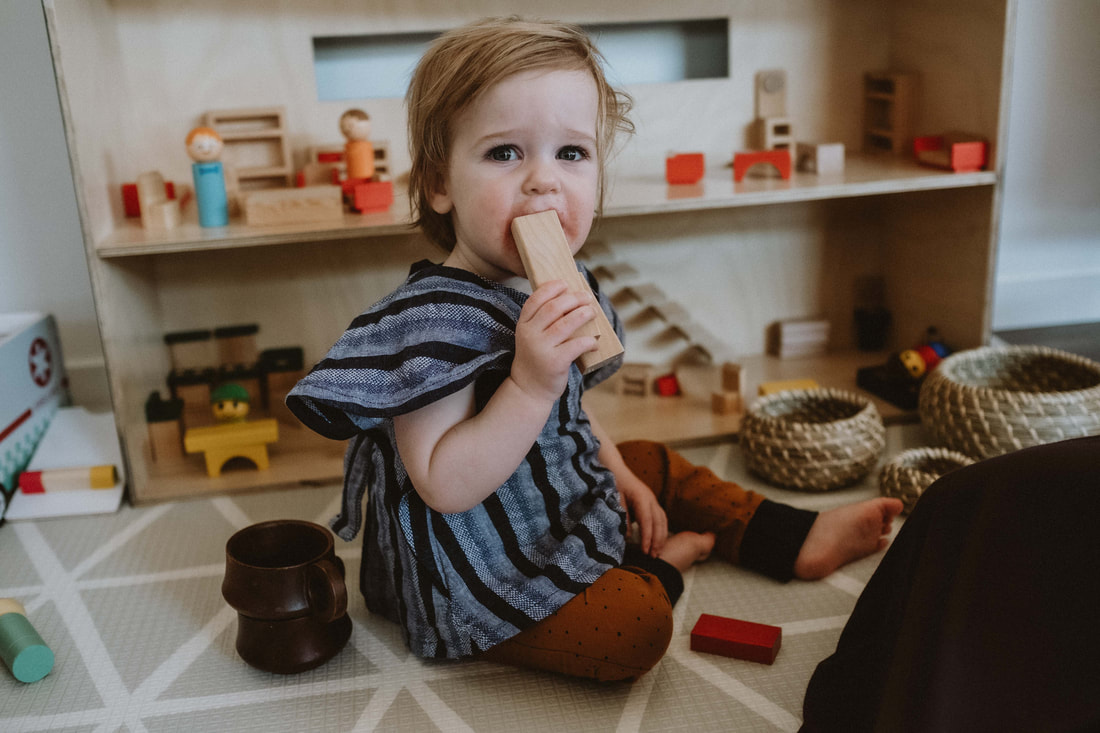
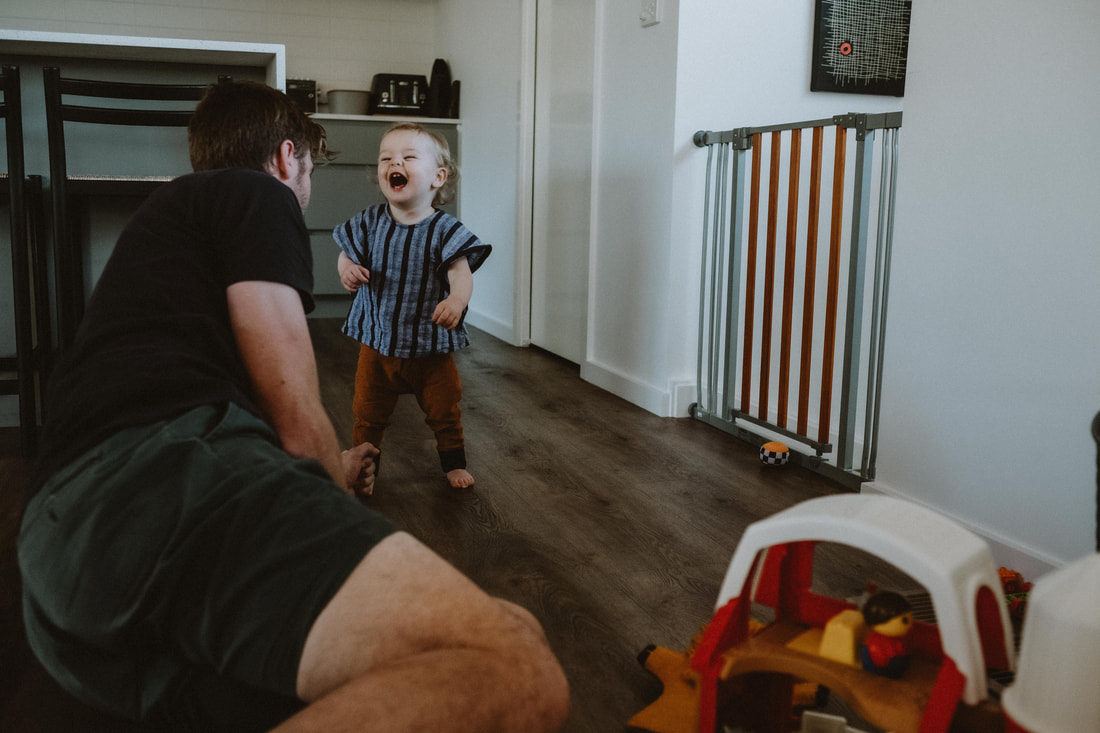
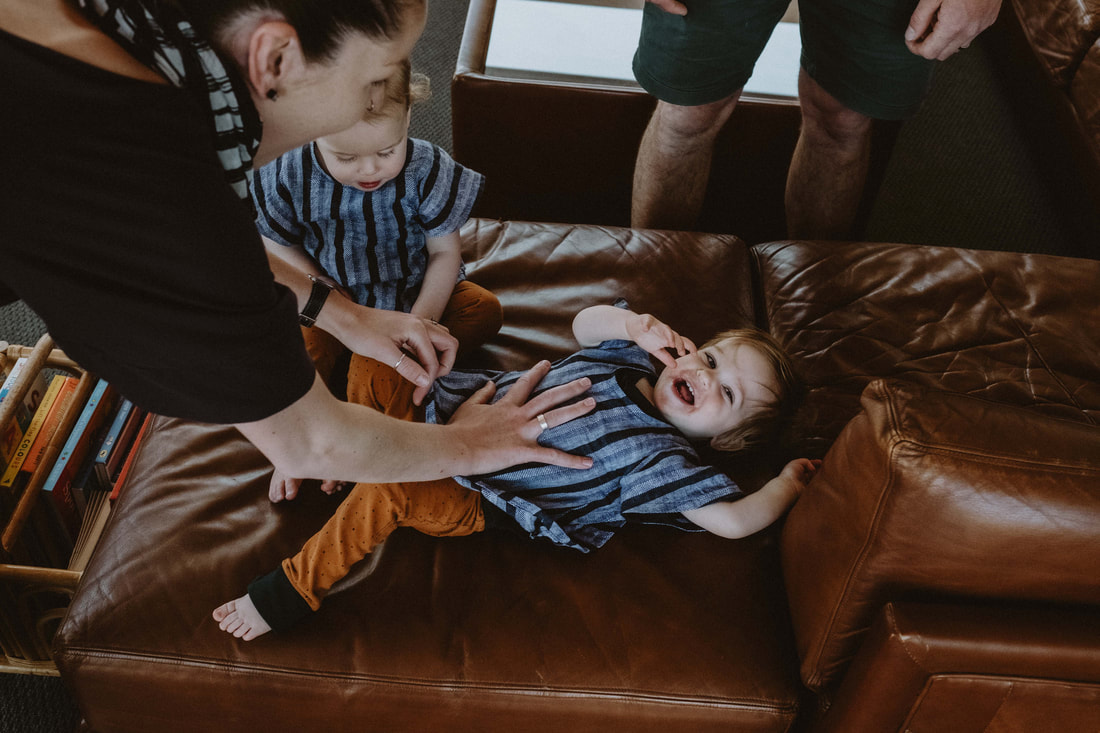
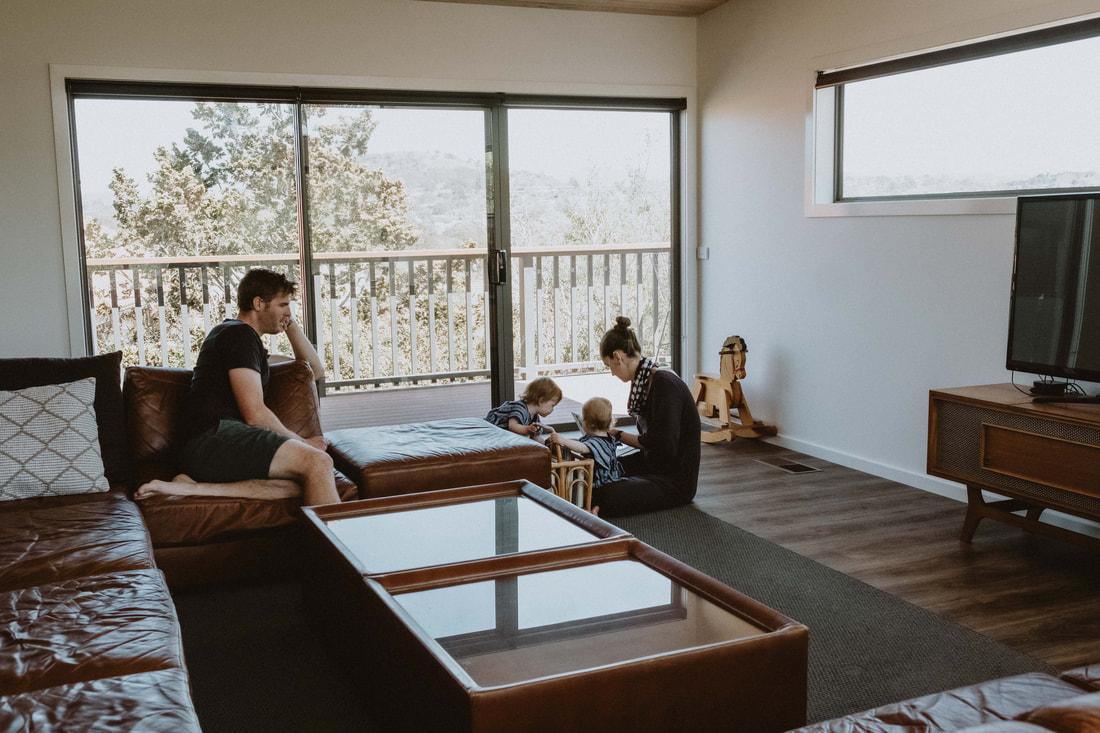
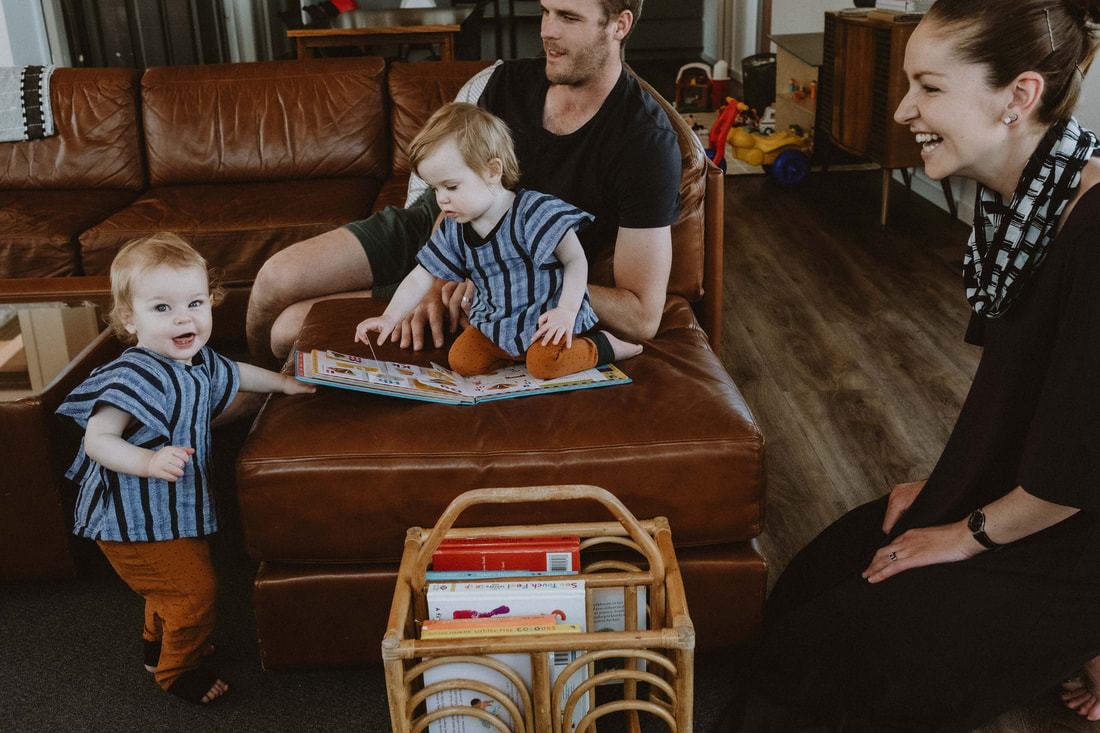
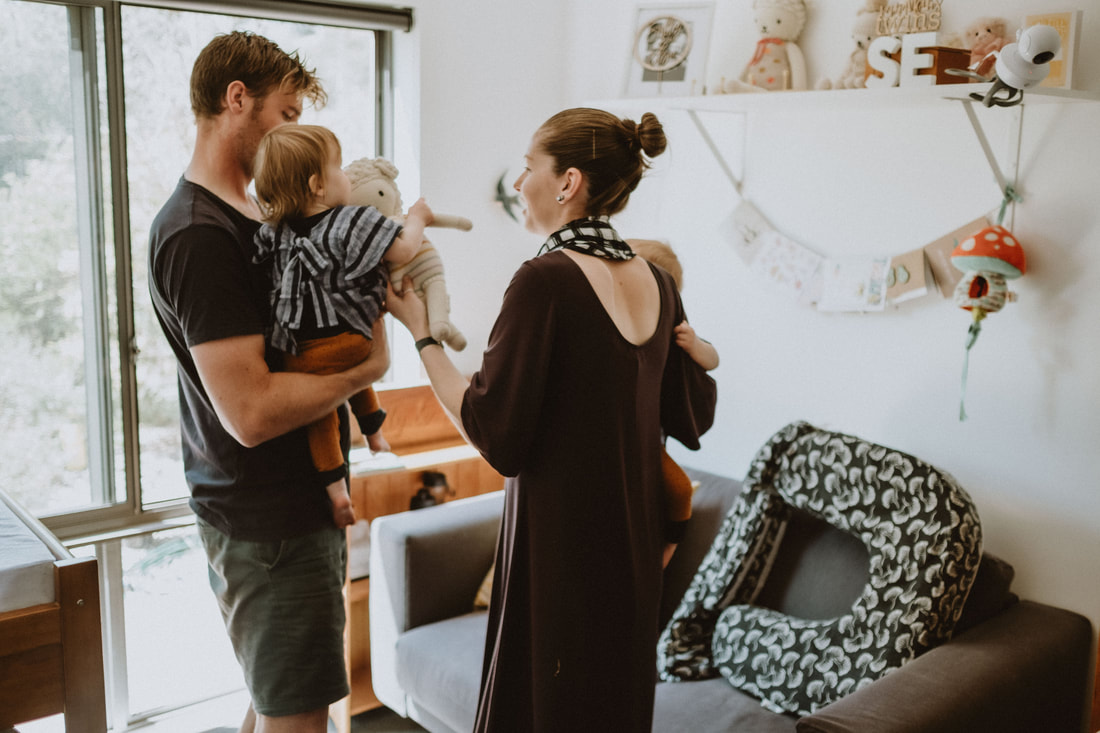
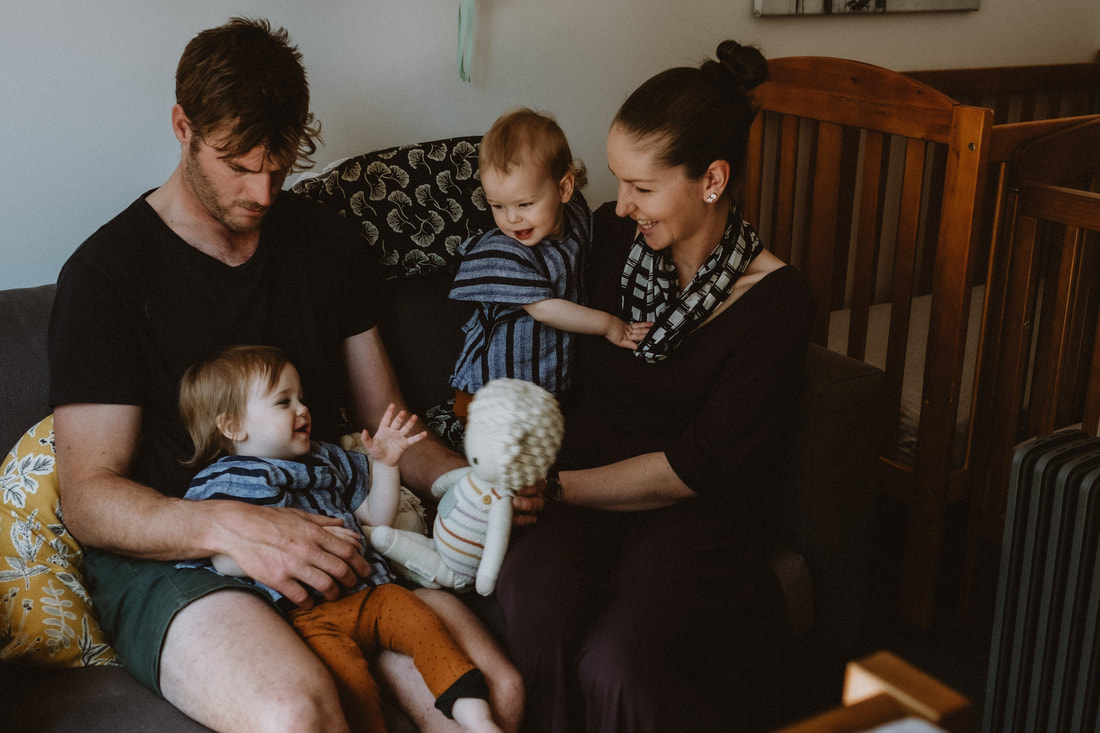
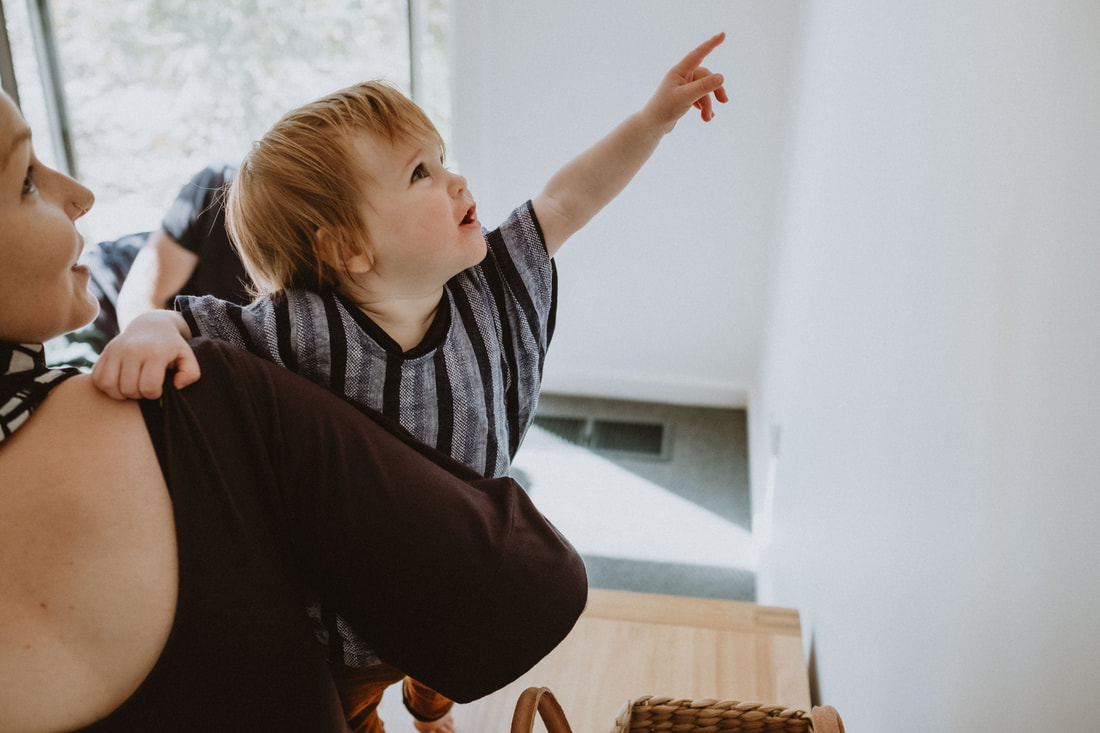
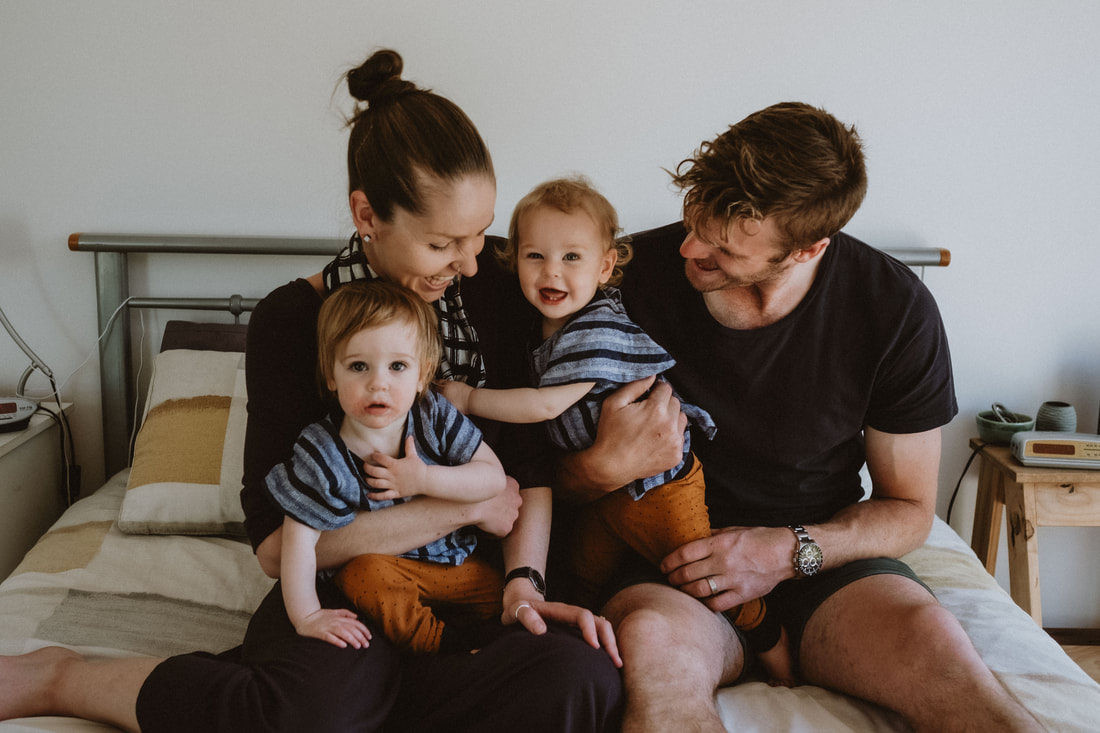
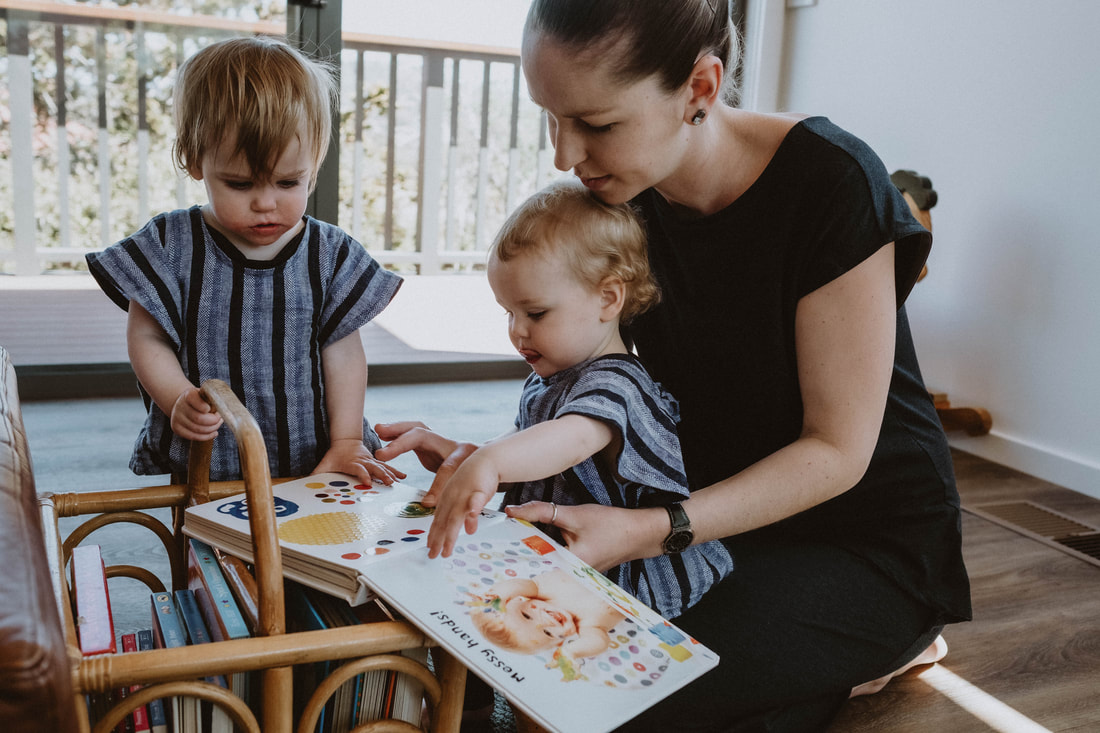
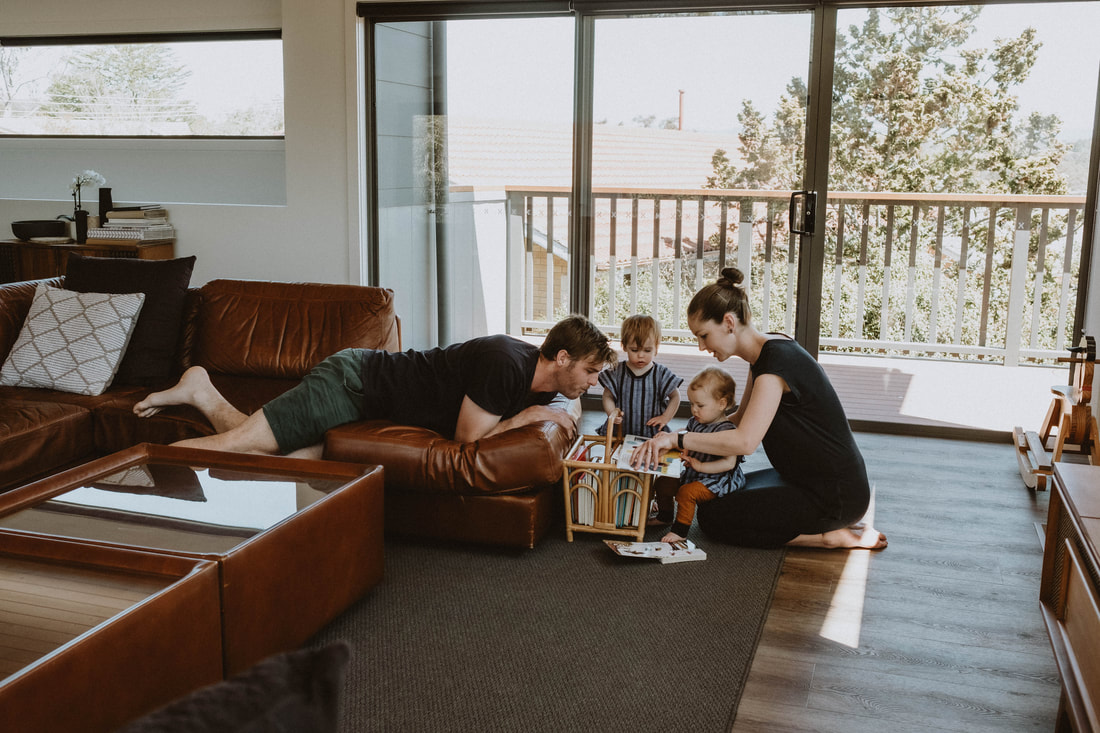
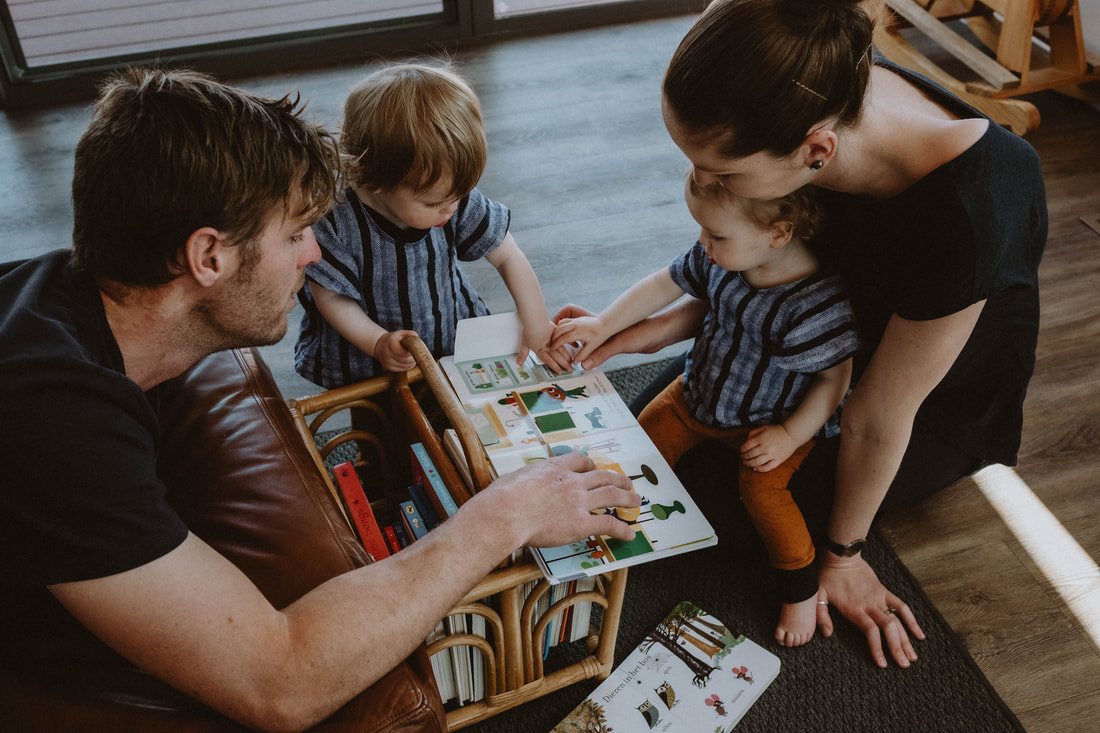
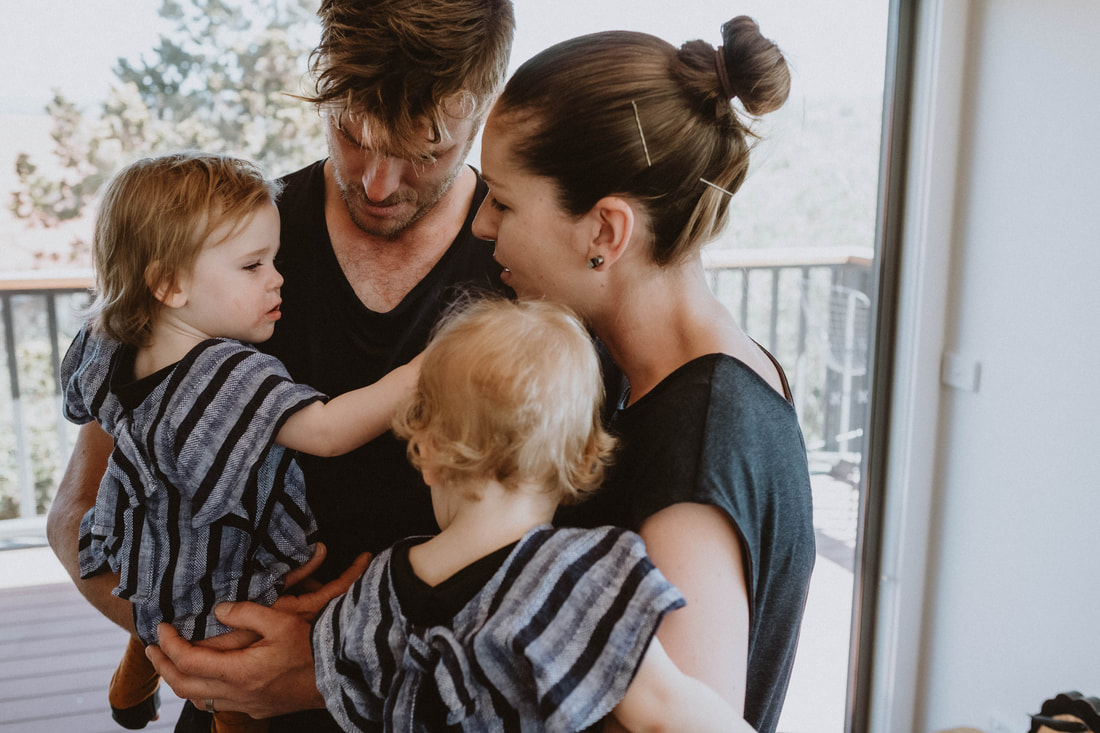
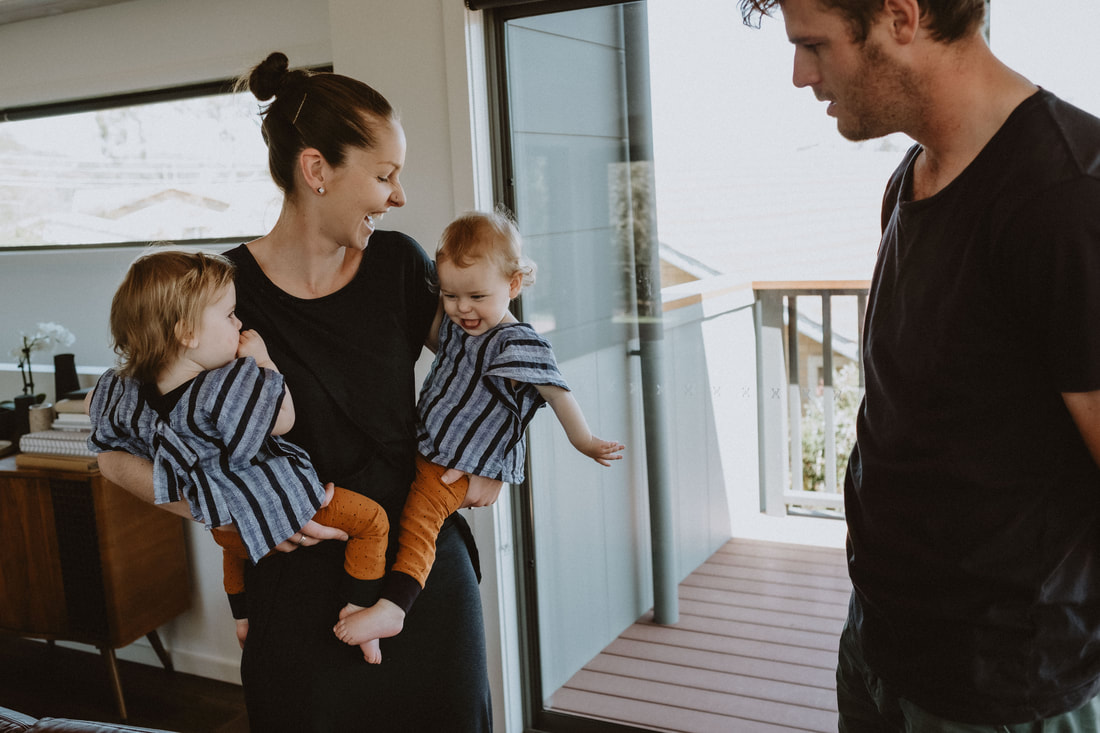
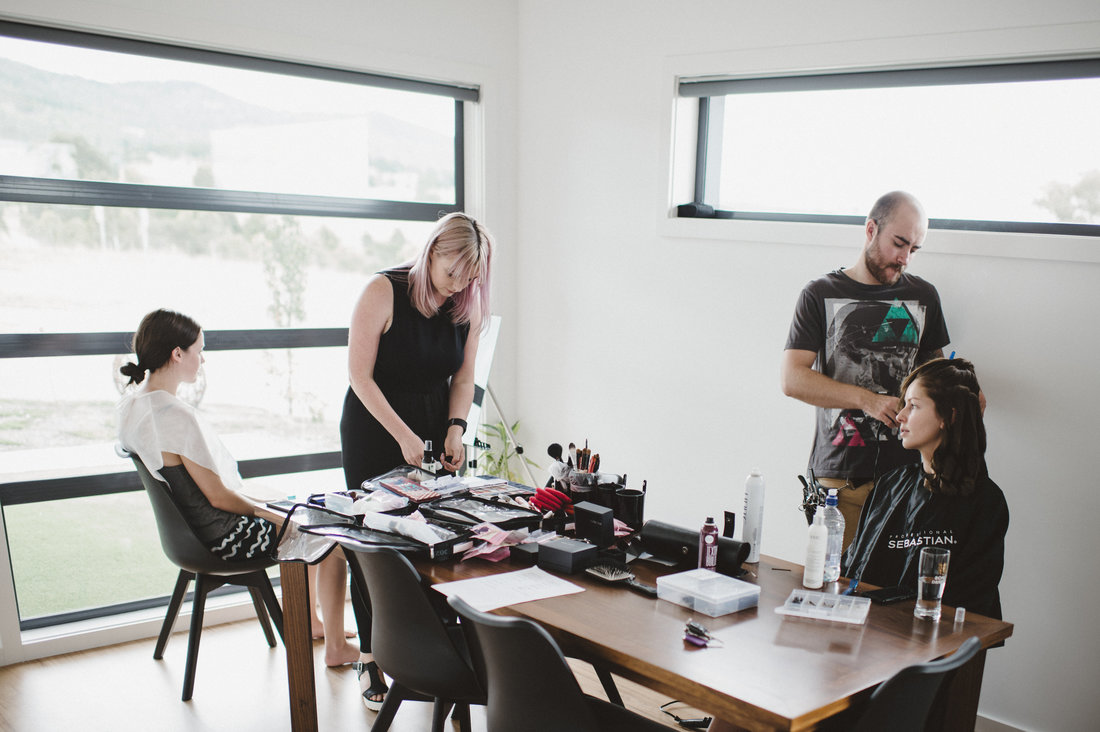
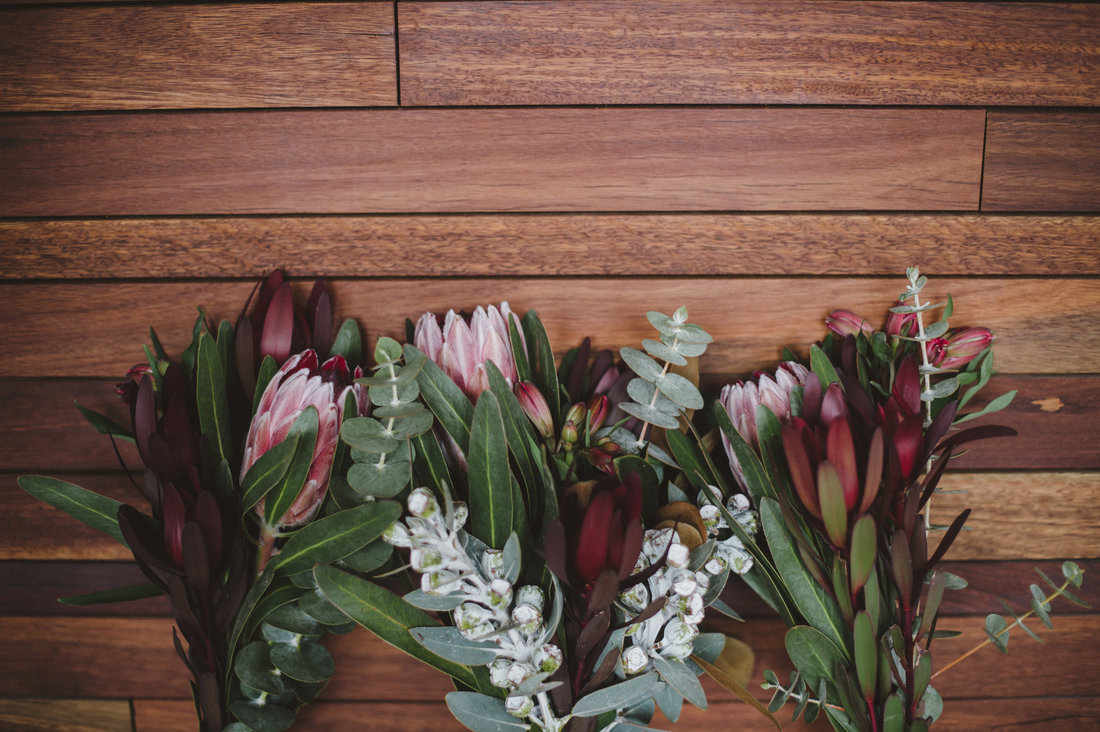
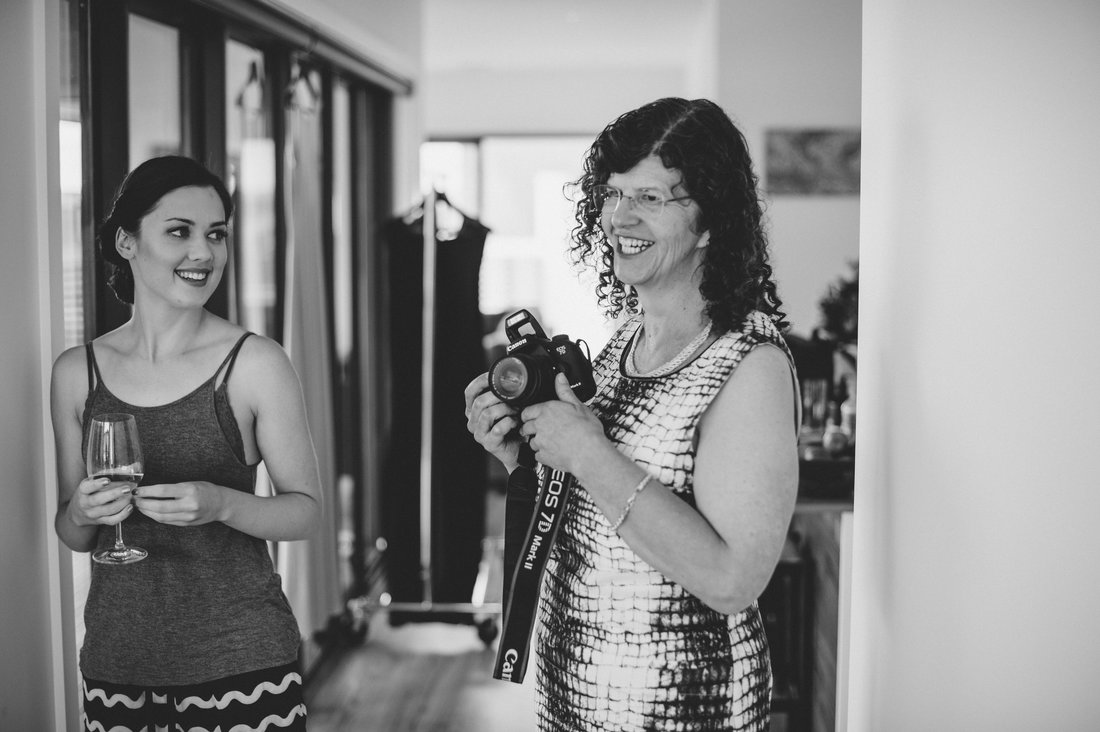
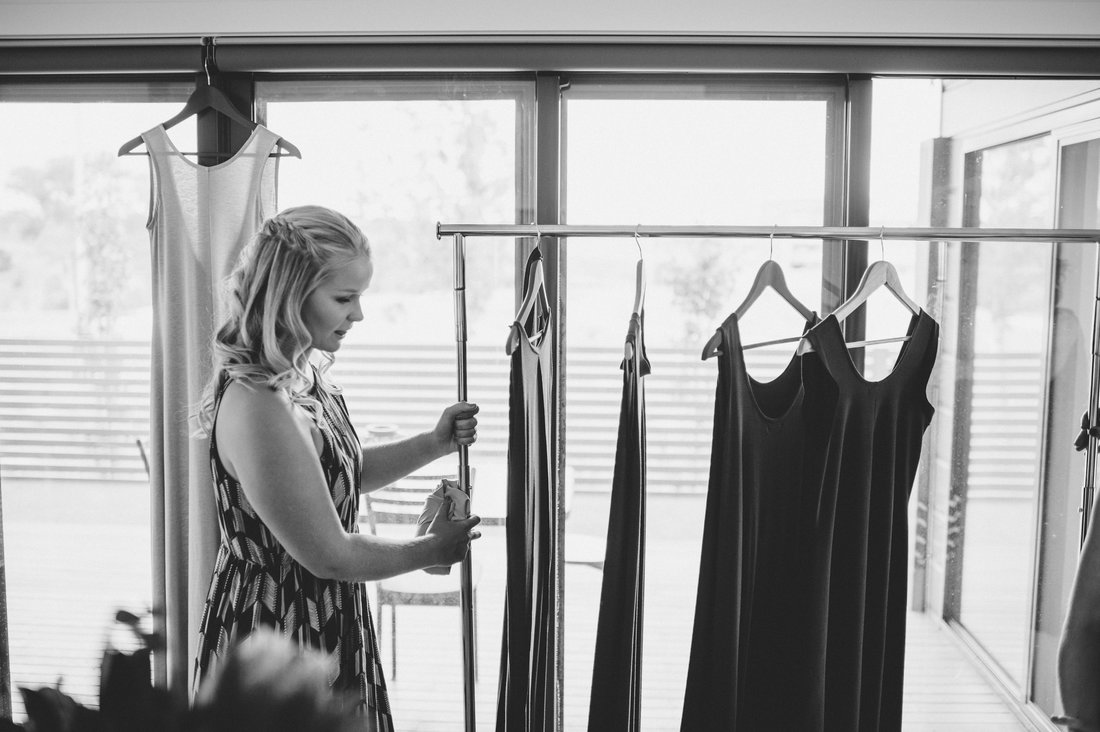
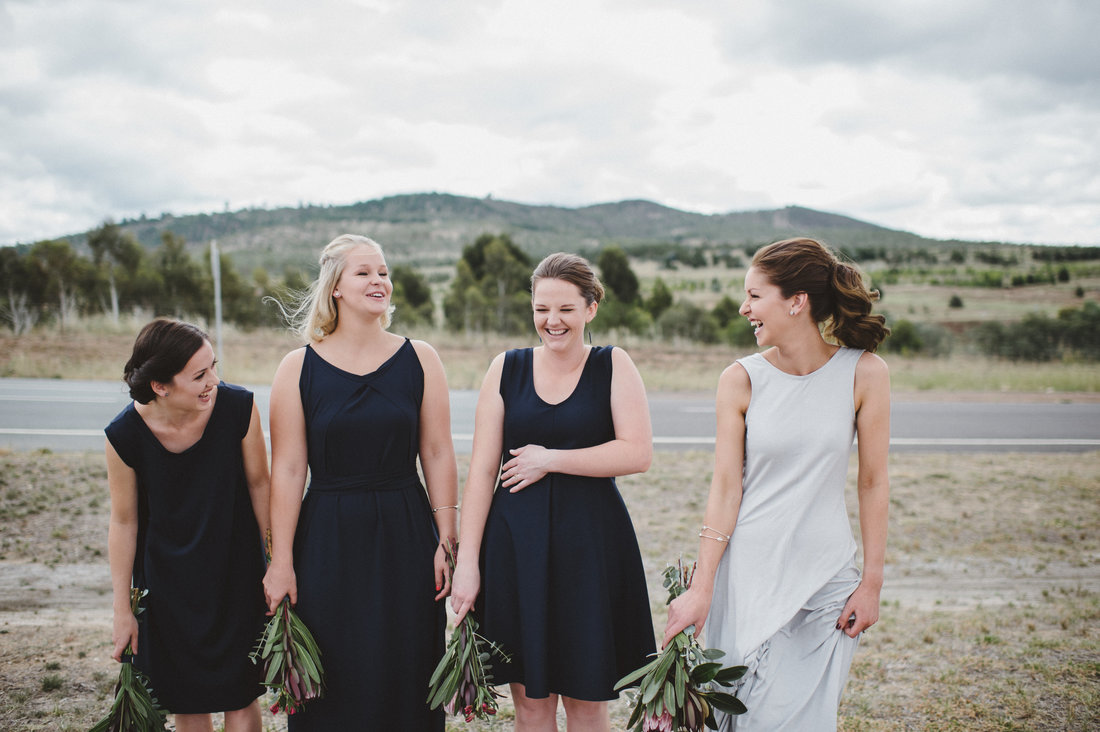
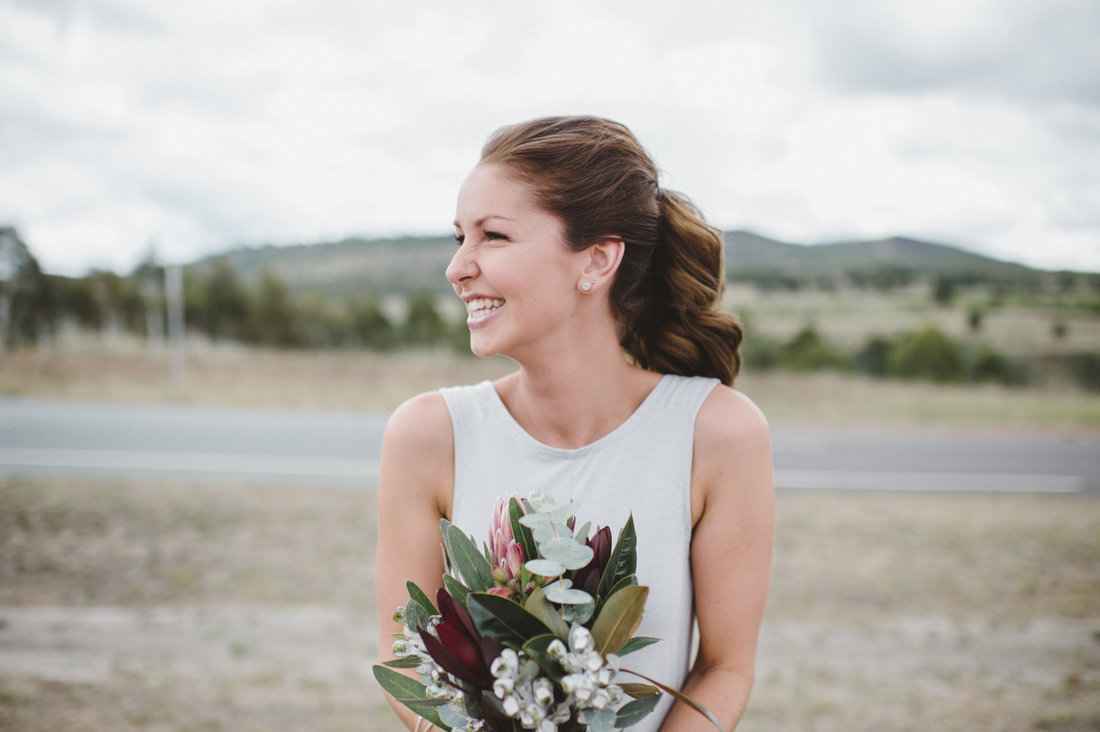
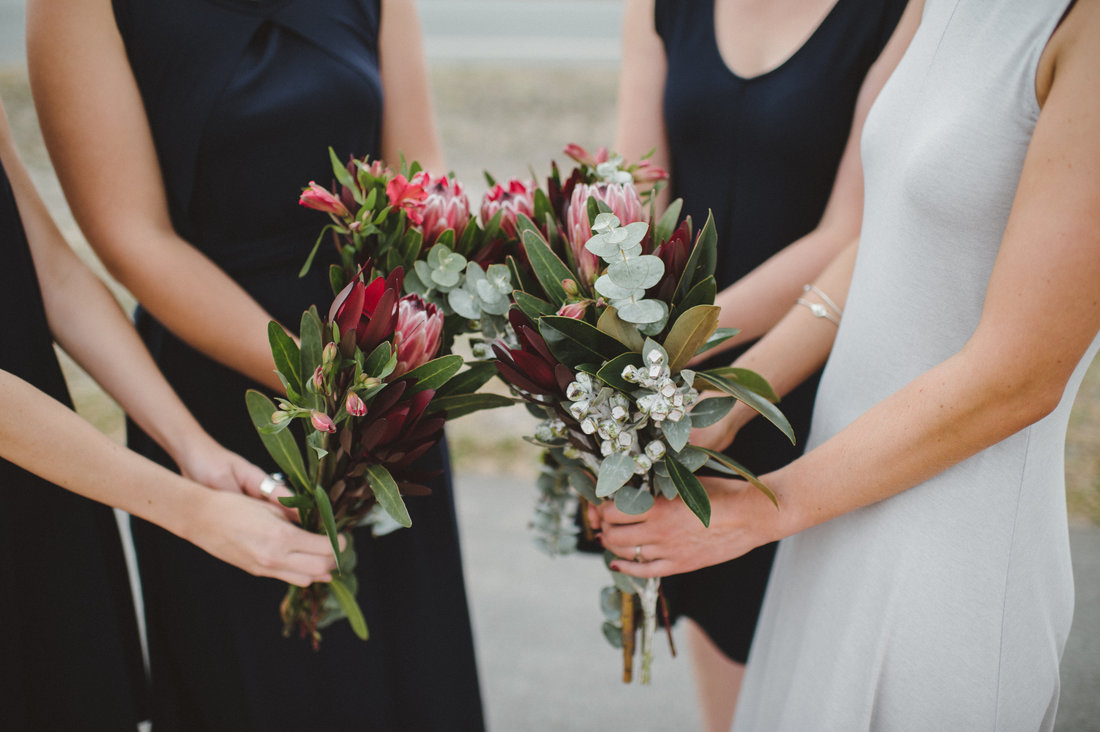
As I have said many times before, making wedding dresses is one of my favourite things to do as it combines all my loves!! I am incredibly lucky to have 6 sister inlaws! Yes 6! My husband has 4 sisters and then I have my brothers wife and my other brothers partner. BUT I only have 1 sister! So when my sister Marney got engaged and asked if I would make her dress it was a once in a lifetime experience. 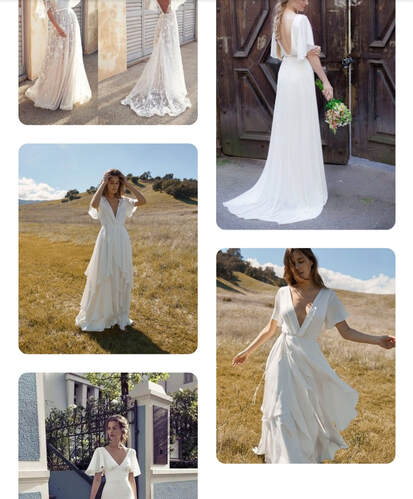 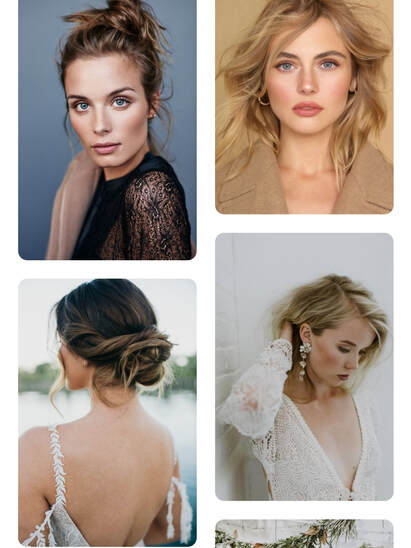 Marney and her now husband got married less than 3 months after they got engaged so I had my work cut out for me! My sister lives in Sydney and I am in Canberra so to start the process of making her dress we made a Pinterest board. The Pinterest boards meant that we could both add things during our days that we liked about wedding dresses for her. We also started a board with hair, makeup and floral ideas just so we could get a clear picture of the direction of the wedding which I found worked really well.  When Marney was able to come to Canberra we tried on a few dresses that I thought might work for her body shape. This dress above was the dress I made for my Mum for my own wedding. From our Pinterest boards we kept finding dresses with interesting sleeves. So I thought this sleeve I did for my Mum's dress might work well. From this fitting we thought that a shorter sleeve might be more flattering. We loved how Marney's bust looked and thought I would do something similar for her wedding dress. 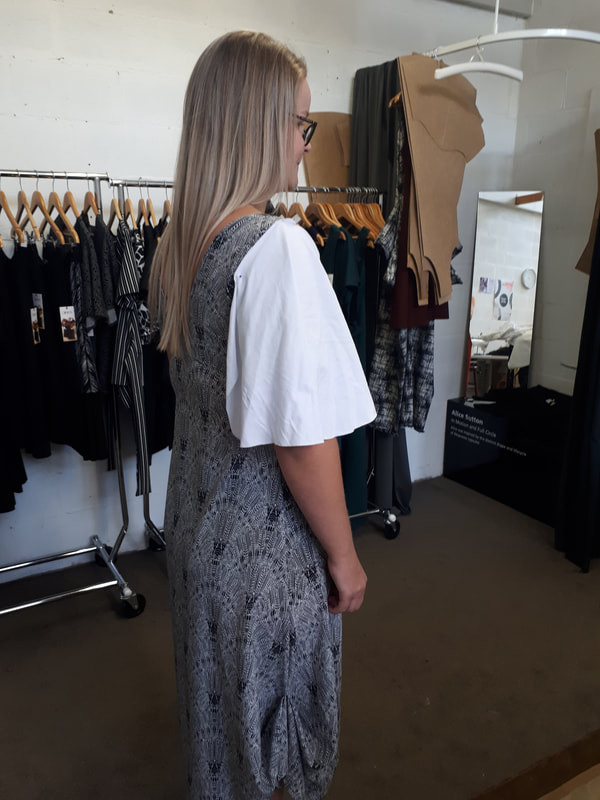 We tested a long, floaty sleeve but it just wasn't right. 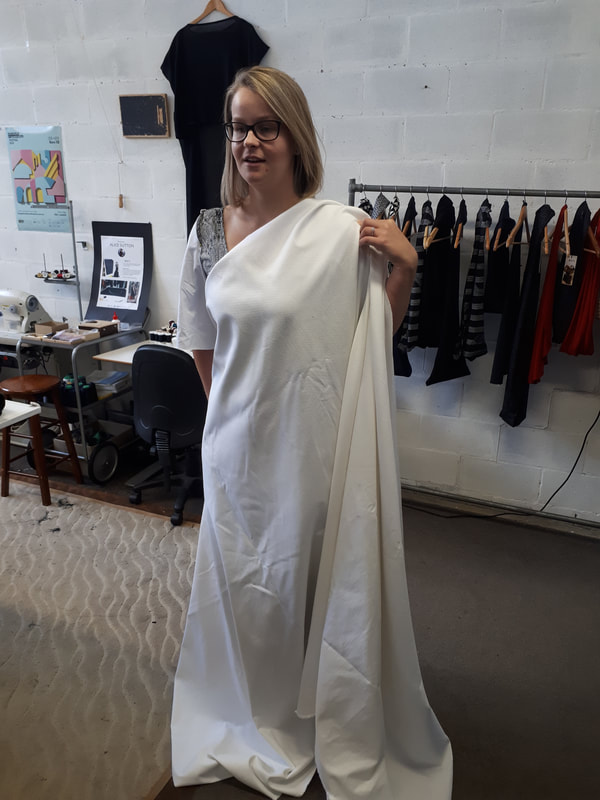 I found this beautiful cotton poly blend with a subtle stitching in a bright white. Marney has an amazing tan so the white looked perfect on her. 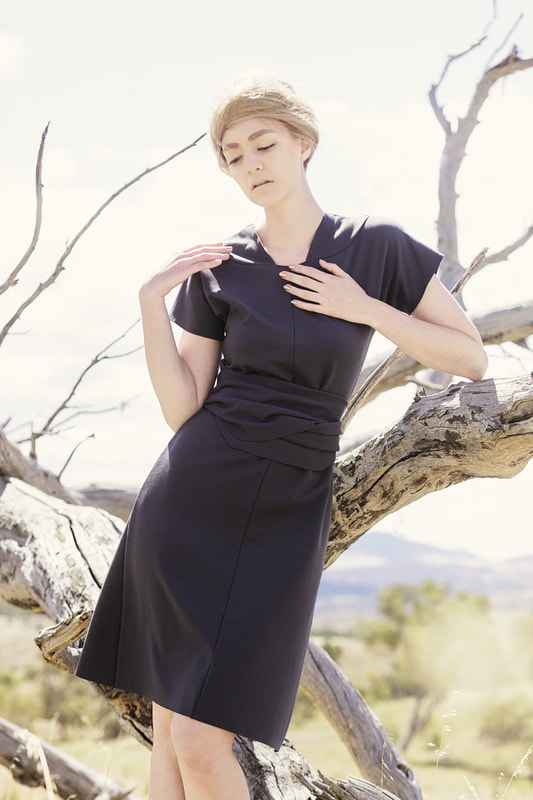 I then started to think about sleeves that I have done before that are shorter and more like a cap sleeve. I thought about the Larval dress from my Until We Arrive collection from way back in 2013 (pictured above) and thought this would look great on Marney. 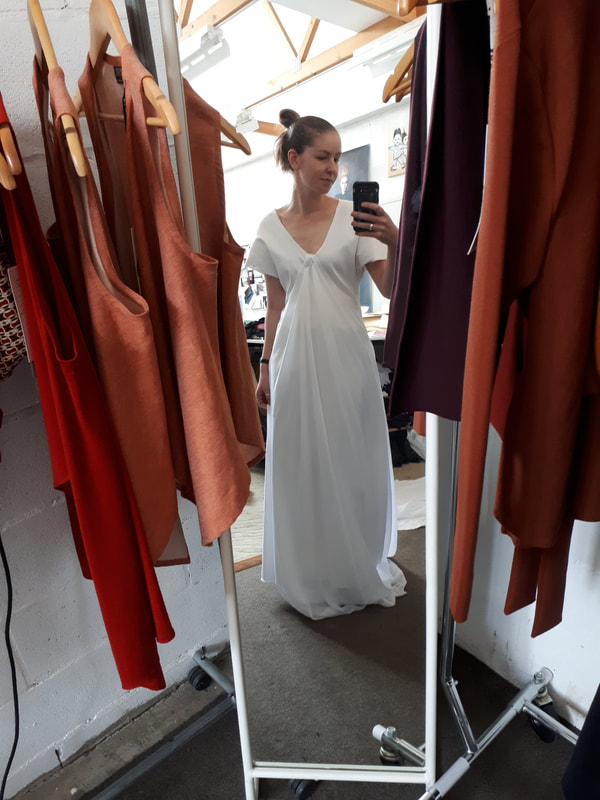 From there I tried the dress on Marney again and she loved it. We decided to make the sleeves a little shorter and something needed to change with the hem. I then had a play with perhaps some sheer fabric over the top of the dress to make it a little more 'weddingy' when Marney tried it on she thought the dress really didn't need the extra layer and I am so happy she decided that as I think the final dress was perfect for her and I am so proud of what we created! 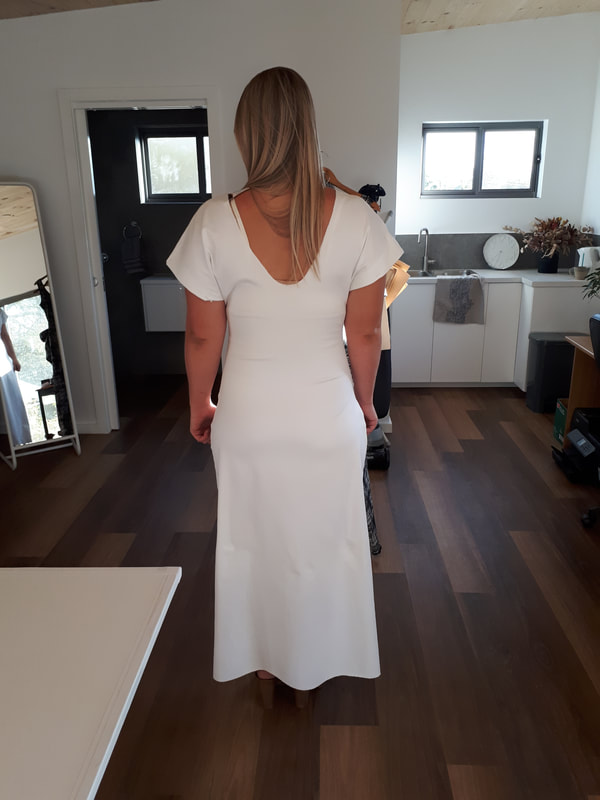 Our first fitting in the new studio! I needed to make some adjustments so that bra straps weren't visible and we pinned how Marney wanted the hem of the dress to sit. 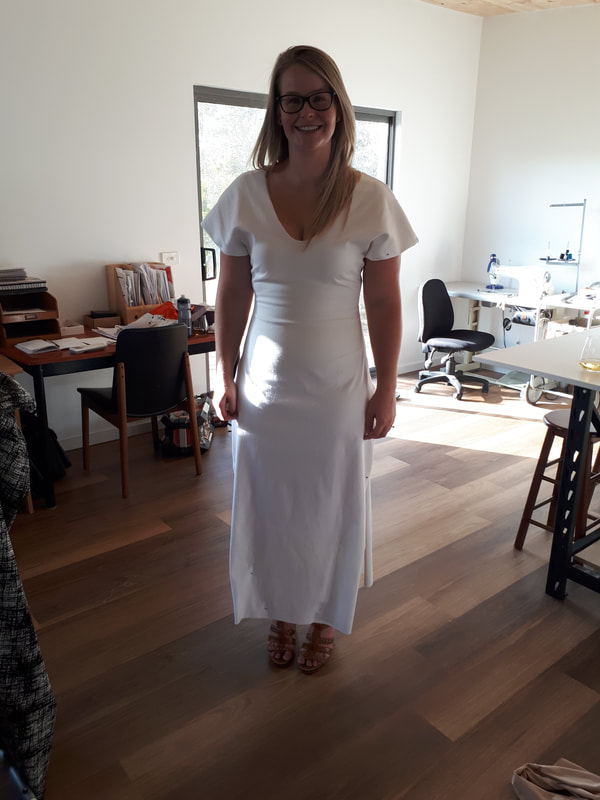 I loved doing this fitting with Marn, she looks so happy and she had found her wedding shoes by this stage so it was fantastic to be able to test the dress with them. She got married at the beach in Sydney so we also had that in mind when working out the length of the dress. We decided on the dress being a little shorter so it was more casual and coasty. 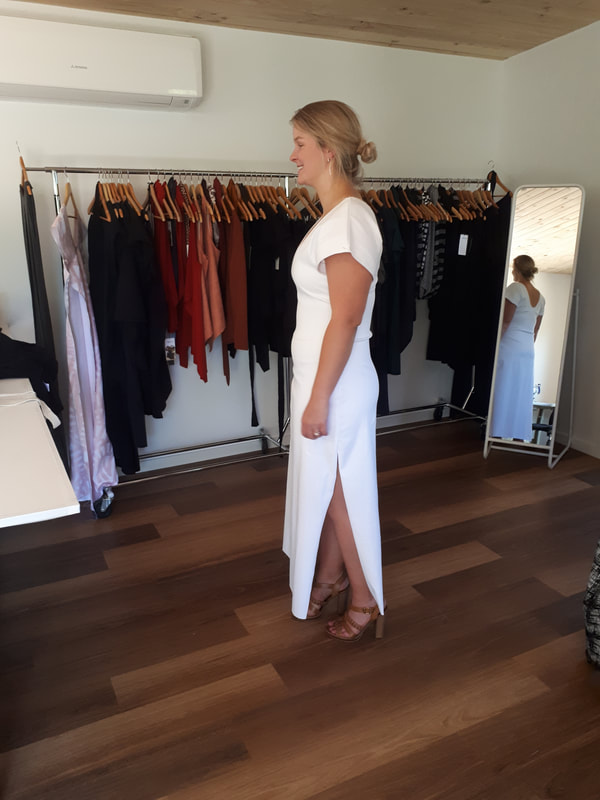 This was our last fitting, trying on the dress with all the underwear that was being worn on the day and I did the finishing touches on the seams of the dress. 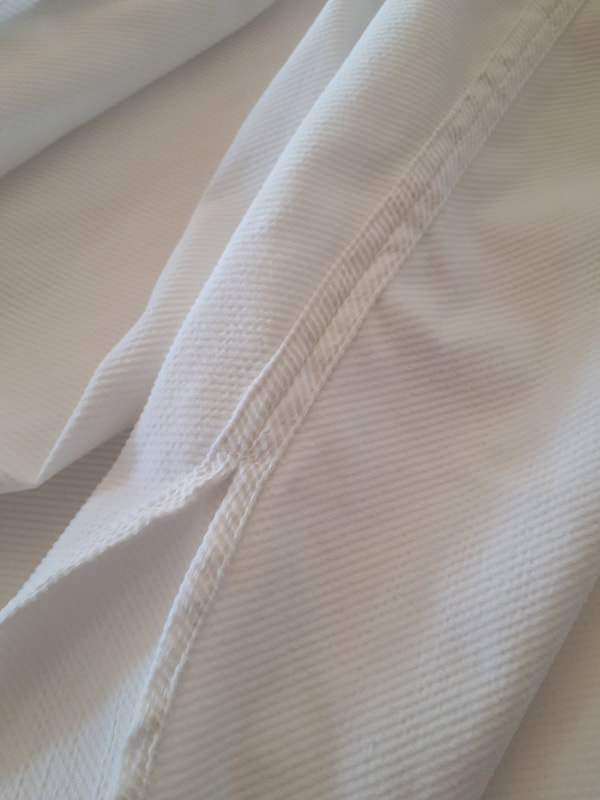 A close up of the beautiful texture in the fabric. I did French seams on Marney's dress so the inside was just as beautiful for her. 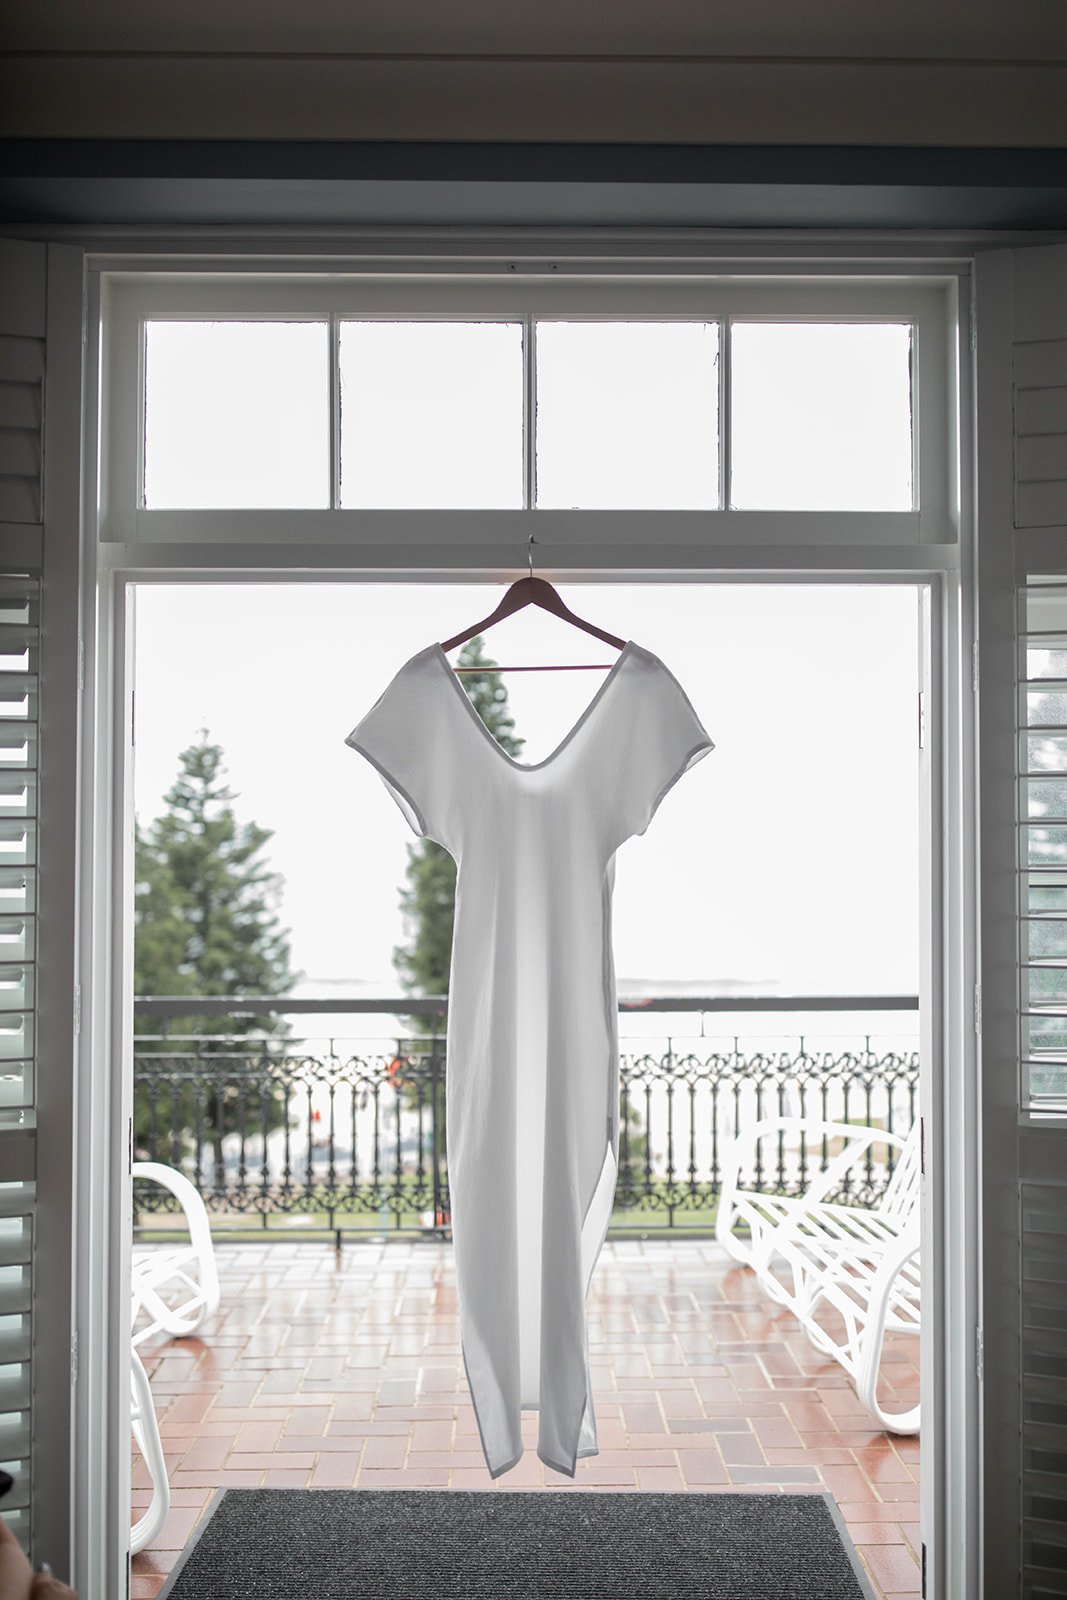 Some stunning photos by Amy Dobos of All The Love Letters. I am so proud of this dress and loved creating it with my sister. Marn was the most relaxed, gorgeous bride with the biggest smile on her face all day. It was so special to be a part of it. 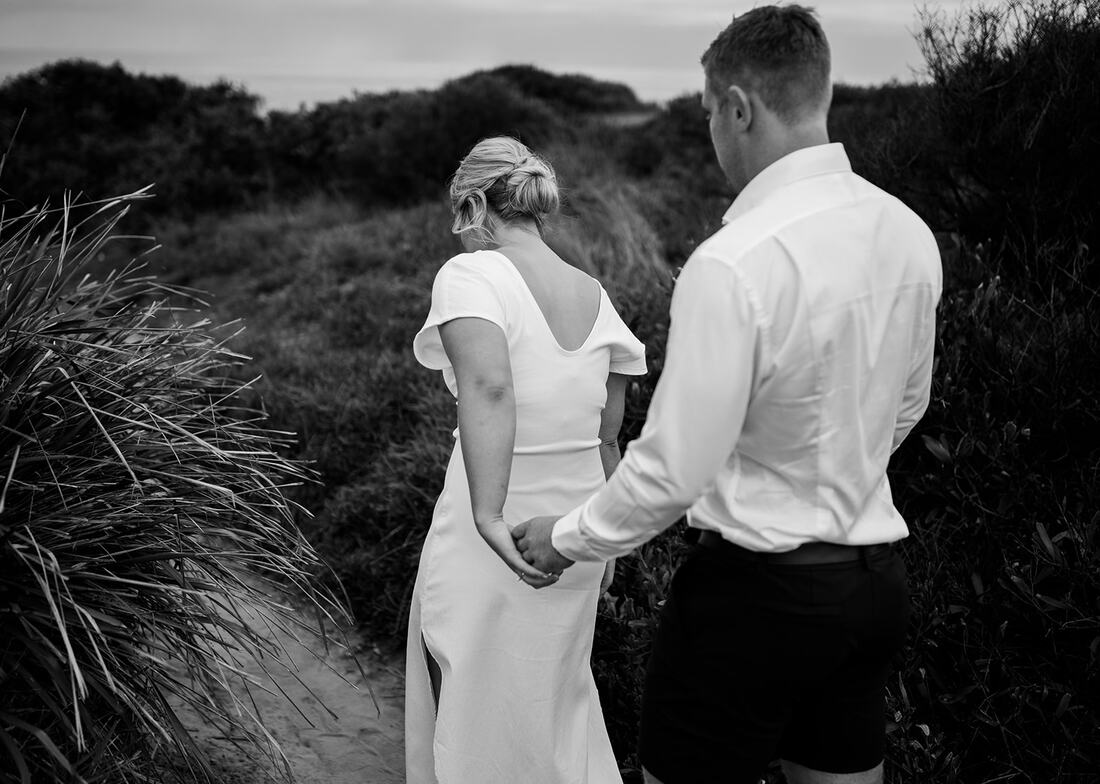 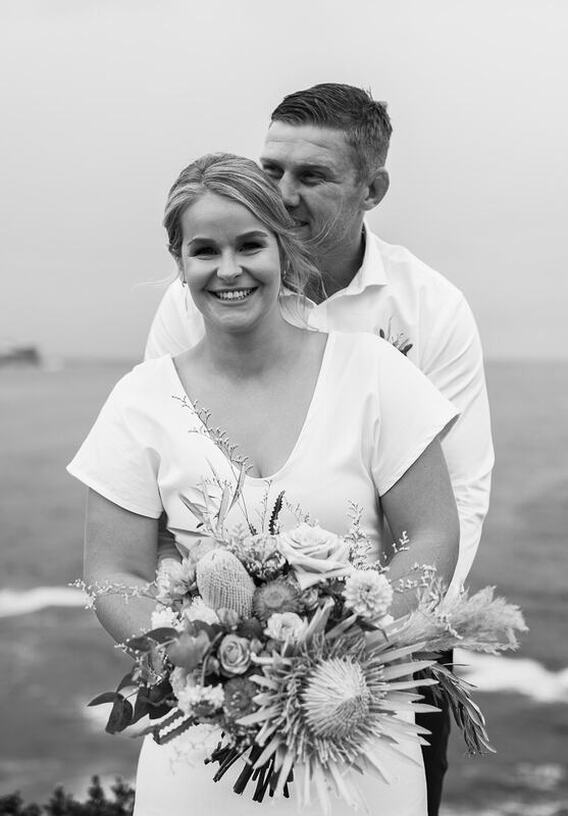 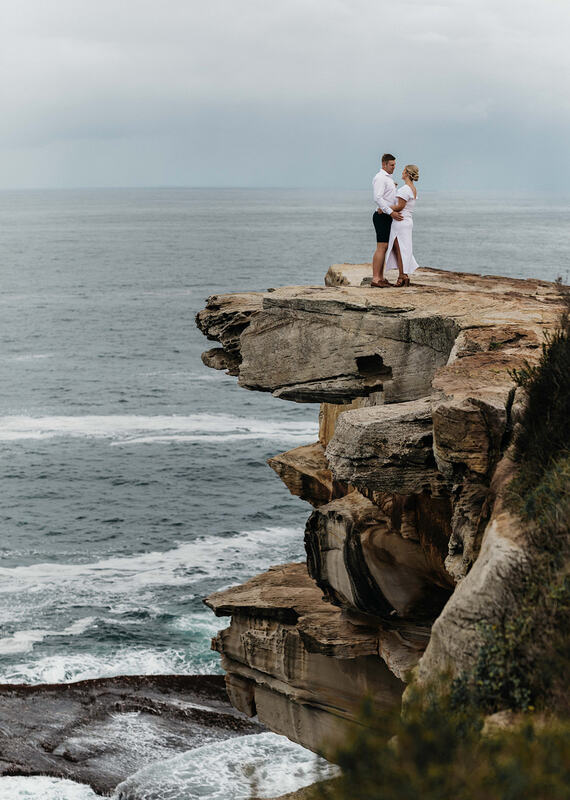 My sister inlaw Lauren Sutton is an incredible photographer (check out her website by clicking her name!) she took these pictures on a recent family holiday to Sydney. The girls wearing EDITION Korean fabric jumpers and spotty leggings. I am wearing the Evolve top in rust red and the Print Sports jacket. 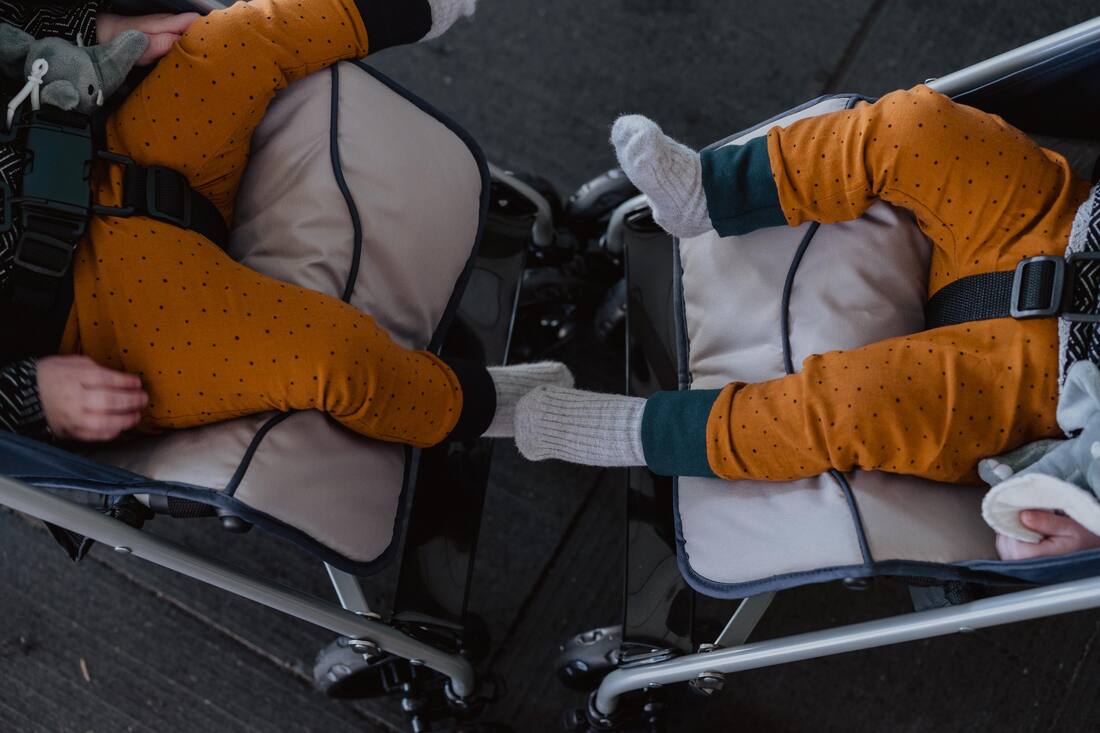 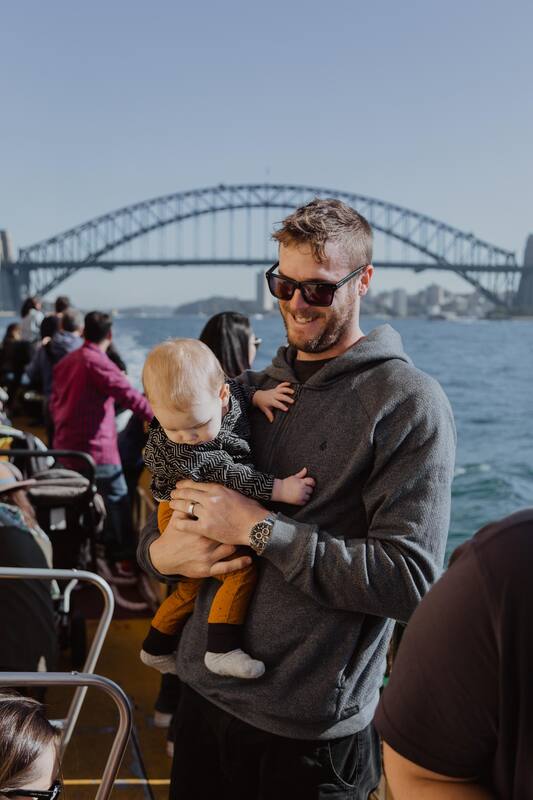 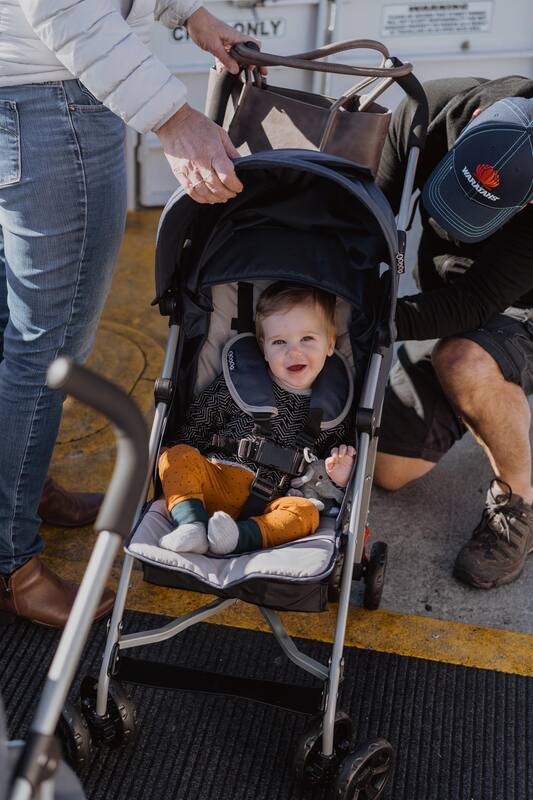 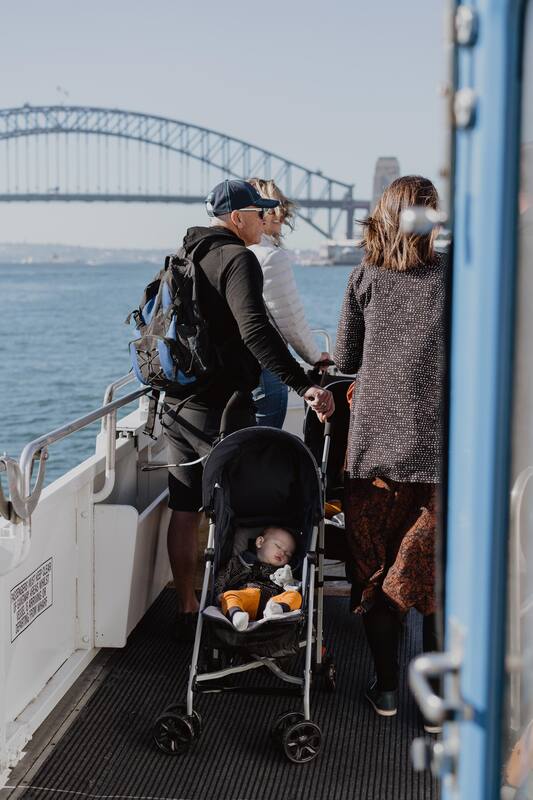 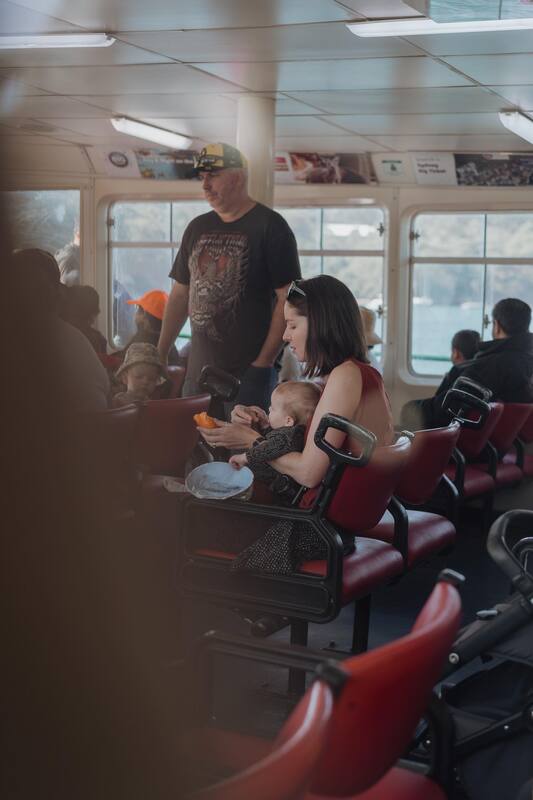 Some beautiful photos taken by the lovely Kayleigh McGlynn who is creating a book about Birth Stories, check out her website here. She came over to our house and followed us for the morning with Sally and Elsie. I had to make the girls some EDITION mini clothes! The top I am wearing is a new EDITION feeding top. 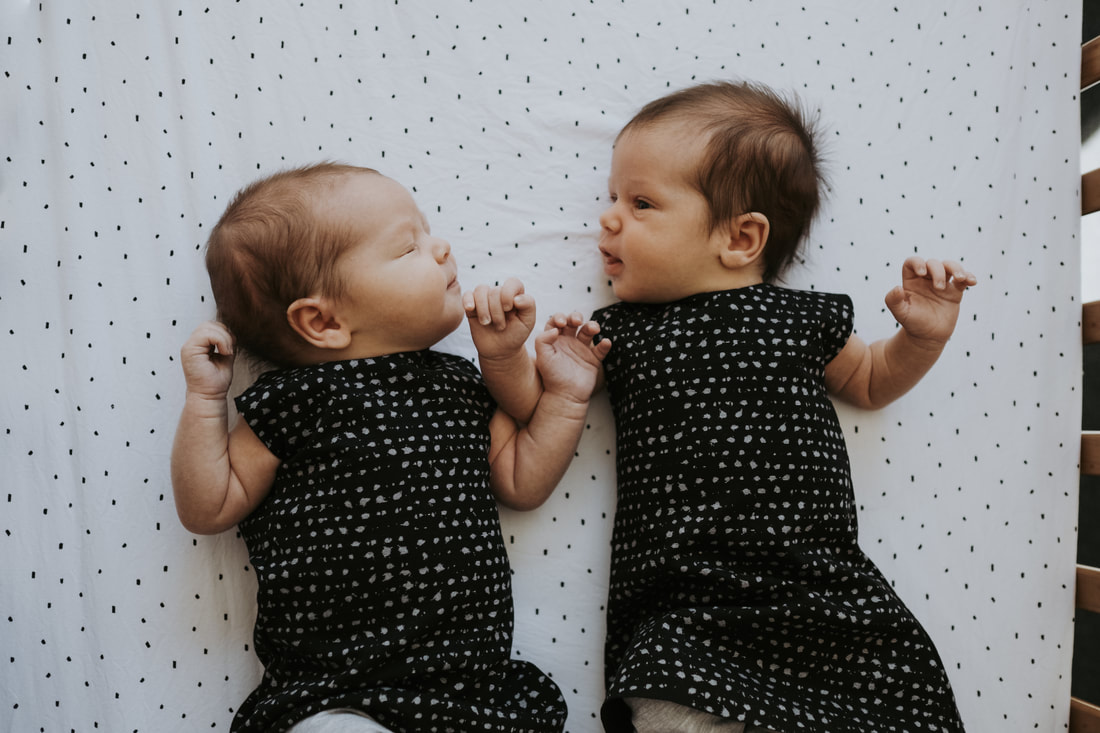 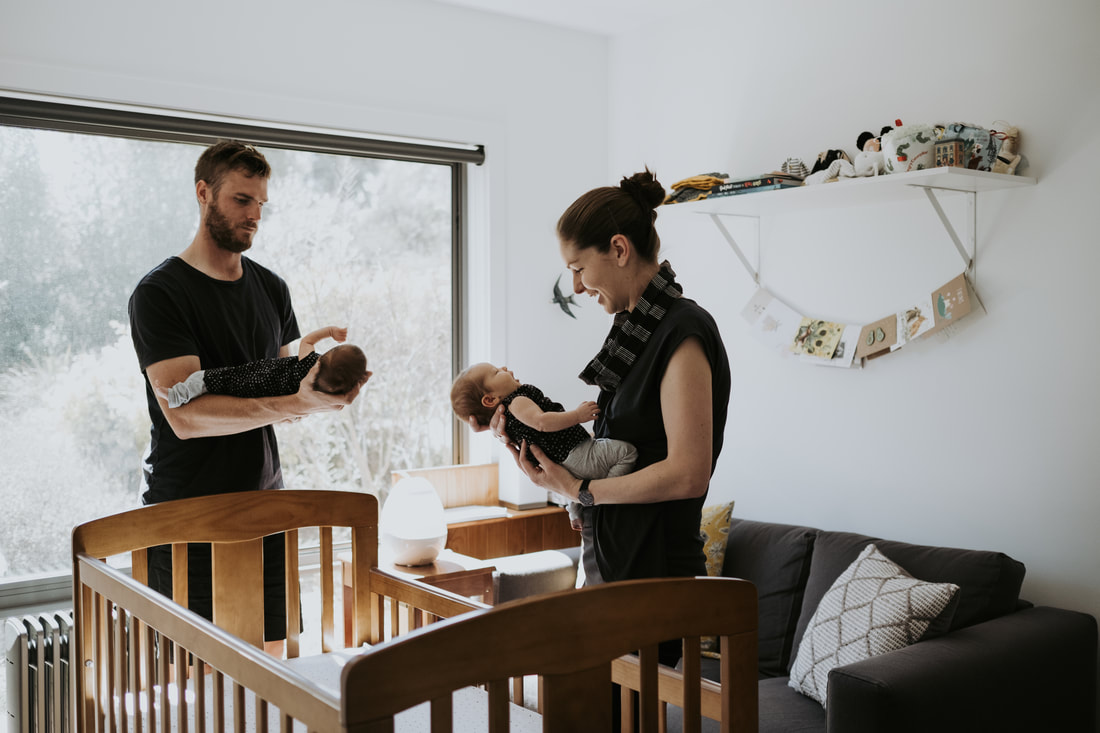 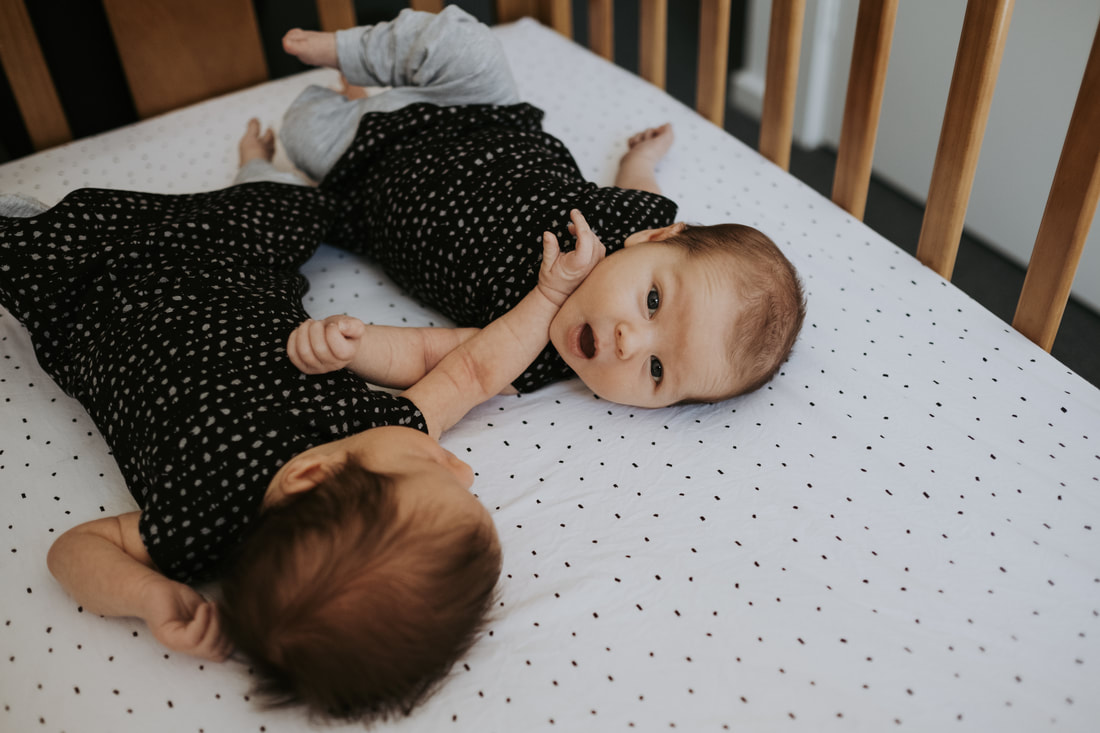 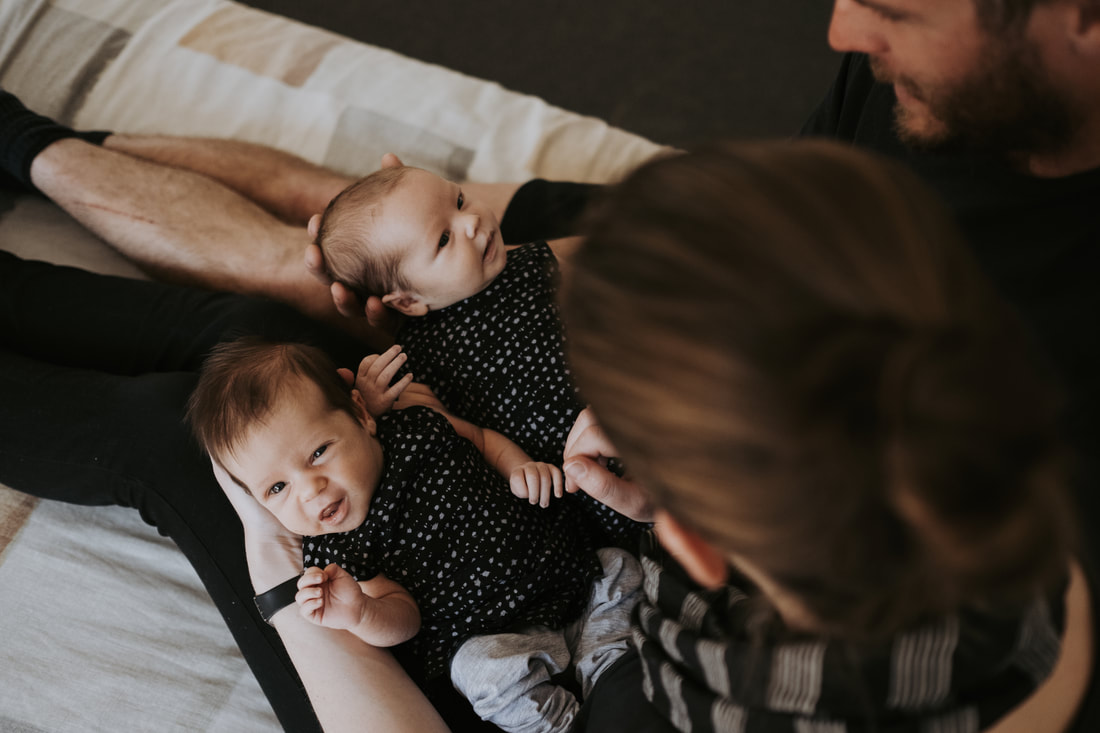 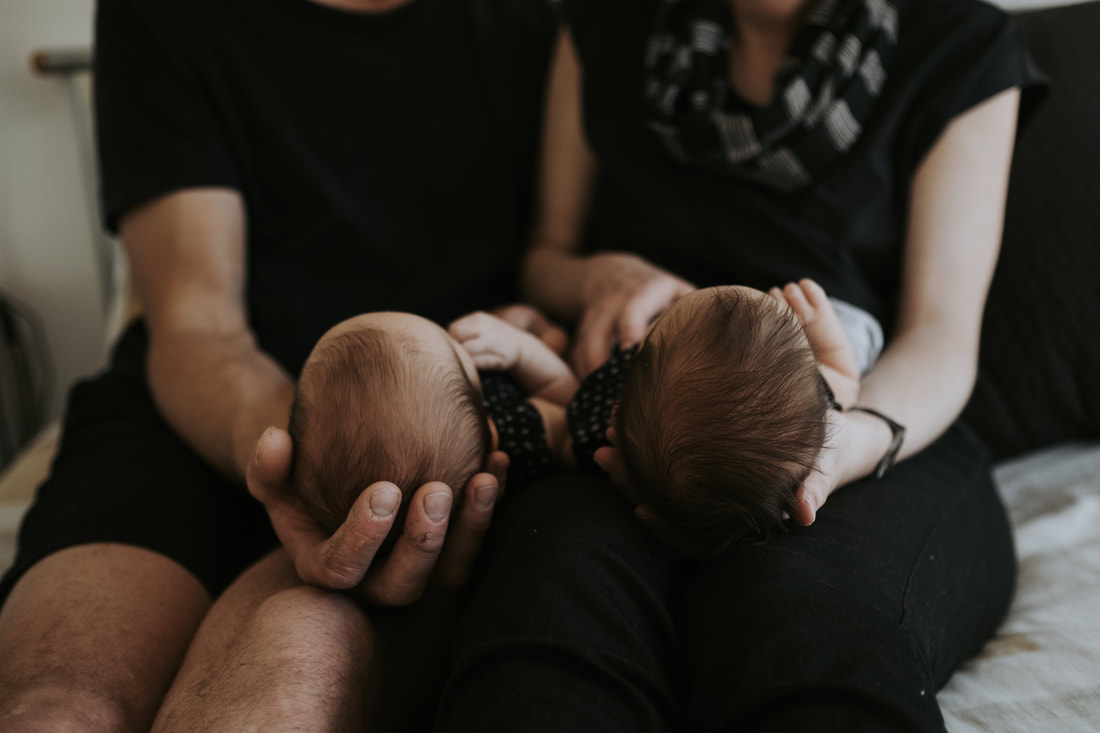 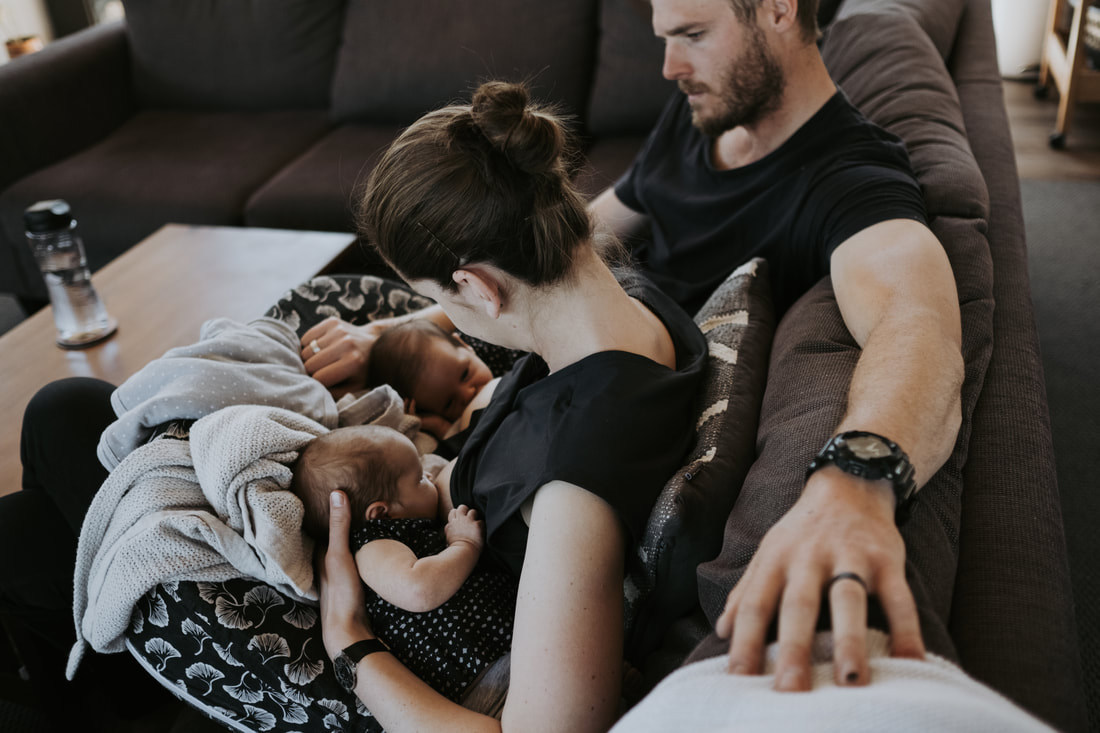 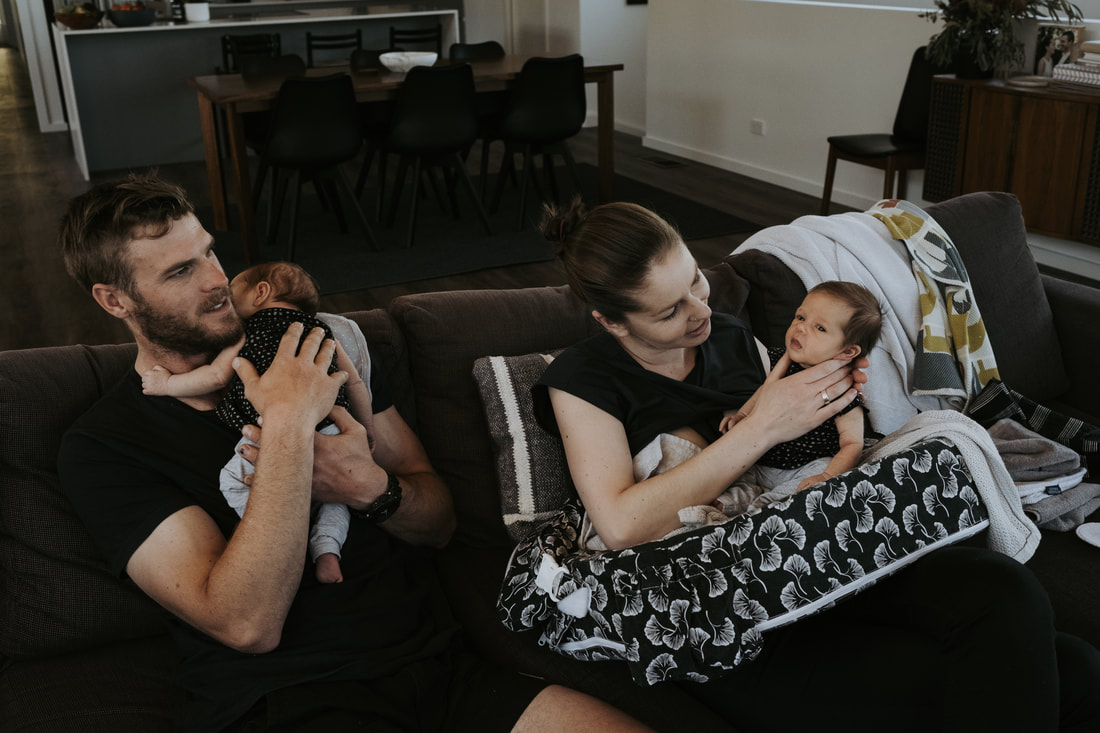 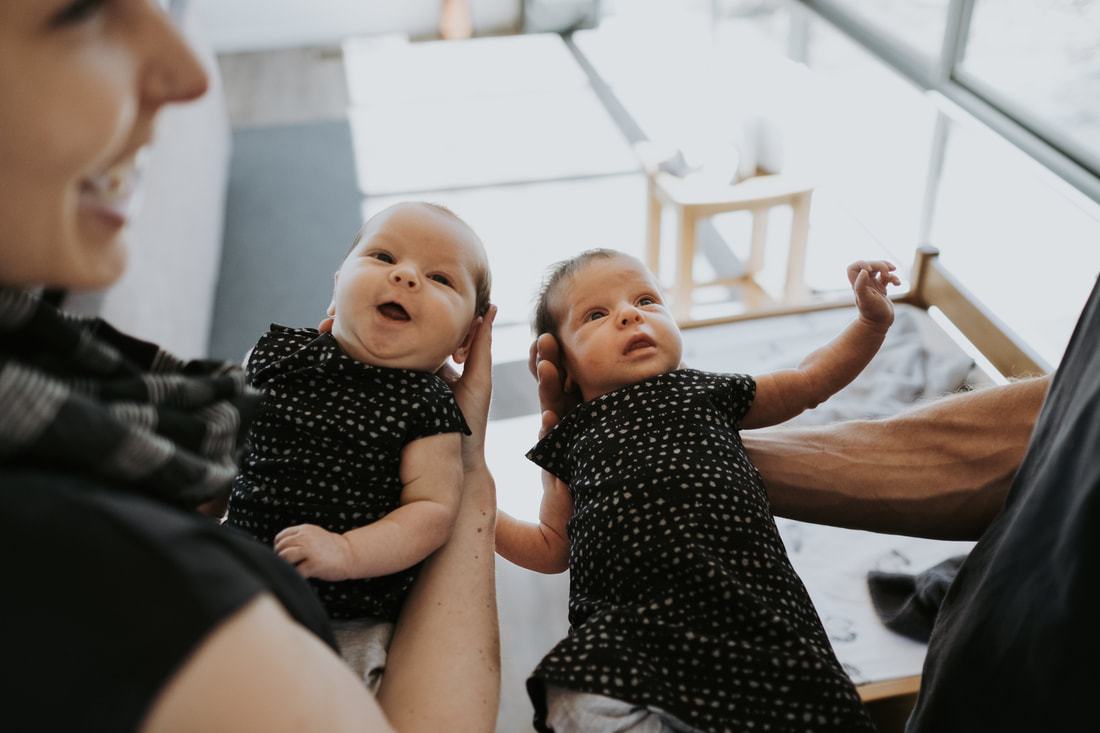 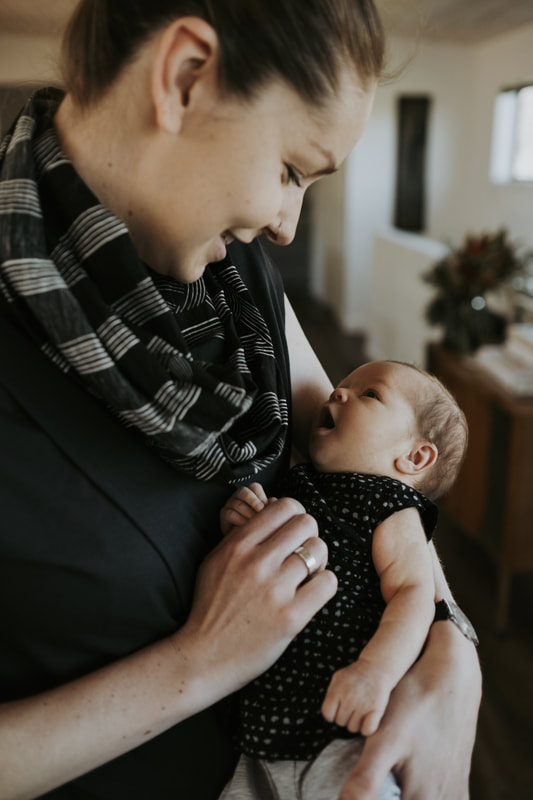 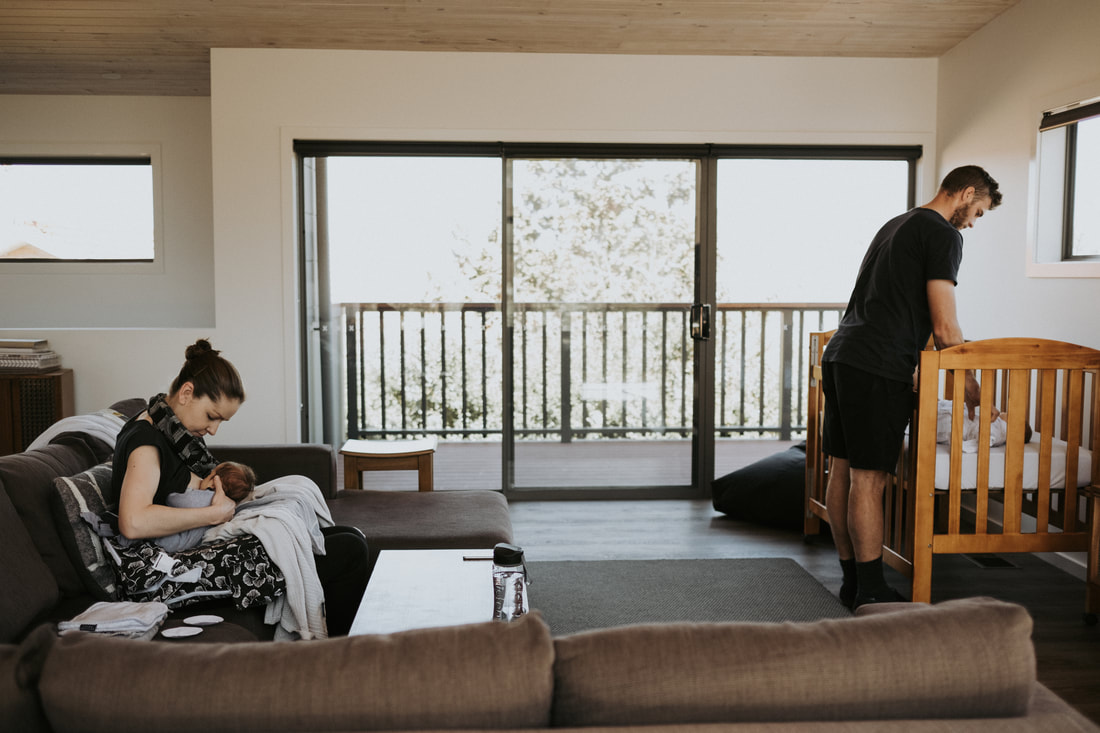 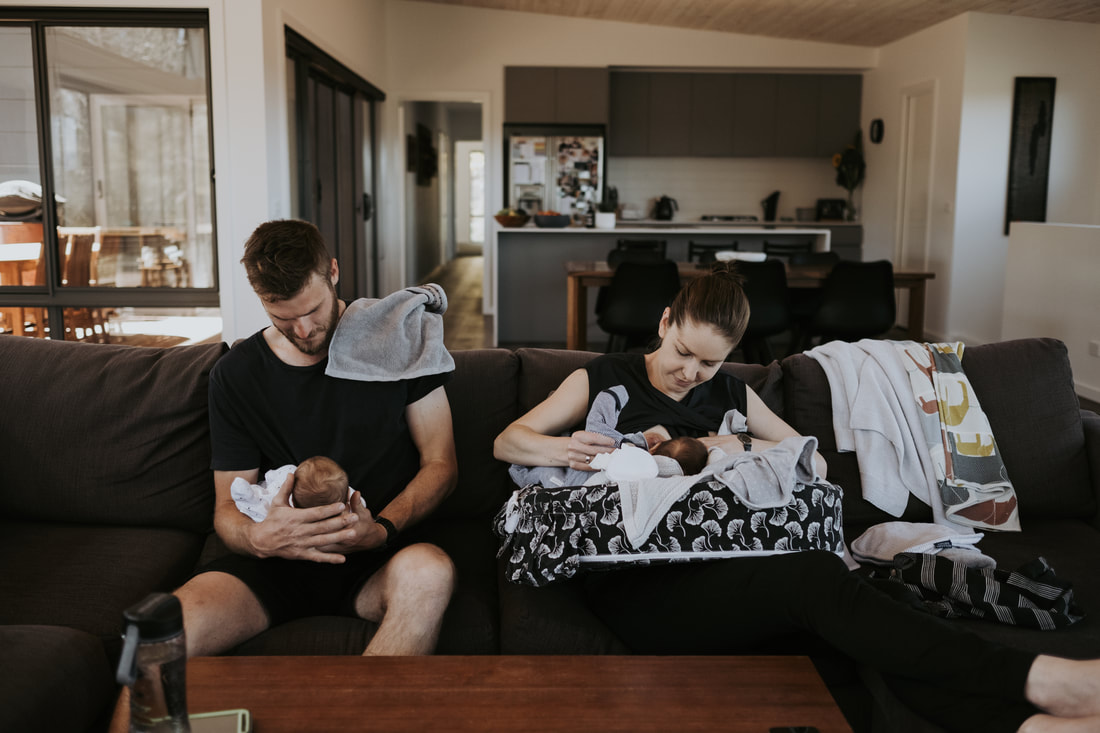 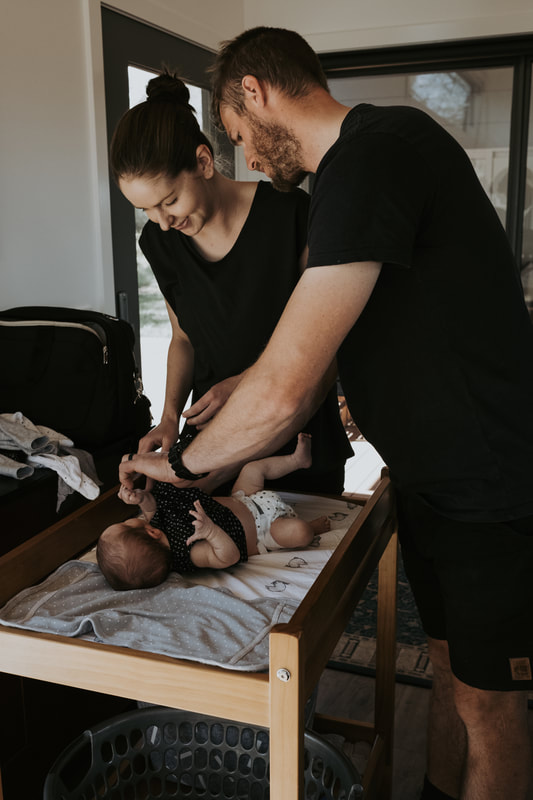 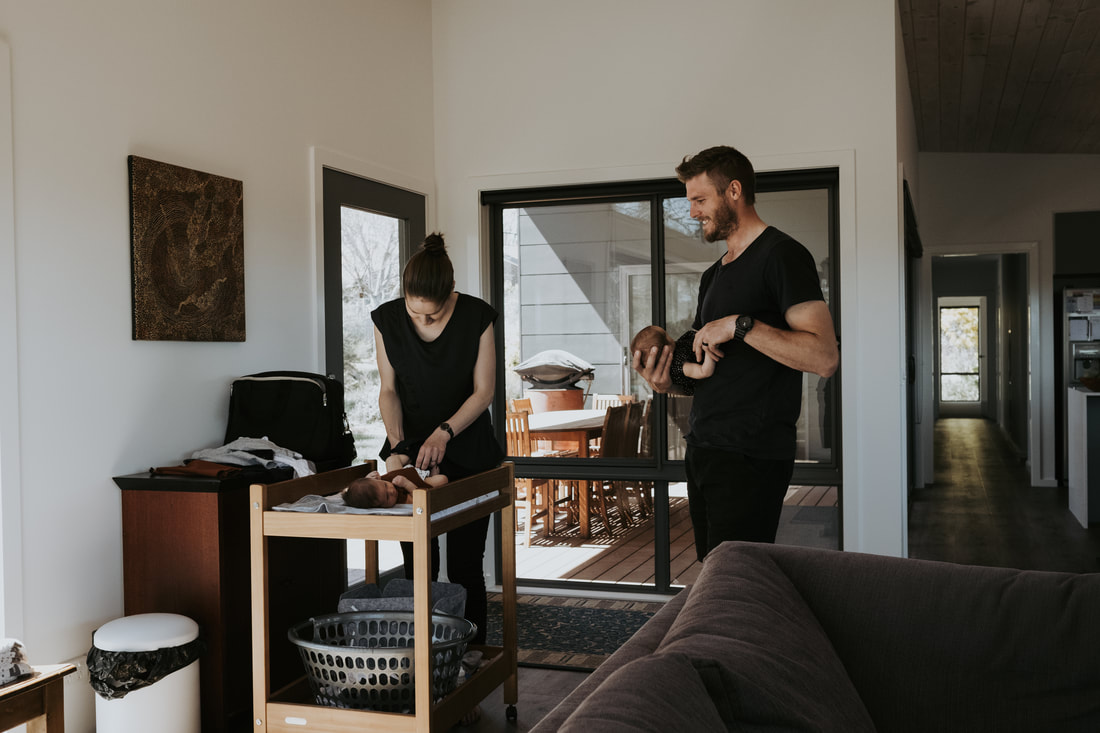  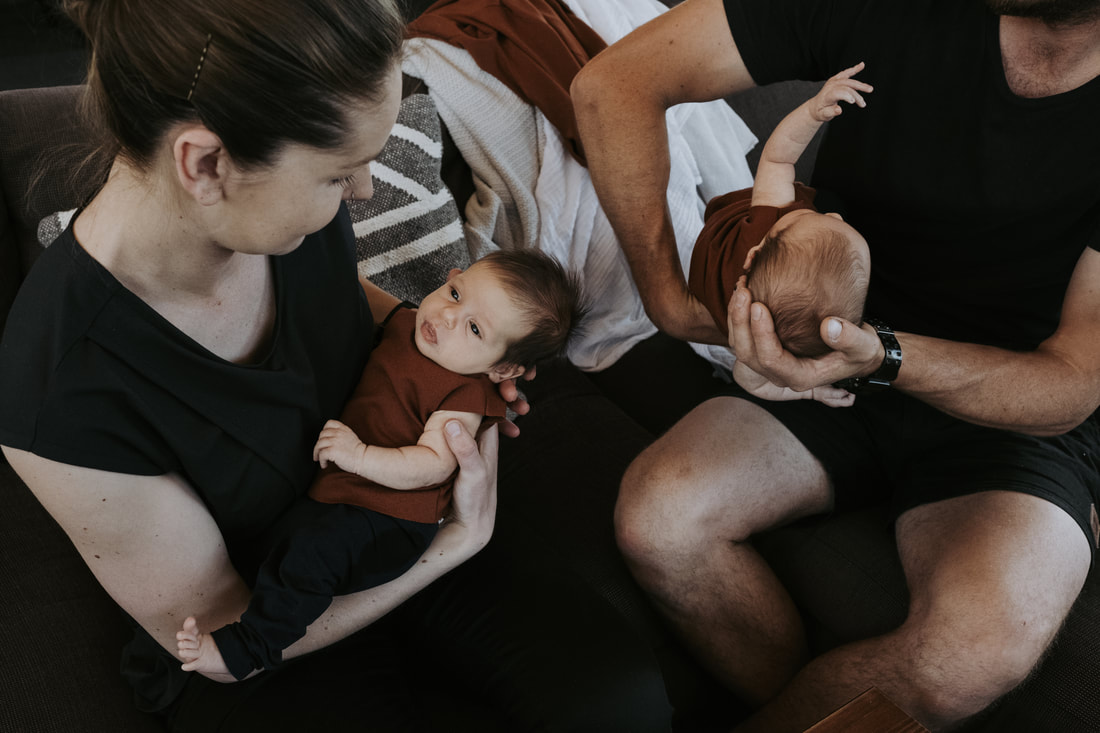 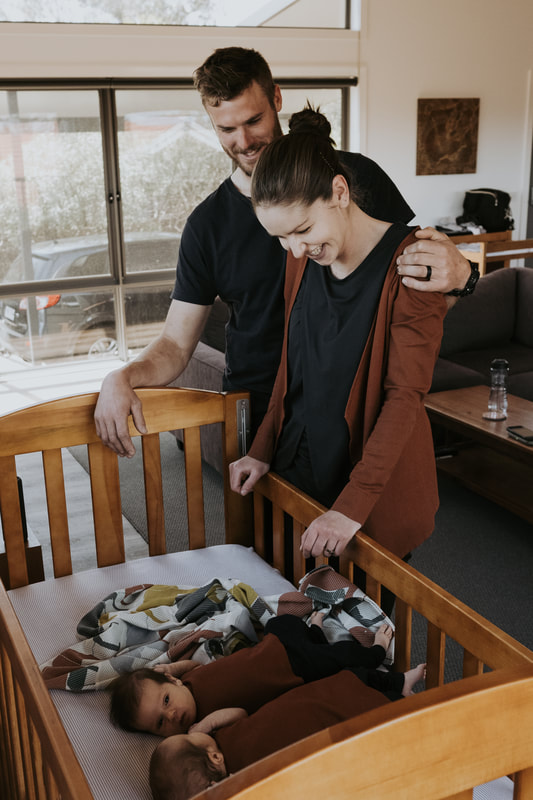 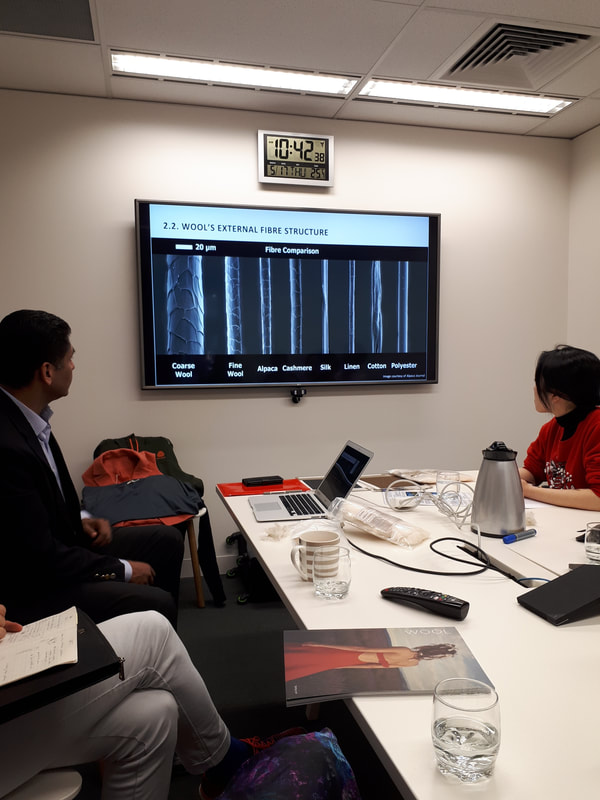 I had a great few days in Sydney meeting the 2018 winners of the AKF Emerging Designer Exchange Program. It was wonderful to hear about their brands and see their work. We also got to sit down at The Woolmark Company and hear all about wool (one of my favourite fibres!) We had such an insightful talk and discussion about all the fantastic wool innovations.   Later in the week we went along to MBFWA to see the 'Best of Style' which was a great taste of the coming season. I love seeing what people wear to the show and soak up the whole atmosphere.  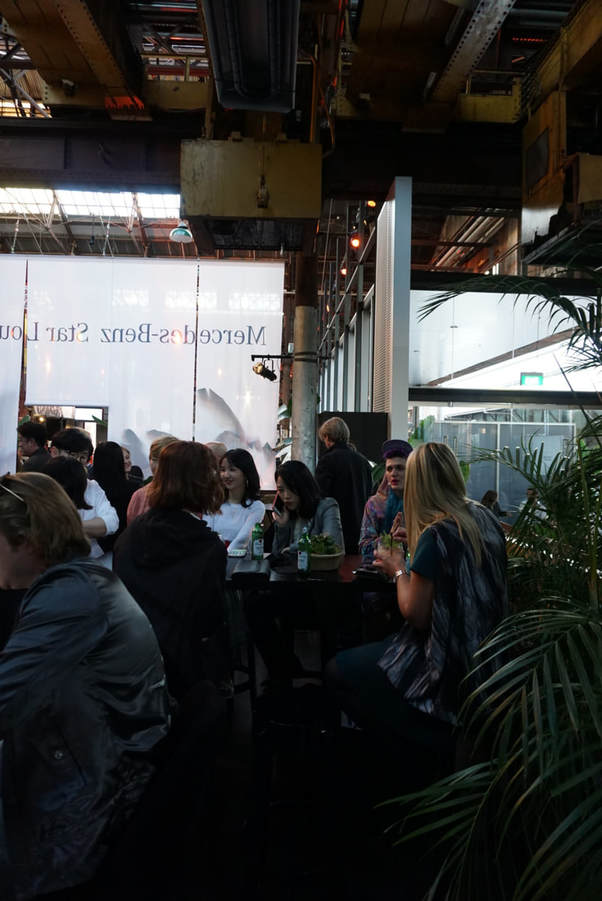 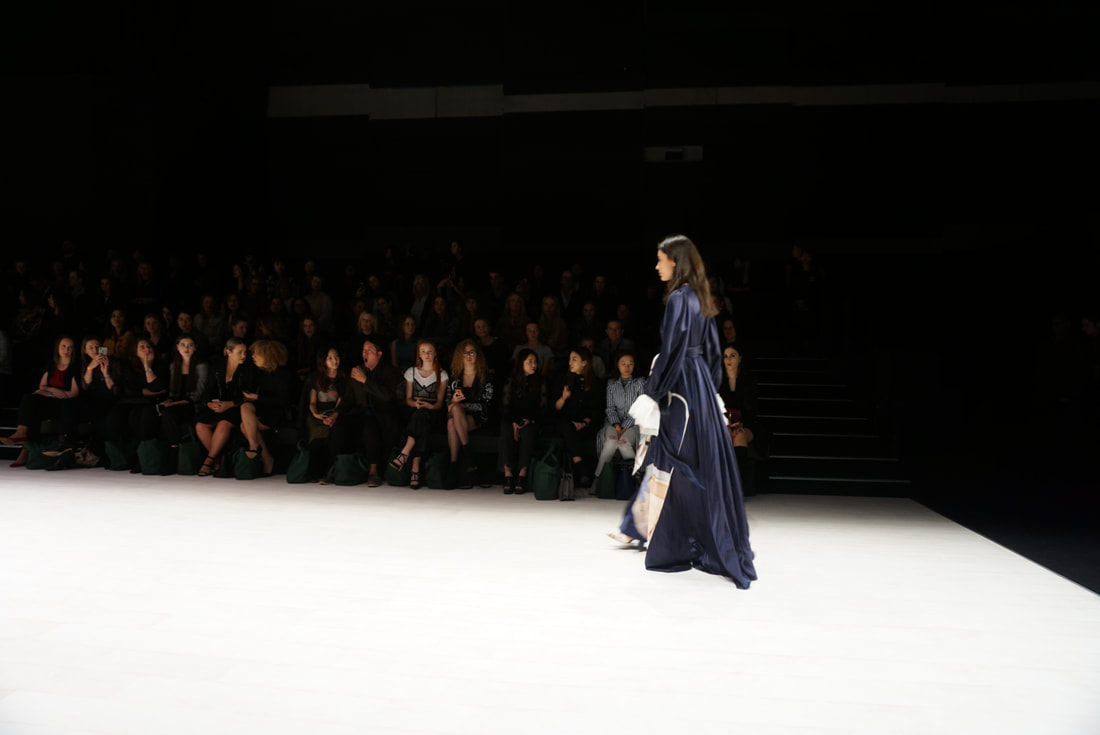 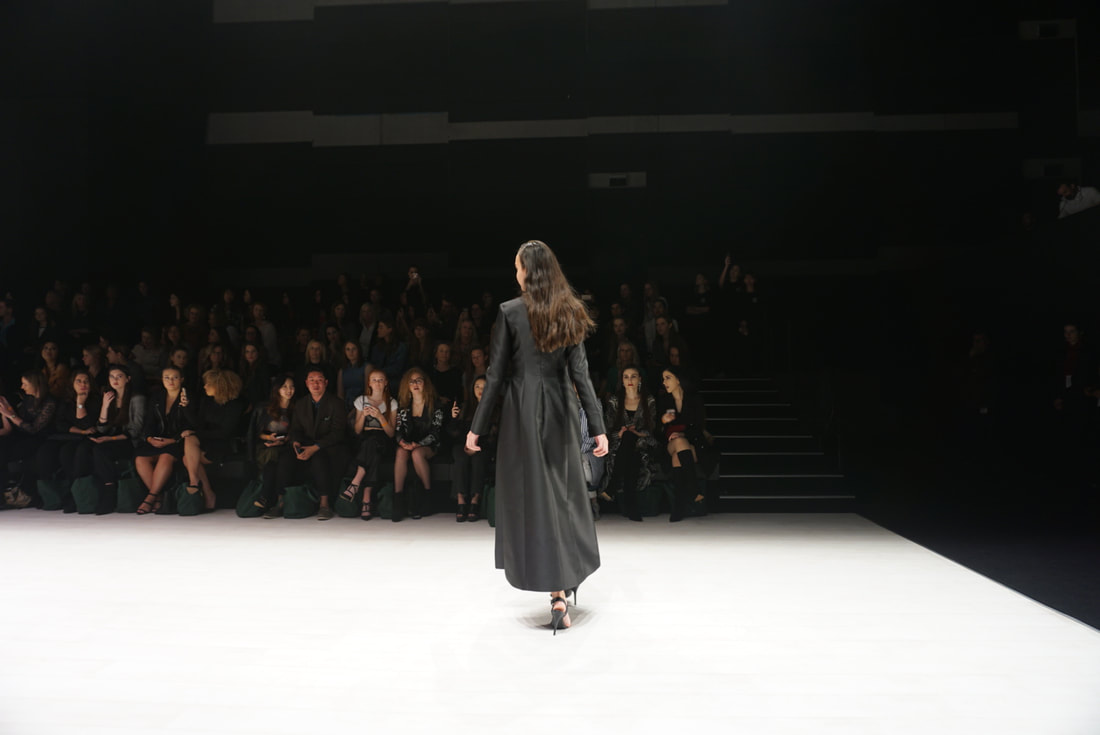 It was great to bring my sister along, we had such a fun night. Of course both of us dressed in EDITION. I made a new dress which is a combination of the Strip dress (which usually ties at the waist) and the Cape dress. This dress worked so well with the bump, I felt comfortable and think I still looked the part for fashion week. I wore the Raw jacket over the top to give the whole look a Japanese feel. 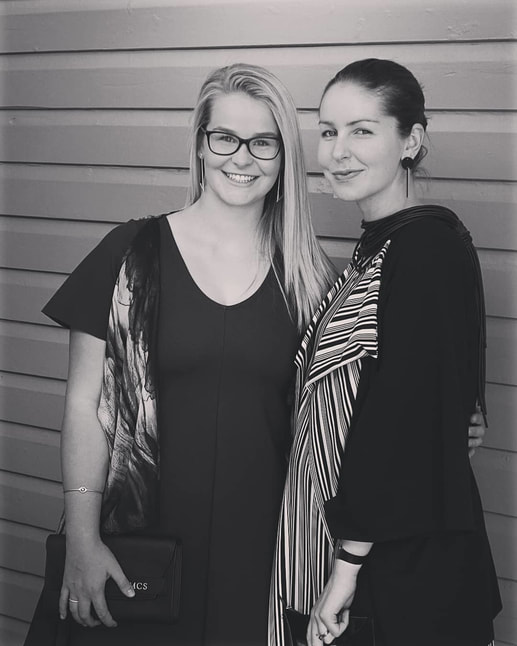 What a fantastic team for my last shoot! I feel so lucky to have passionate, dedicated and creative women around me in Canberra, especially these ladies that helped make this shoot my favourite yet. Thank you Lauren Campbell (photographer) , Hayley Boyle (hair and makeup), Kirrily Noble (model) and Phoebe Porter (earrings) Professional photos by Lauren Campbell, non professional by me! 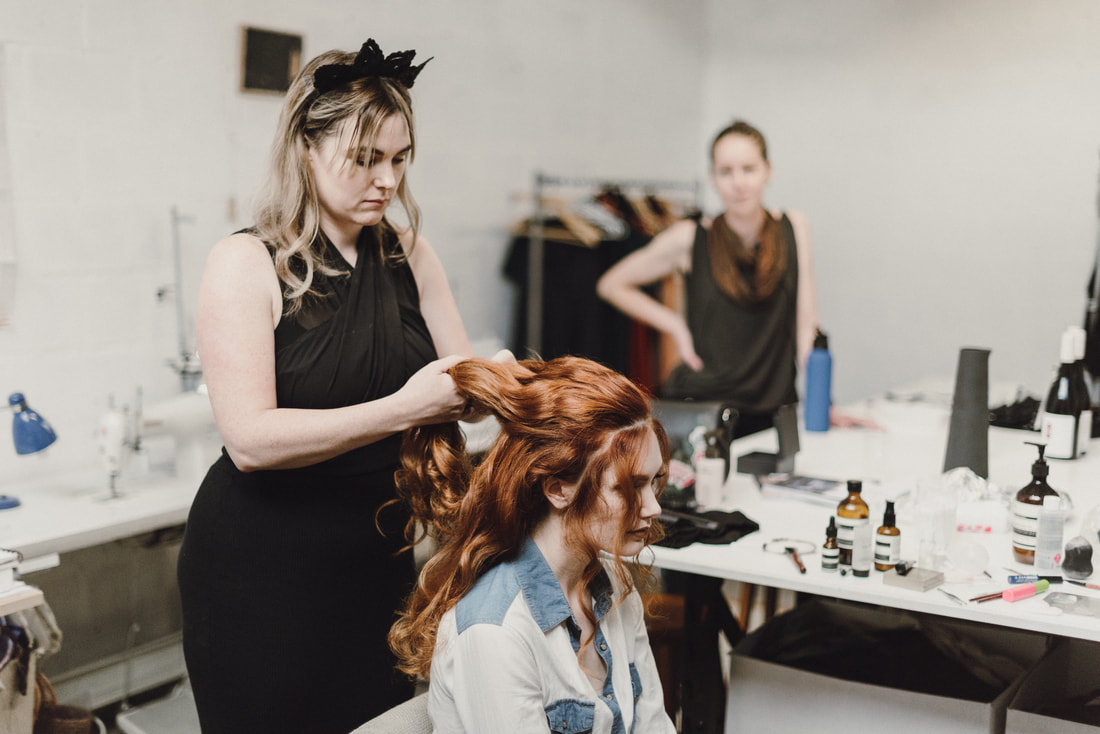 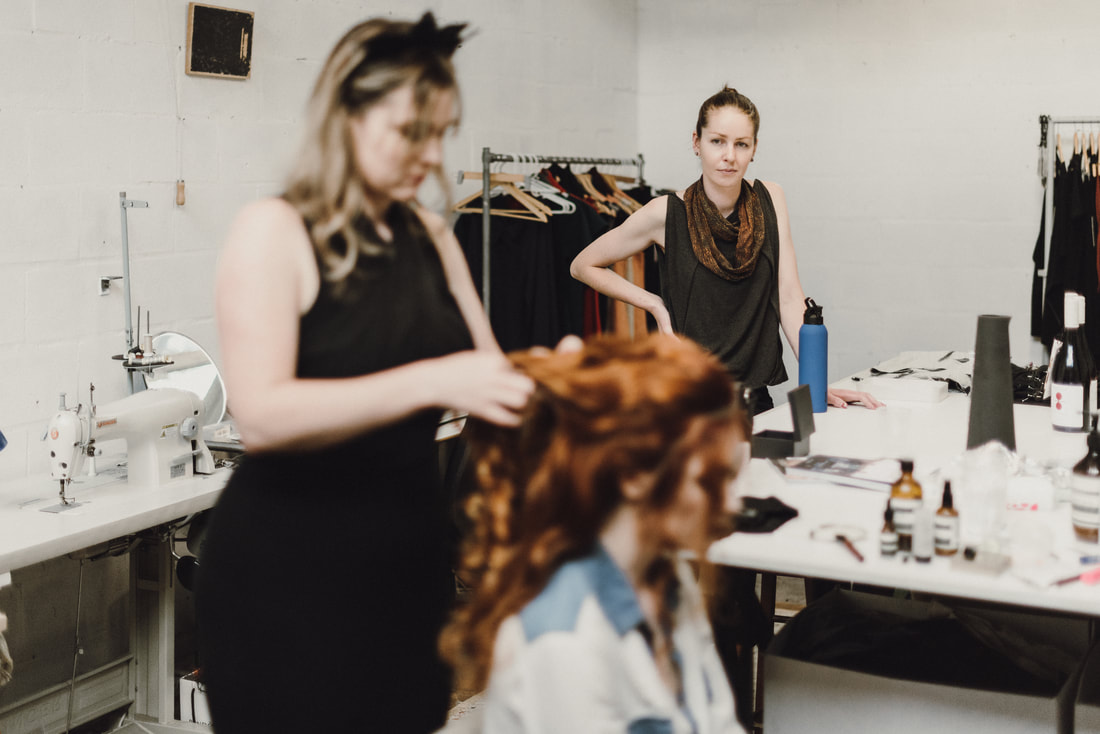 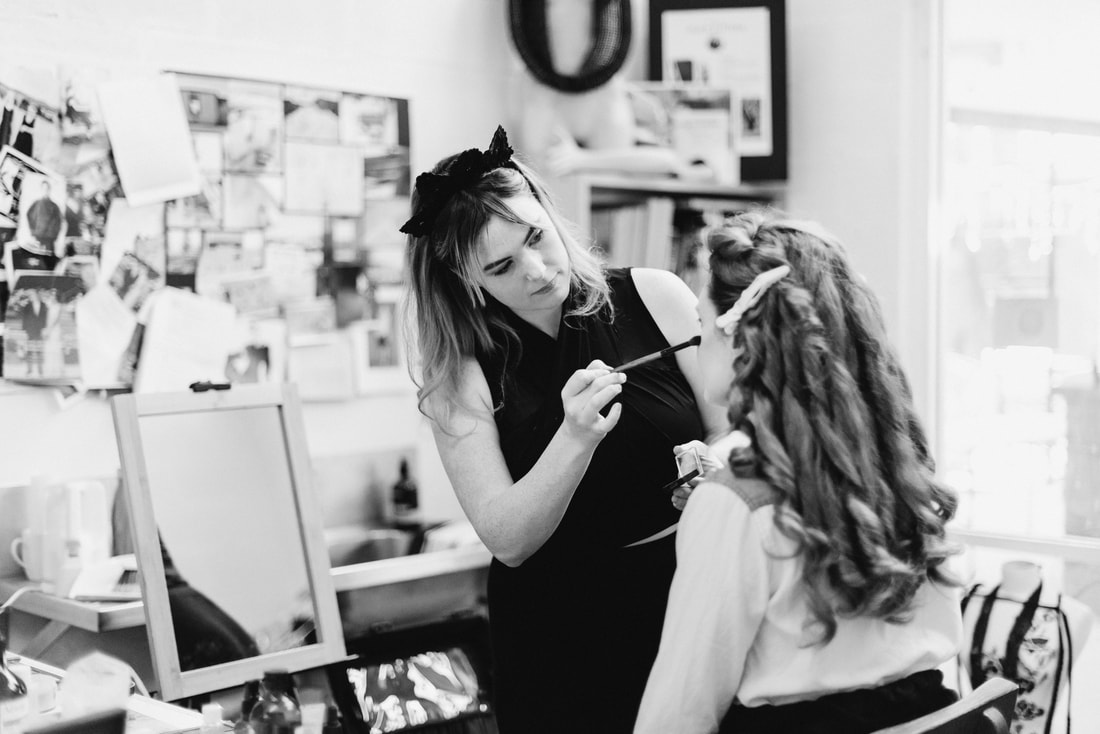 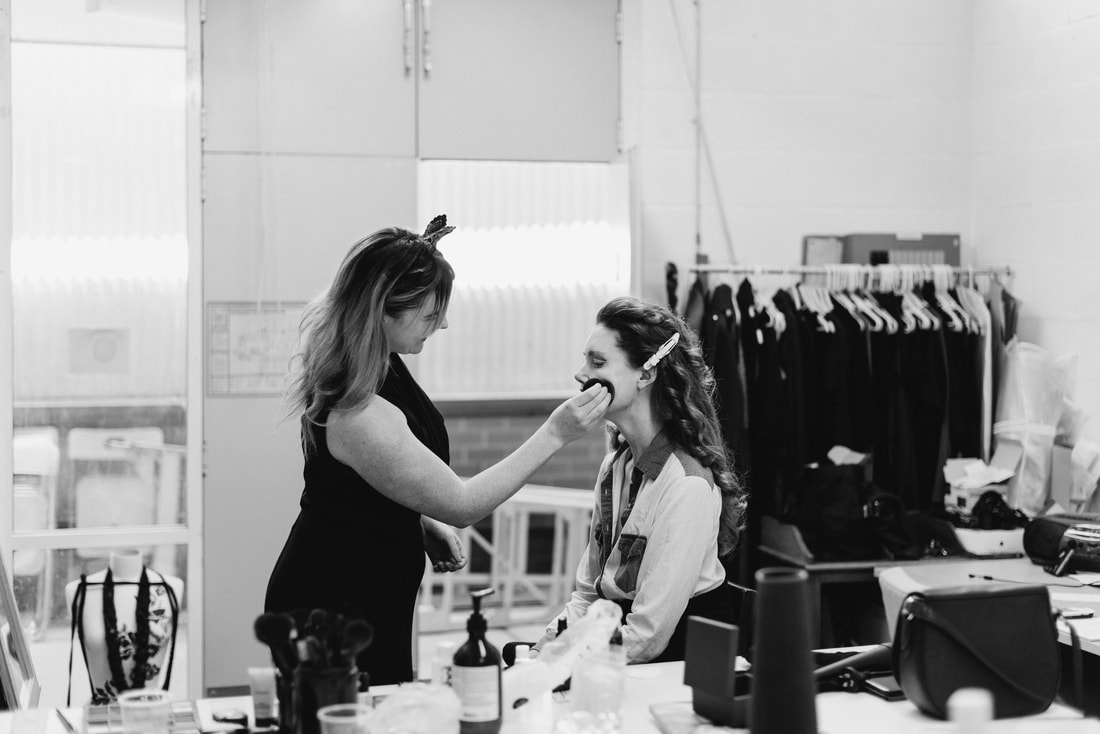 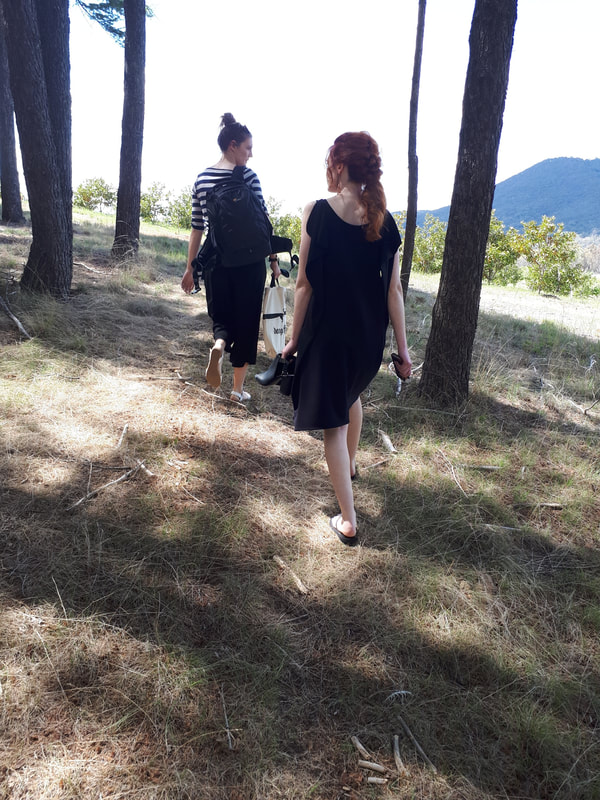 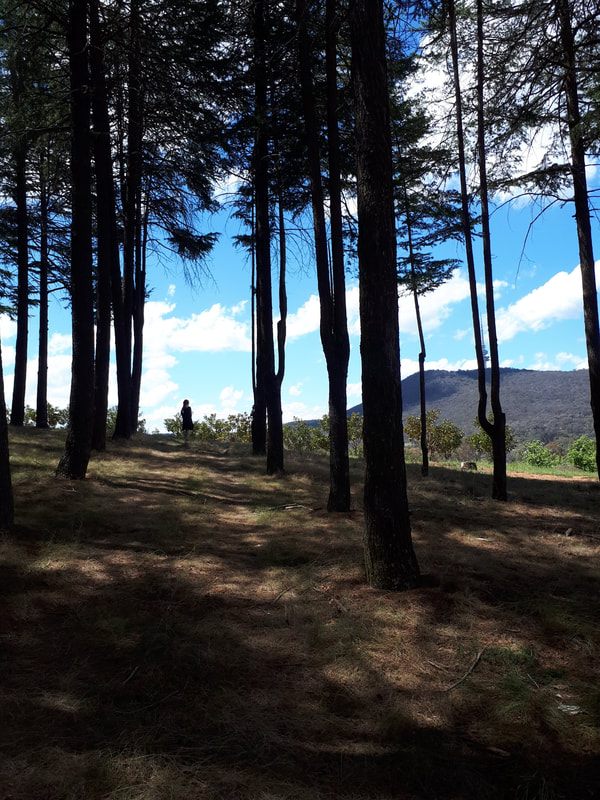 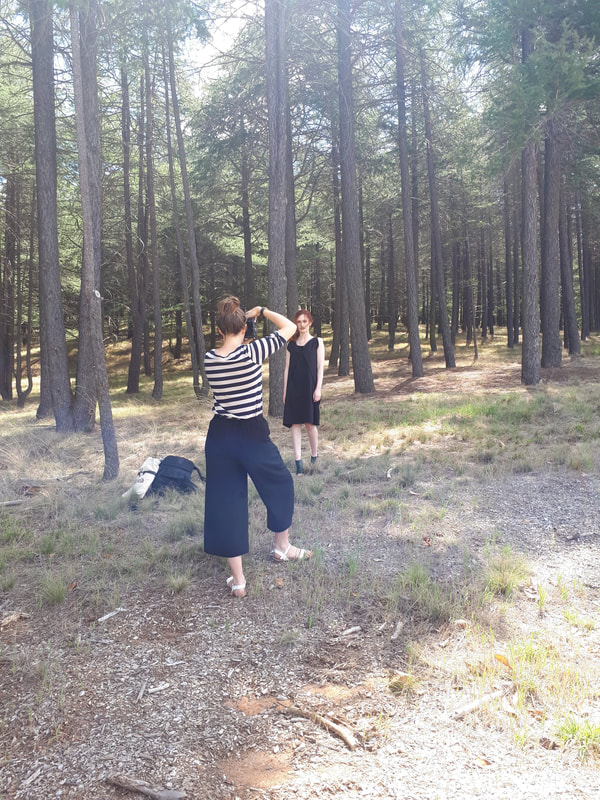 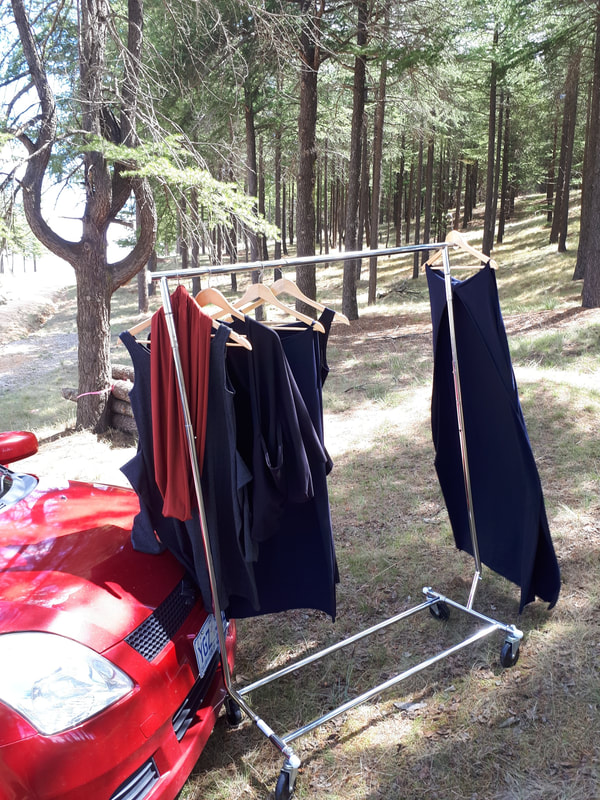  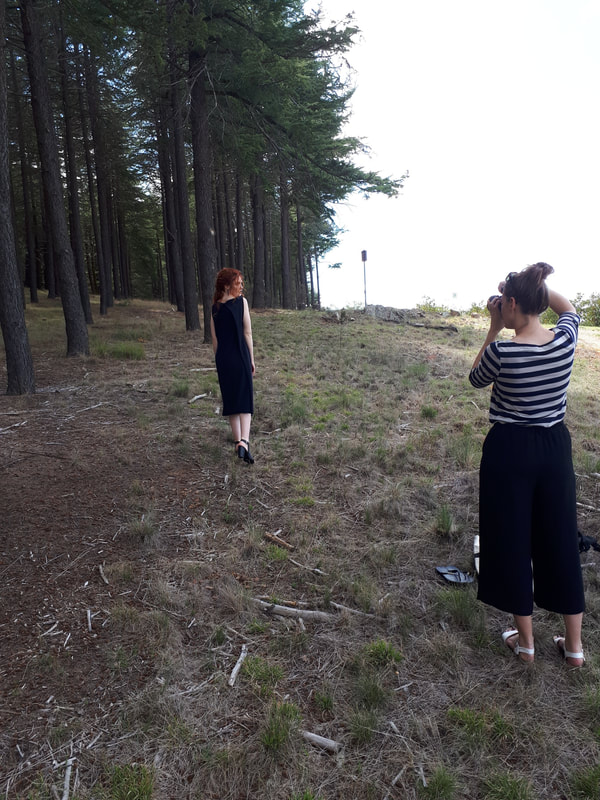 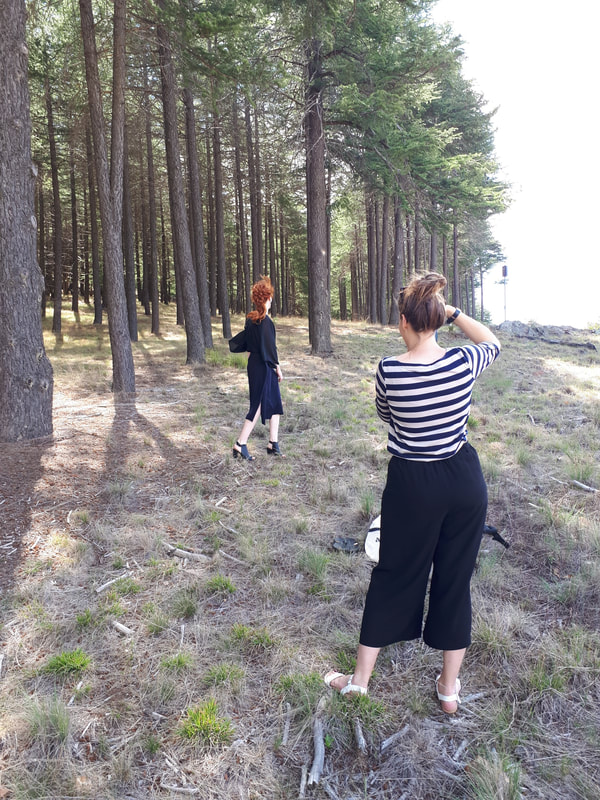 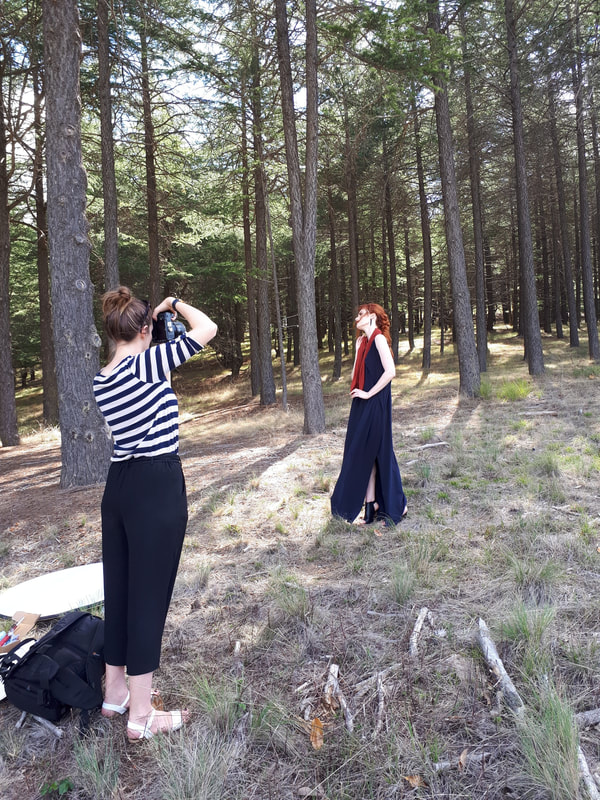 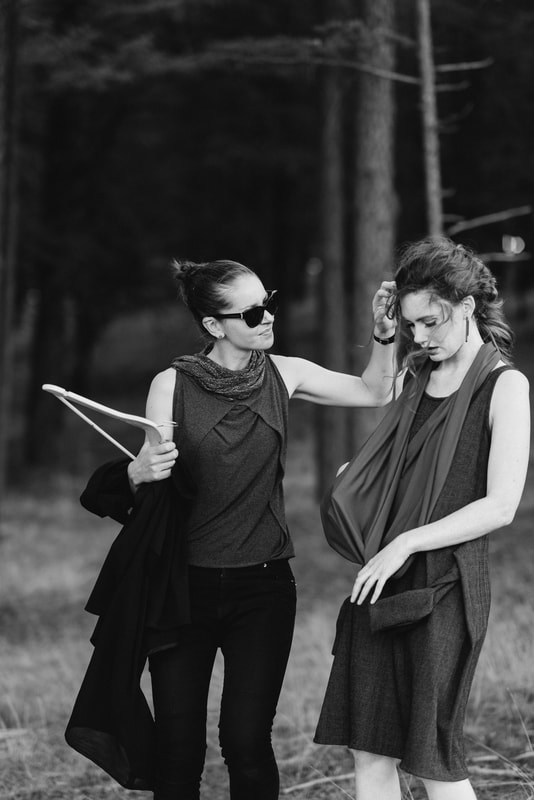 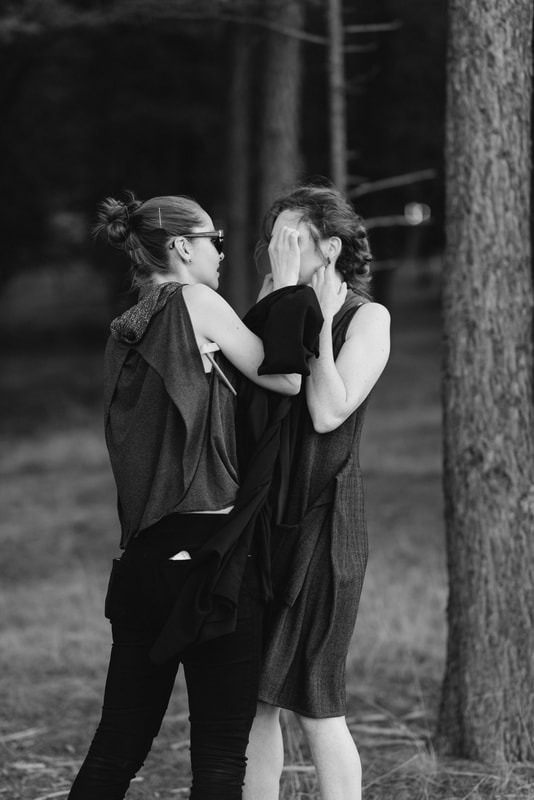 Two of my favourite things are weddings and dresses... so when my best mate asked if I would make her wedding dress I was so excited! Dee and I have been mates since year 7, and collaborating with her to make her dress was a fantastic process. Dee is an artist and art teacher, follow the link here for dianalawrenceart on Facebook. As you can see from her illustrations and beautiful wedding invites below she has a very clear aesthetic and style, so I wanted that to come through in her dress. 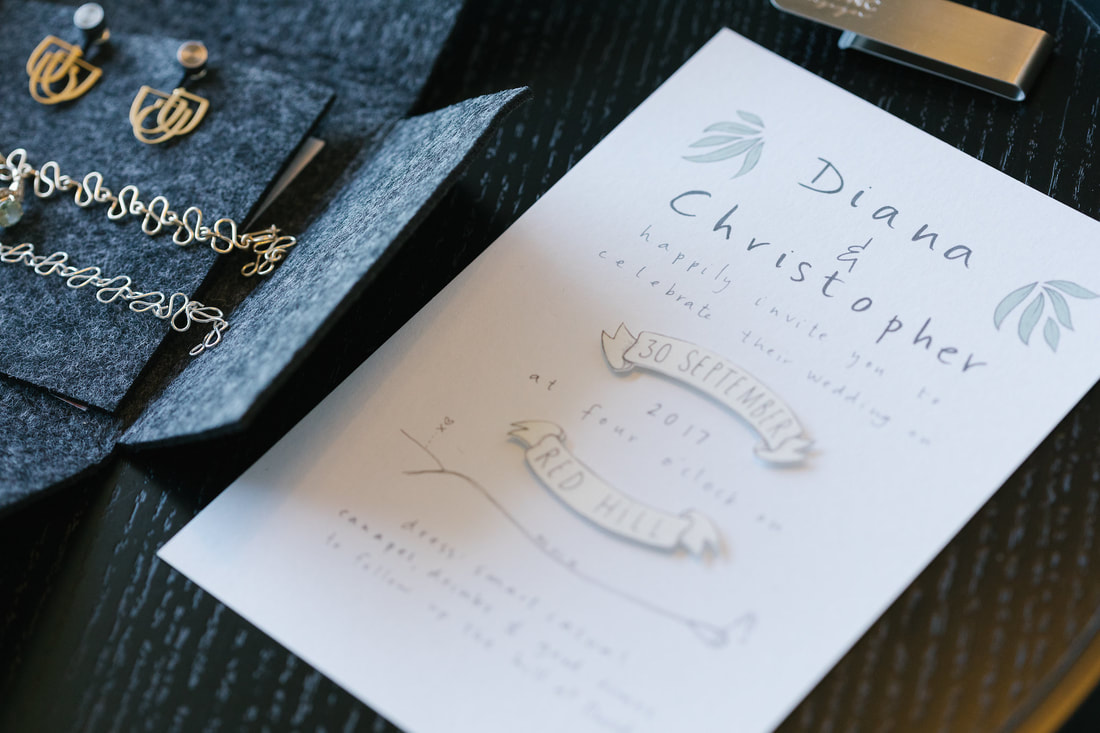 To start I decided to look at the photos of the fittings I did with Dee when she was bridesmaid at my wedding. To see what shapes worked best on her body and what she felt most comfortable wearing. 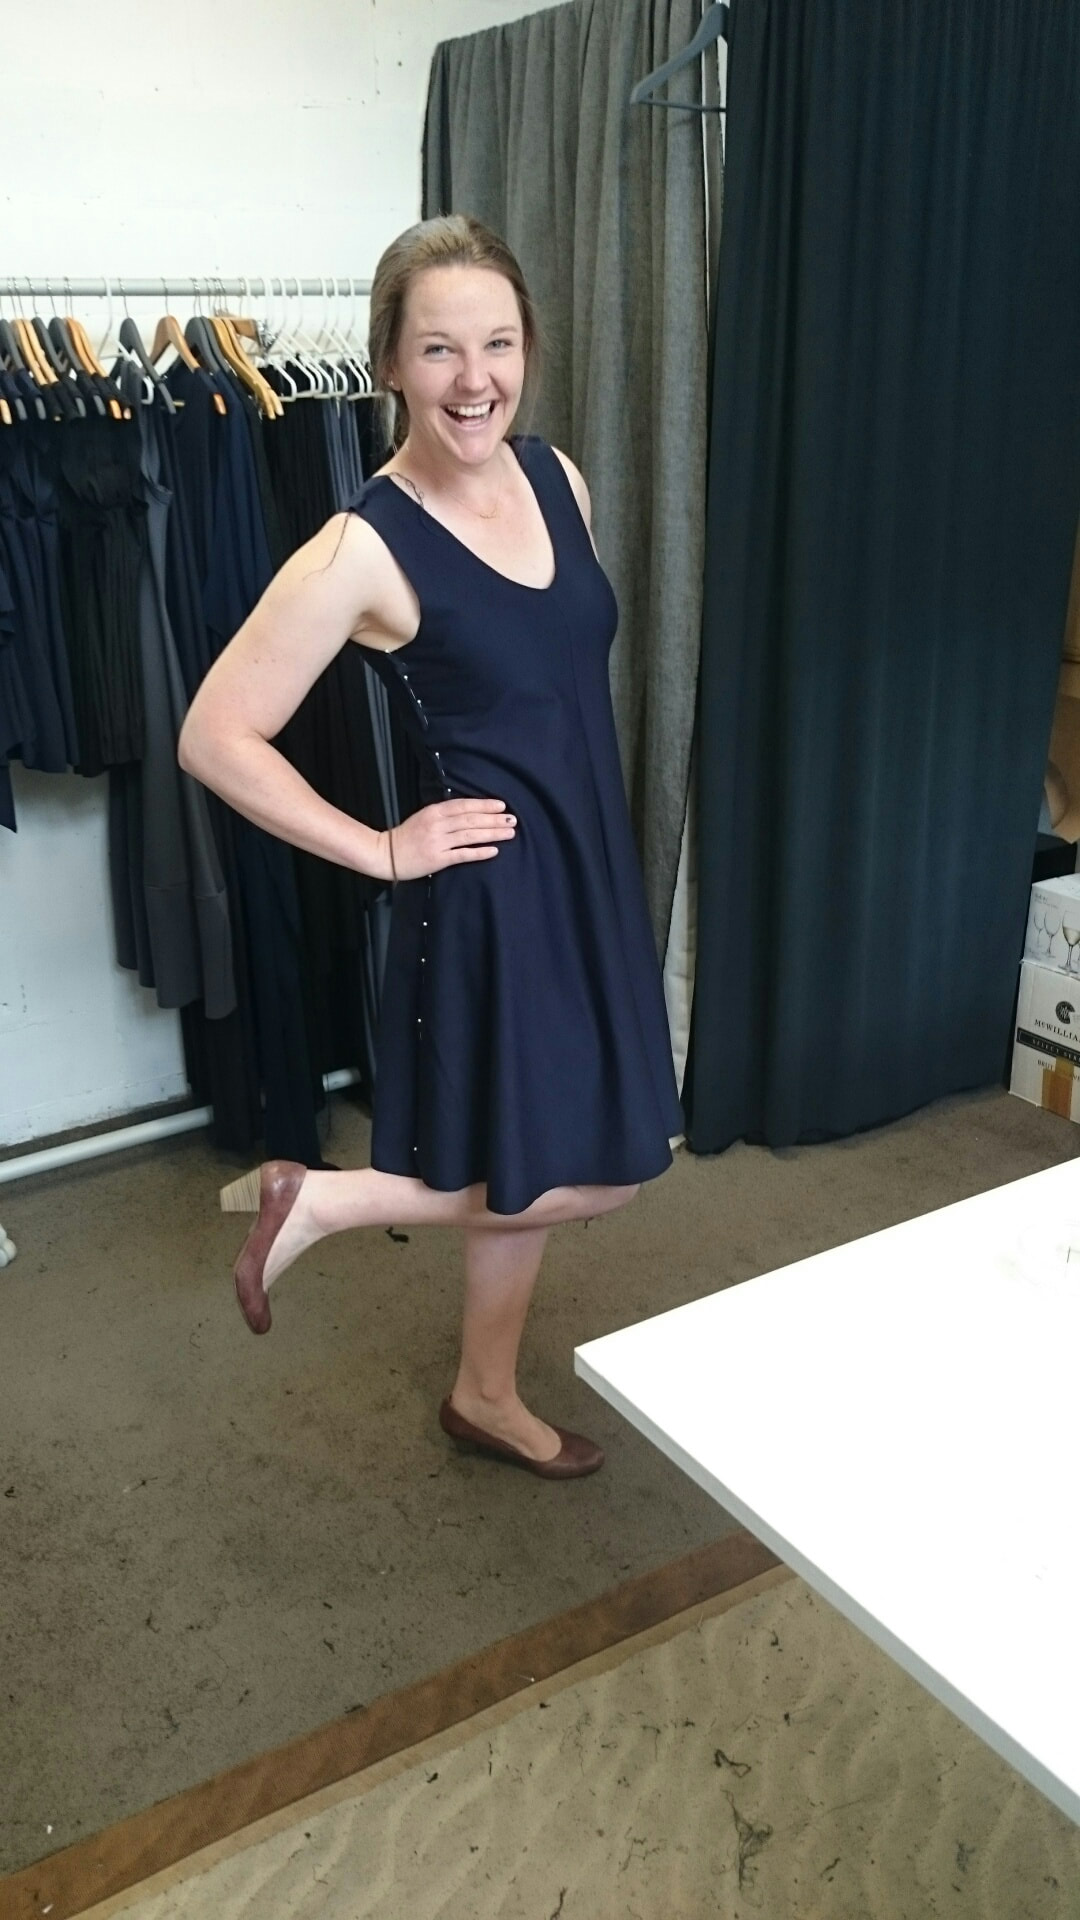 It was hard to know where to start as Dee had never tried on wedding dresses before. Dee booked us in for a session at a boutique in Sydney. It was a nice starting point for Dee to think about what she wanted out of her wedding dress. It made her realise she didn't want a white dress and lots of lace. While in Sydney for the try on session we went into the Fabric store and Dee was drawn to a beautiful yellow, honeycomb pattern silk. She decided it was a great starting point for the dress and tied perfectly into her yellow, grey and green colour palette. Perfect for her Love of gumtrees and would fit with all the wattle around Canberra for her Spring wedding. 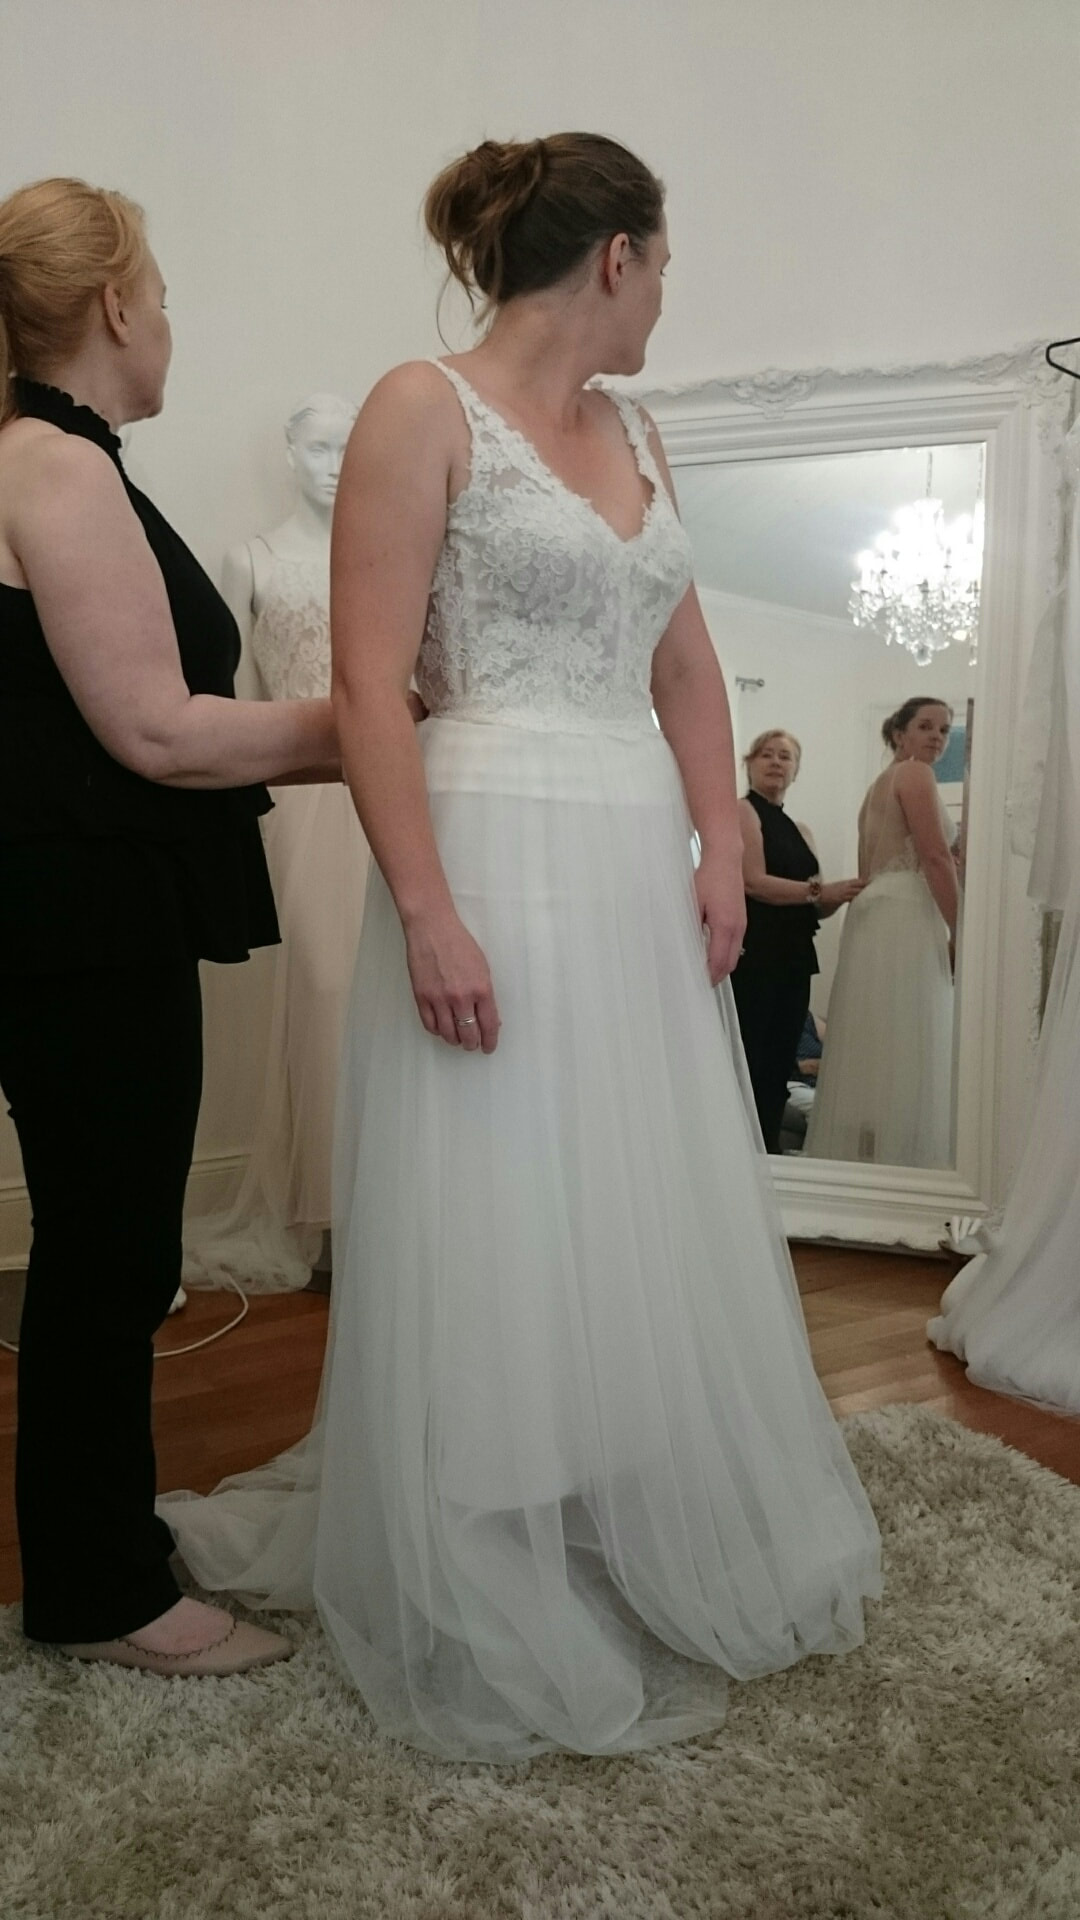 The dress above was the best shape for Dee's body so I started looking at the bodice and what panelling would work. 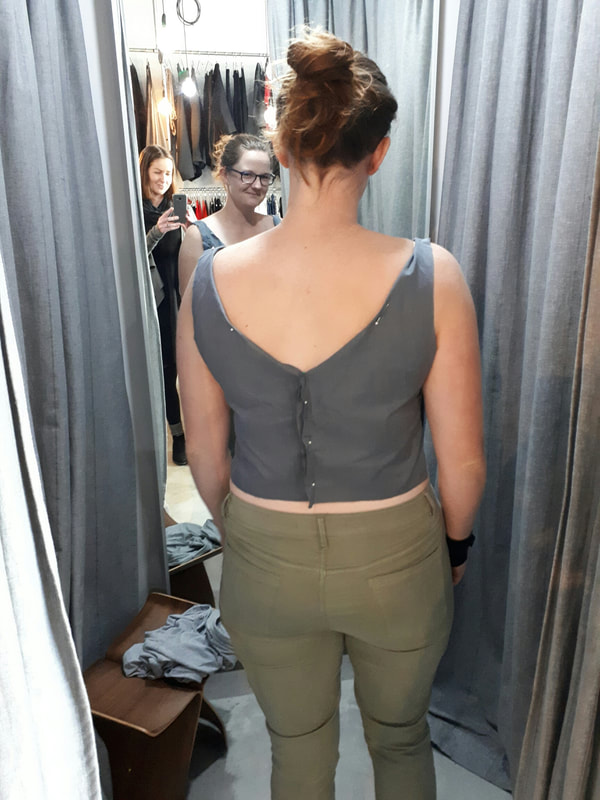  We decided to go with thinner straps to make the dress look more elegant. 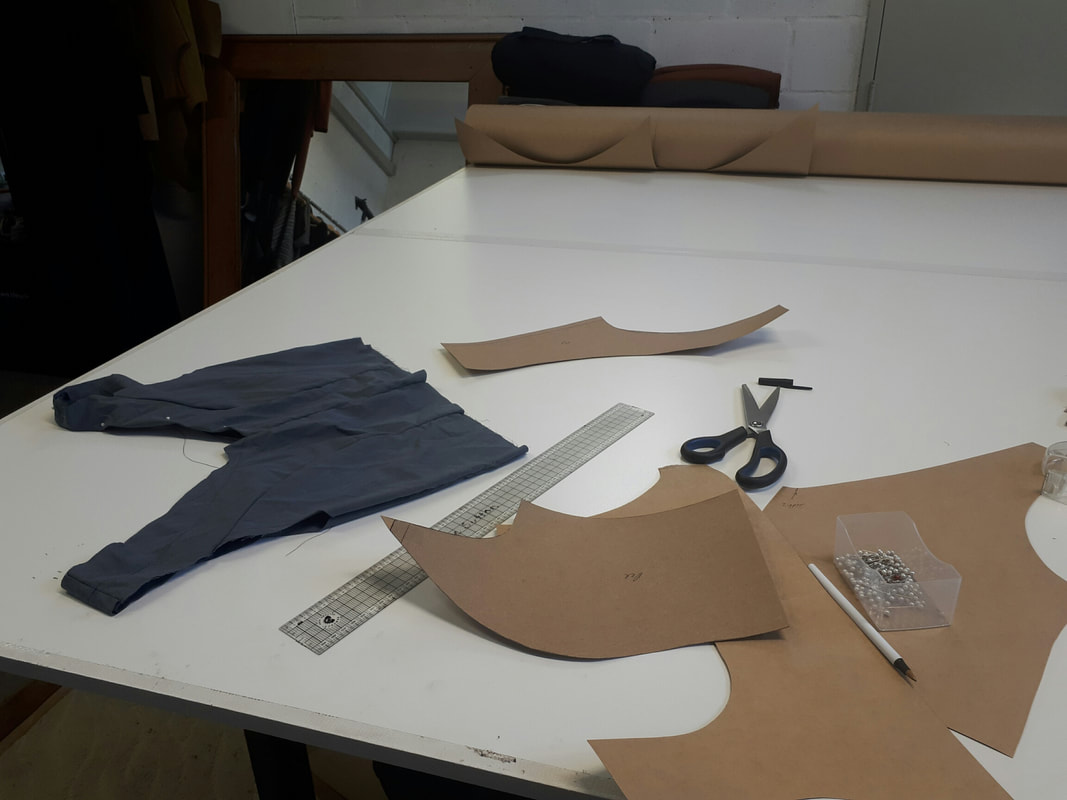 Once Dee was happy with the shape of the bodice I wanted to test out how I would cut the honeycomb lace and have the panelling fit beautifully together. 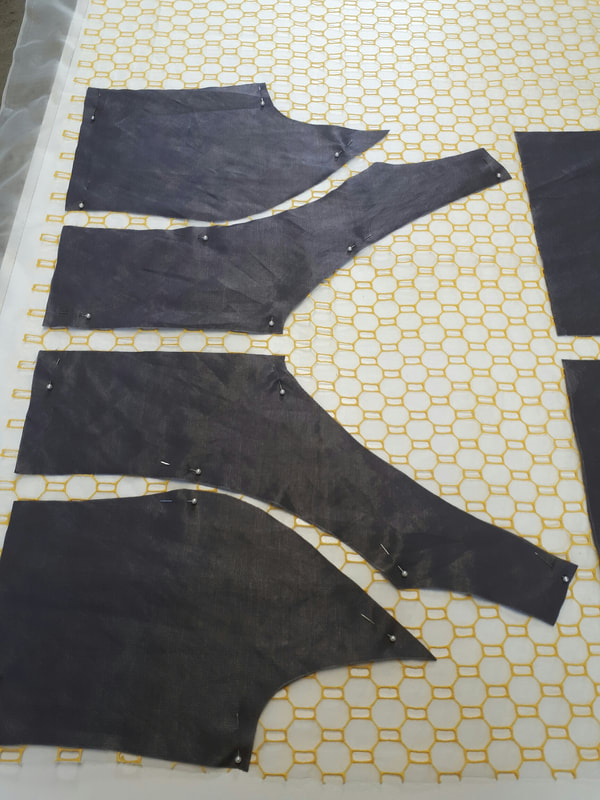 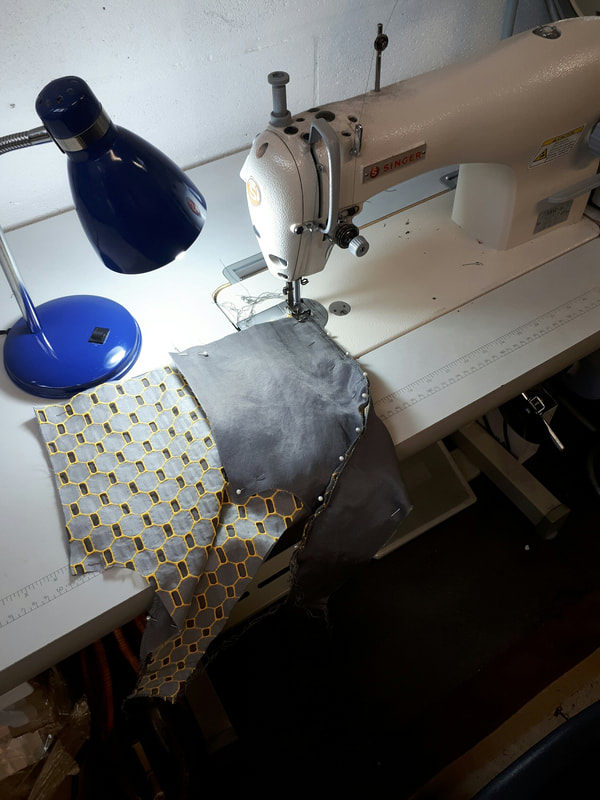 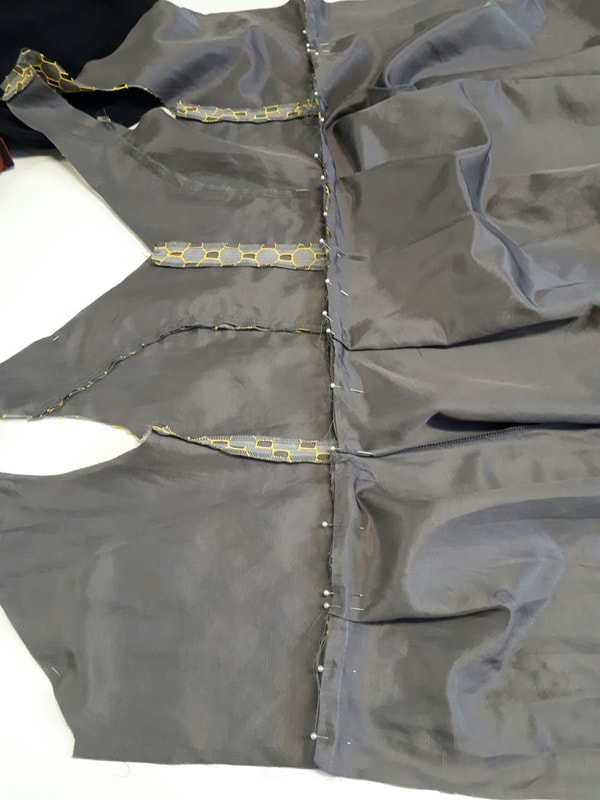 I also wanted to test the skirt out. We decided a stiffer fabric would work best so I could put some pleats into the dress. The pleats would help to create the right amount of volume in the skirt to flatter the hips and bum. 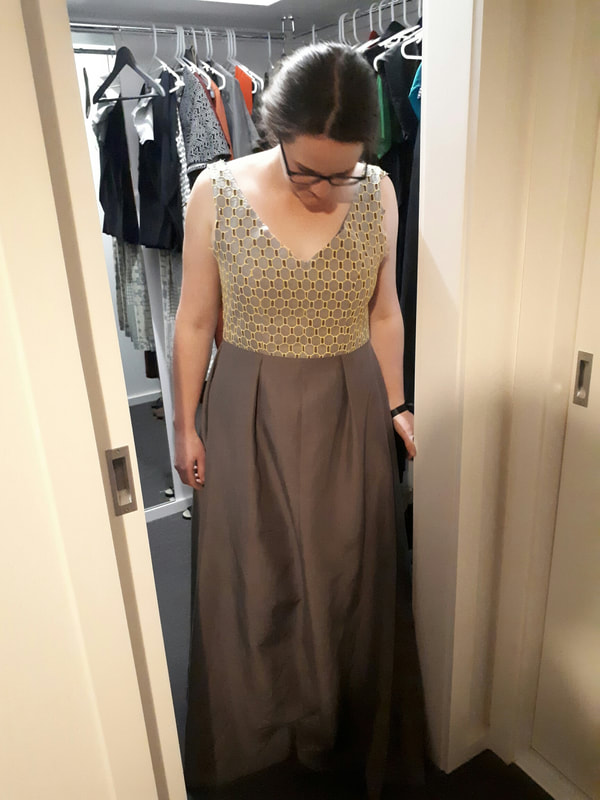 Testing the toile on Dee to see how the shape worked. I needed to alter the bodice shape as it wasn't quite right and we decided to take out the pleats in the back as the dresses didn't need them. I decided to keep the centre seam in the skirt as I often do that in my garments as it draws the eye in and also makes it easier to fit large panel pieces together when cutting out. 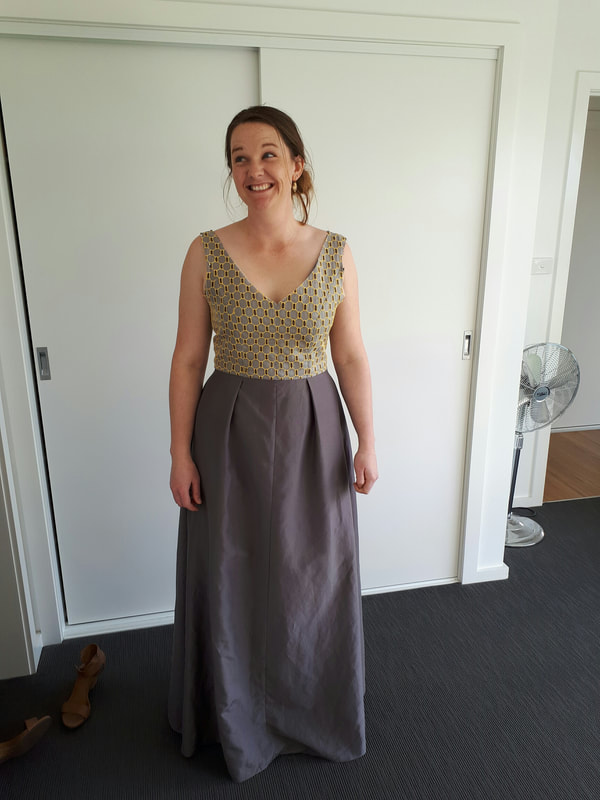 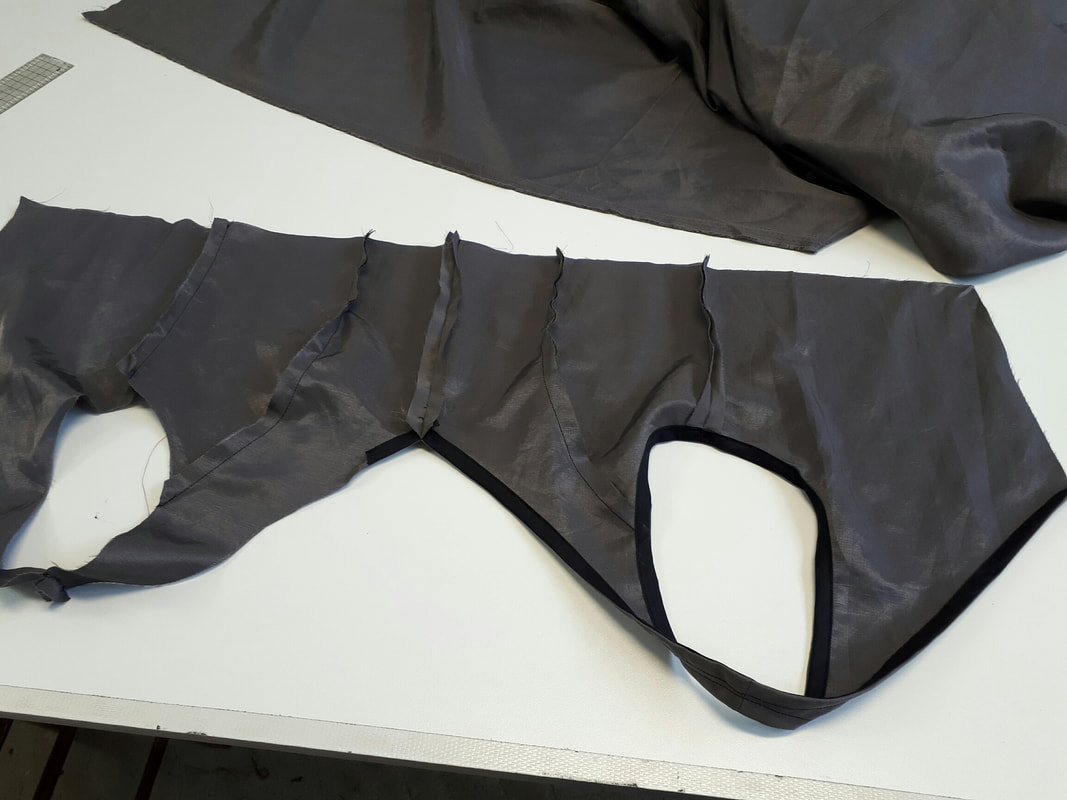 I decided to do another test of the bodice to make sure that it was perfect before I cut out the final garment. I also wanted to test using binding and making sure it would look great in the final garment. 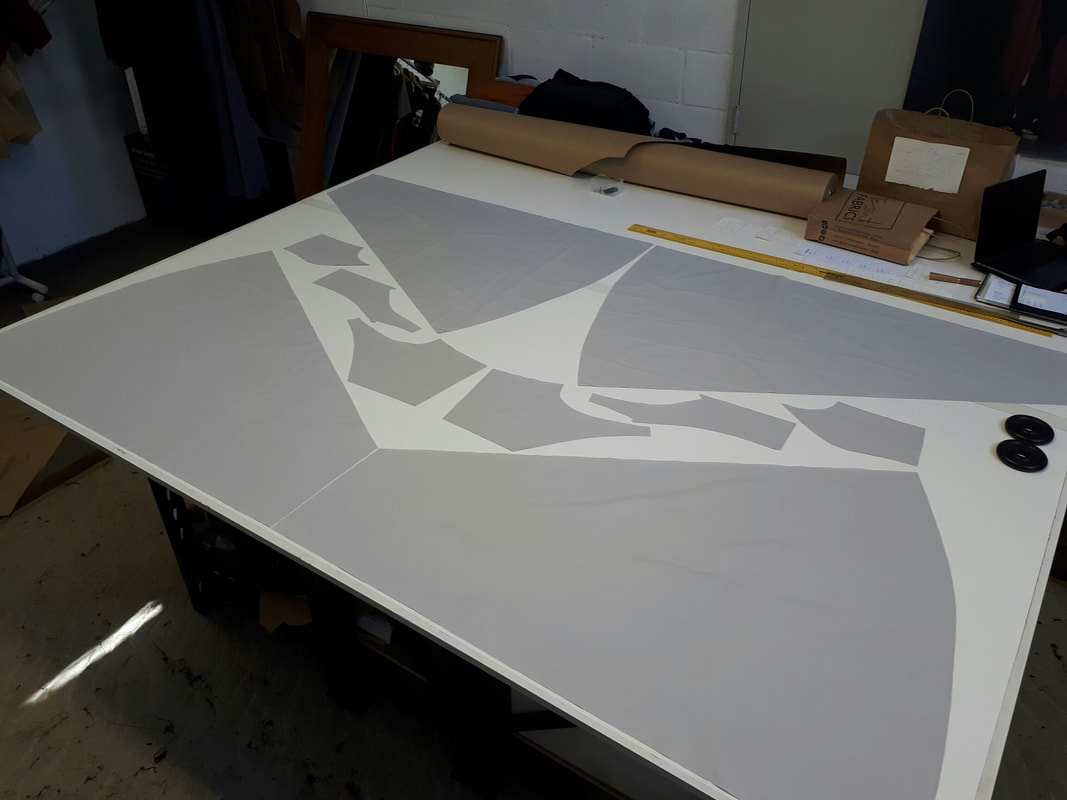 Dee and I took another trip to Sydney and decided to go with a light grey Cotton shirting fabric for the base of the dress. The fabric was a little lighter than we had hoped so I decided I would do a double layer of the fabric for the skirt. 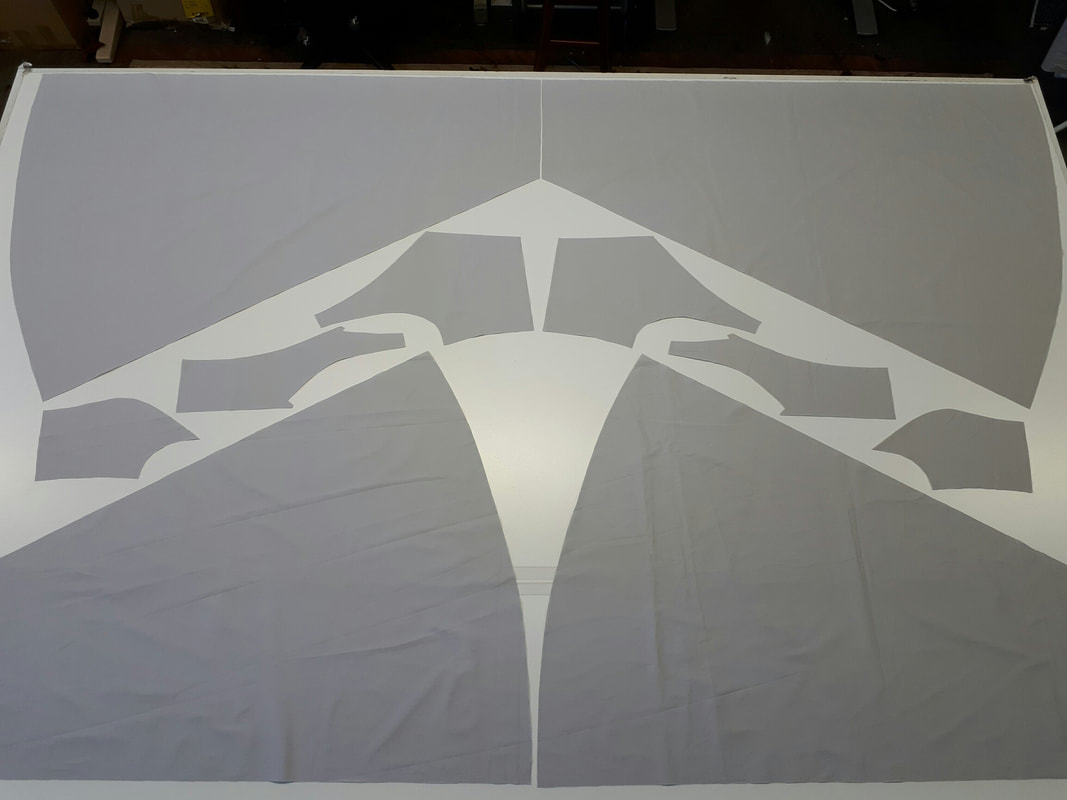  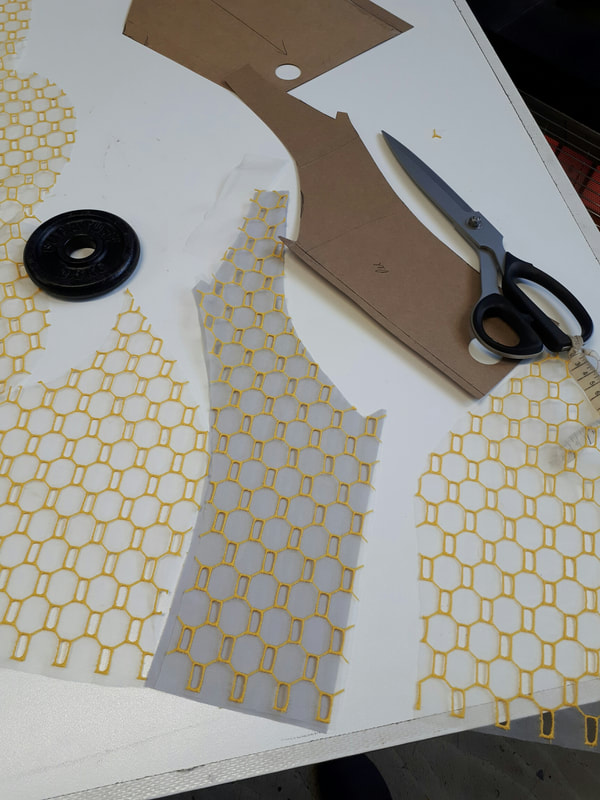 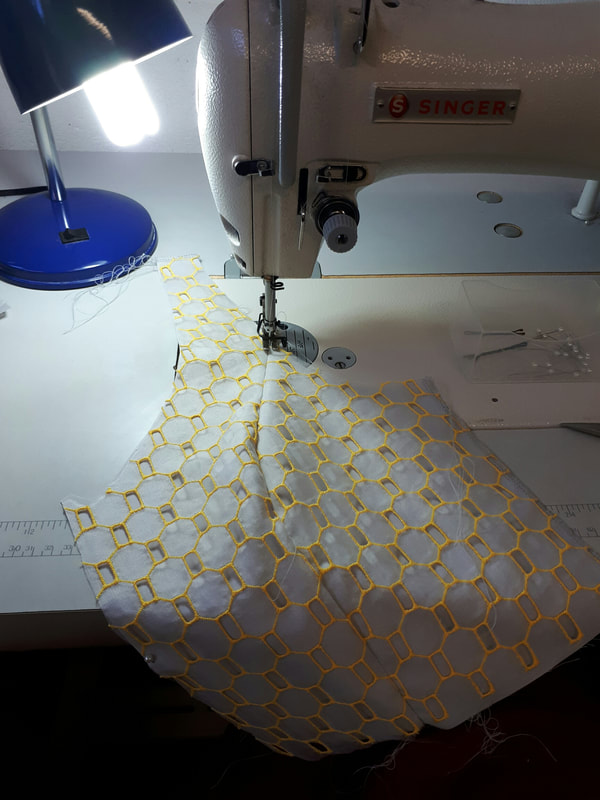 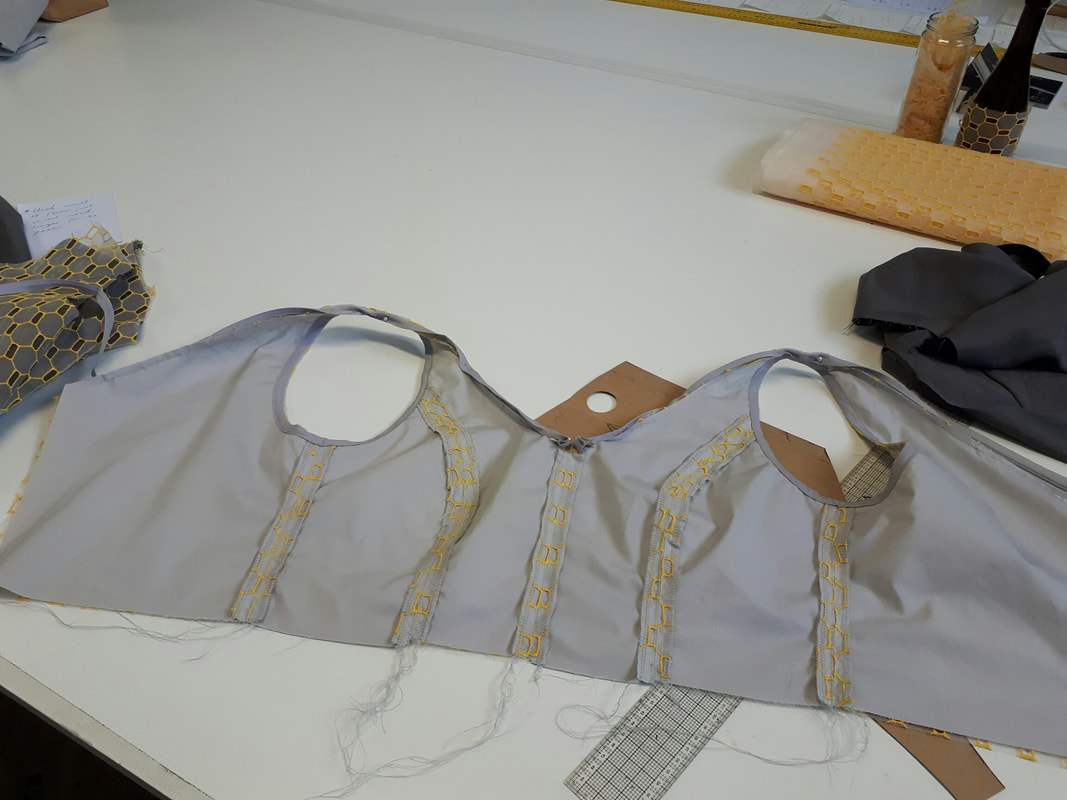 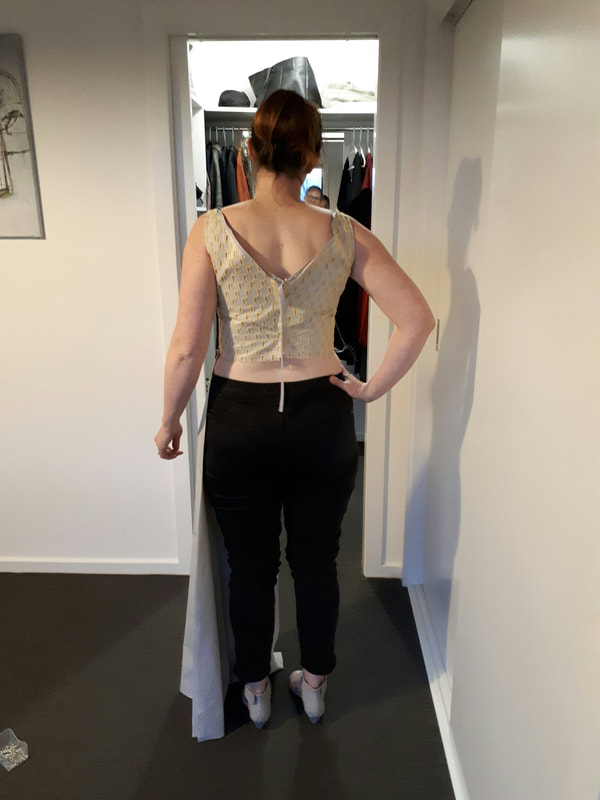 Once Dee had decided on the shoes she was going to wear I tried the bodice and part of the skirt on her. I wanted to check the length and how much she wanted it hemmed. Dee and Chris had their ceremony at the Red Hill lookout and the terrain was quite rocky and uneven, so we decided to hem the dress just above the floor so it wouldn't be a trip hazard when walking down the aisle. 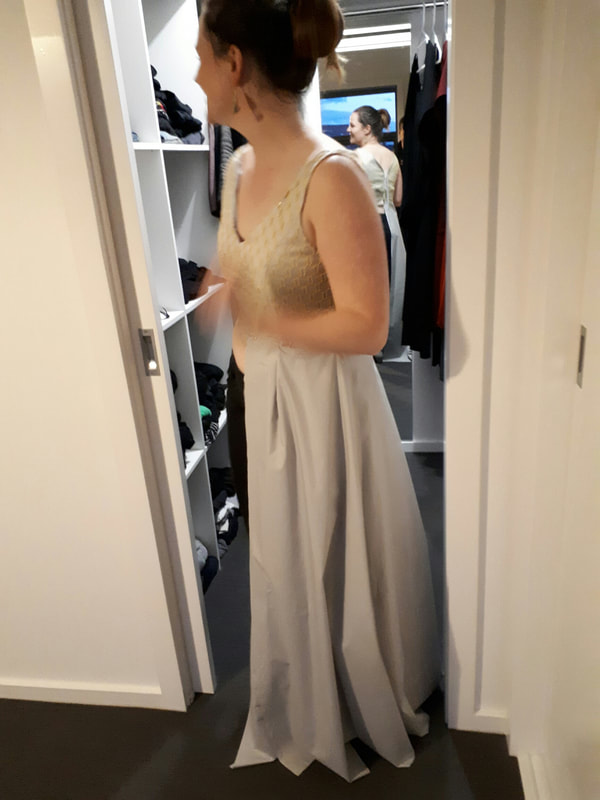 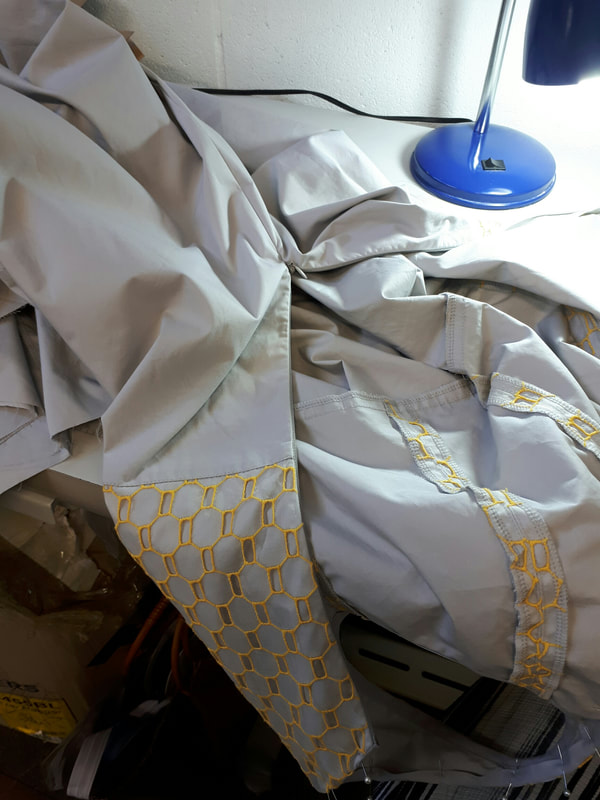 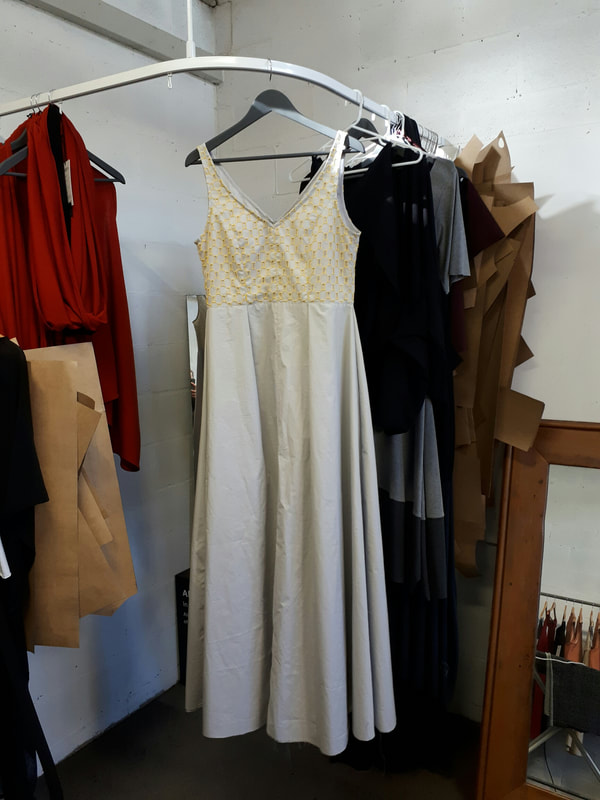 I was getting a little concerned about how easily the Cotton was crushing. I am so used to working in jerseys that hardly crush at all. But after a really good iron and steam the dress was perfect. I decided that I would bring my own iron and steamer on the day of the wedding just to make sure the dress was completely crease free. 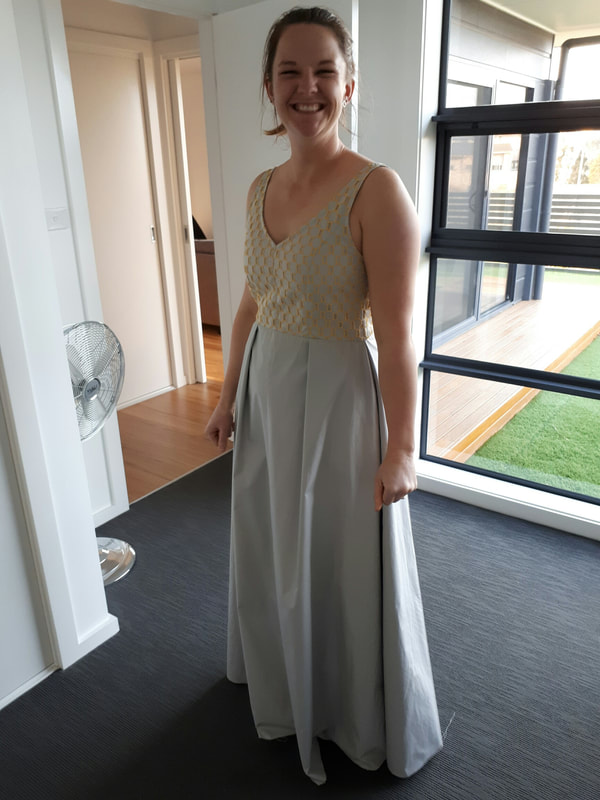 Dee was the coolest, most chilled out bride I have come in contact with. Loved working on this dress with her, I think you can agree she looked absolutely stunning! The Aussie setting on Red Hill and all the gums and wattle worked perfectly with her dress and the highlight of yellow in the lace. 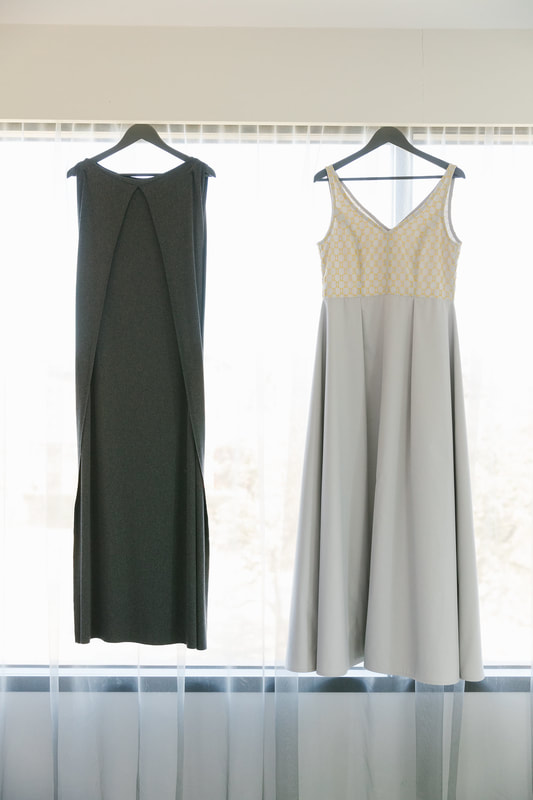 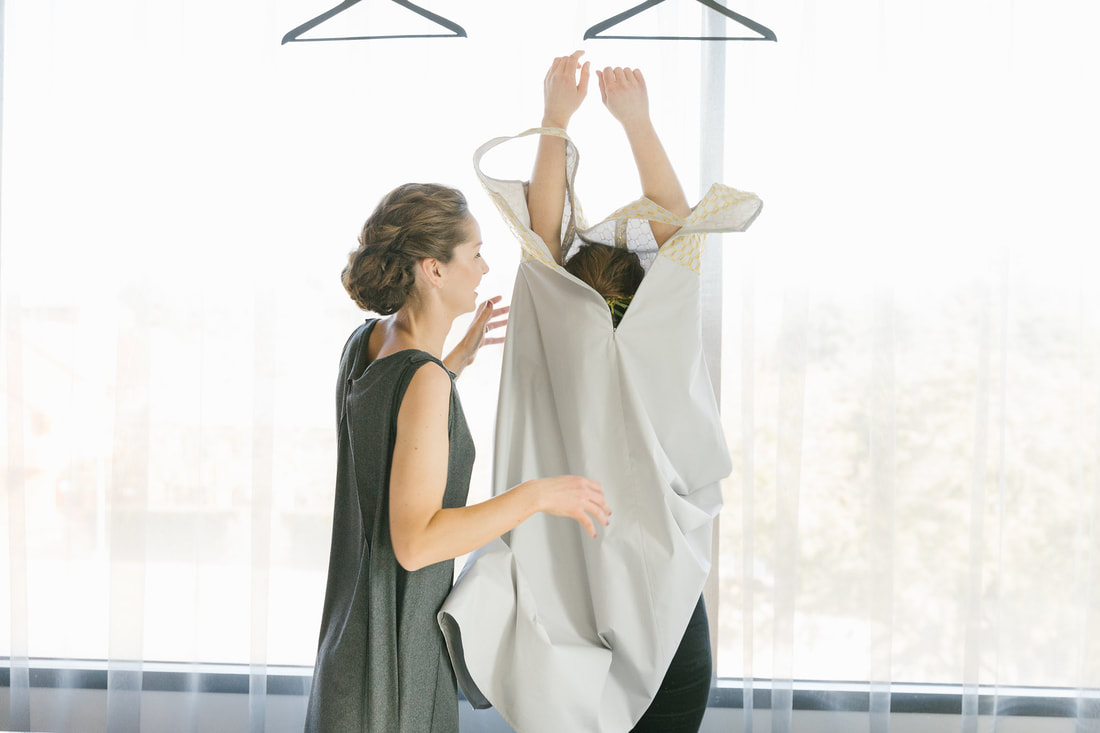 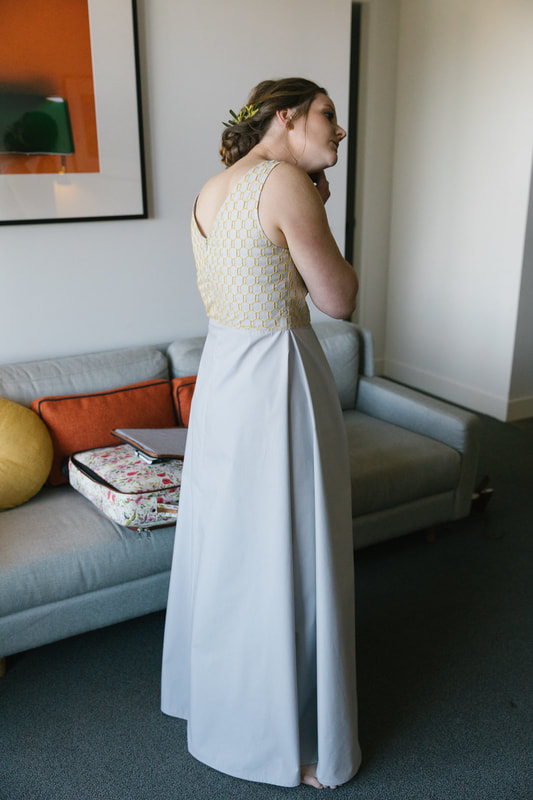 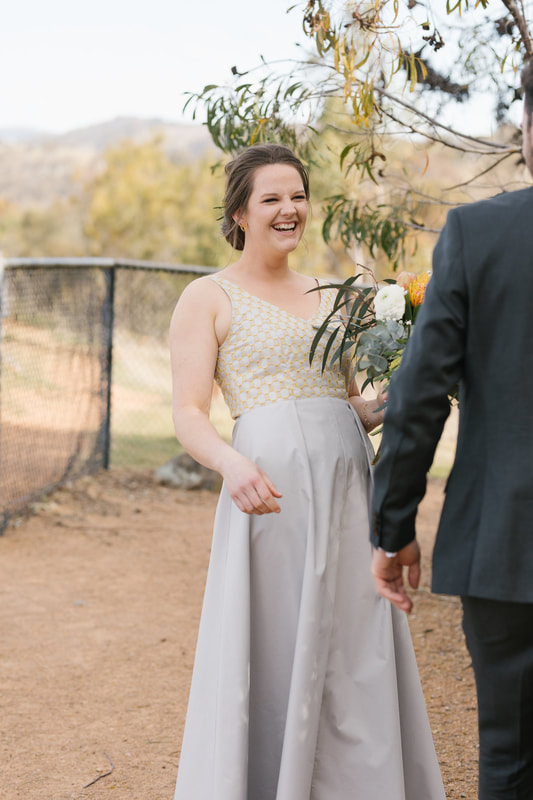 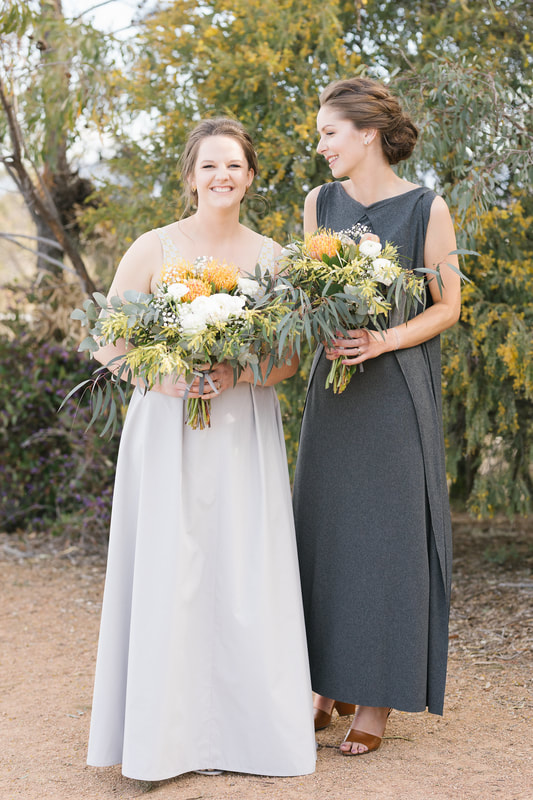 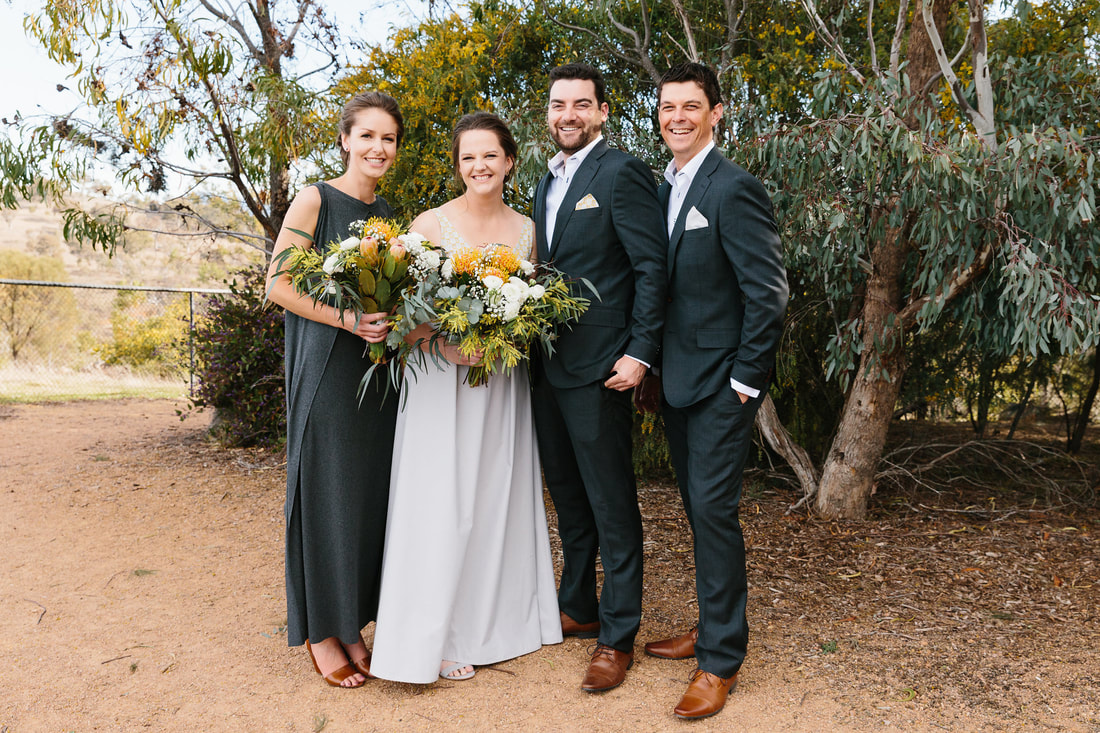 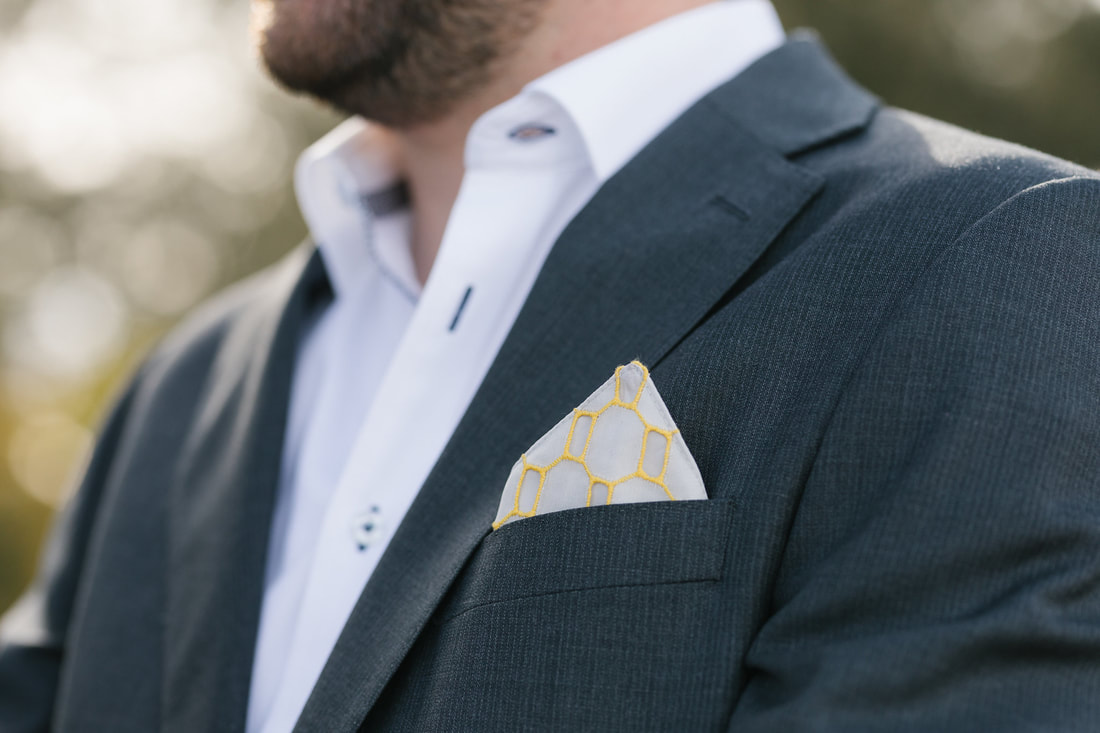 Dee had a really nice idea to create some pocket squares for the boys. It was a very little job for me to create the pocket squares but helped to make the boys feel connected to the whole process. I did one for the groom, best man, father of the bride and father of the groom. 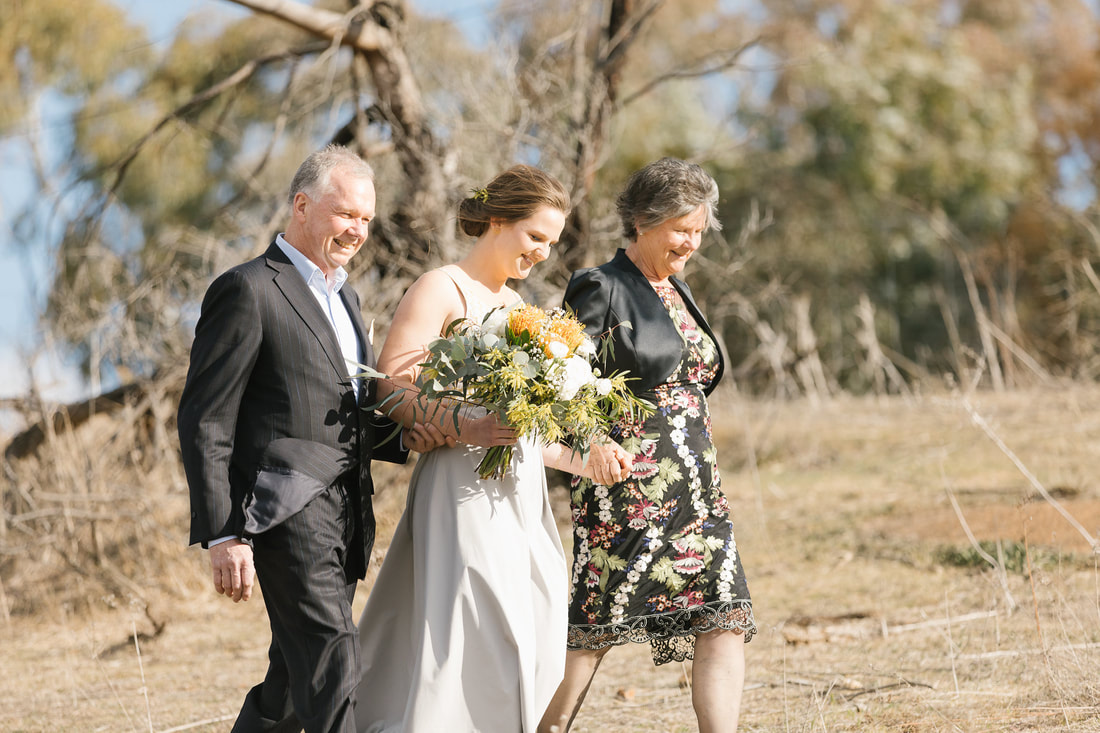 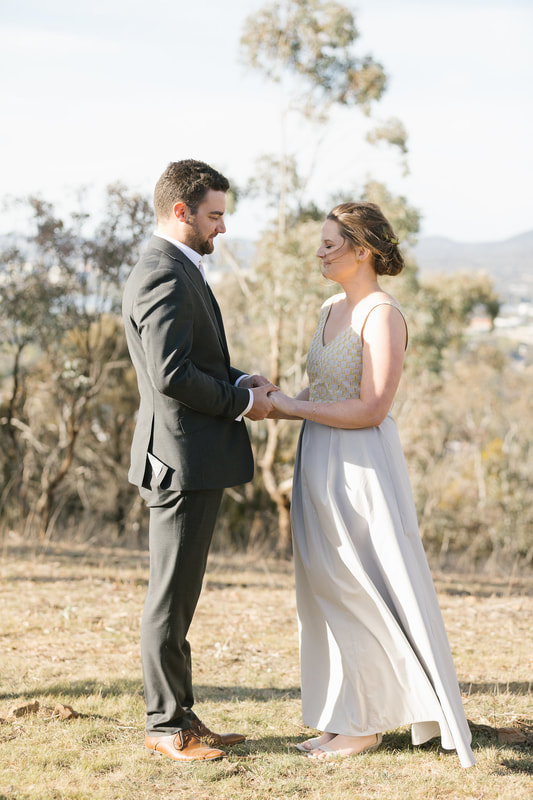 Professional photos by Alexandra Orme Photography
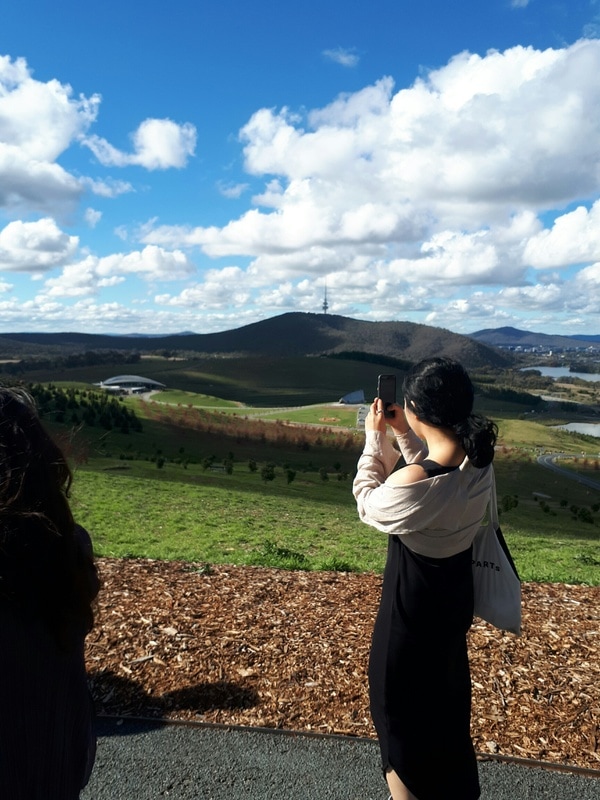 The Arboretum with views over the city and Black Mountain Tower 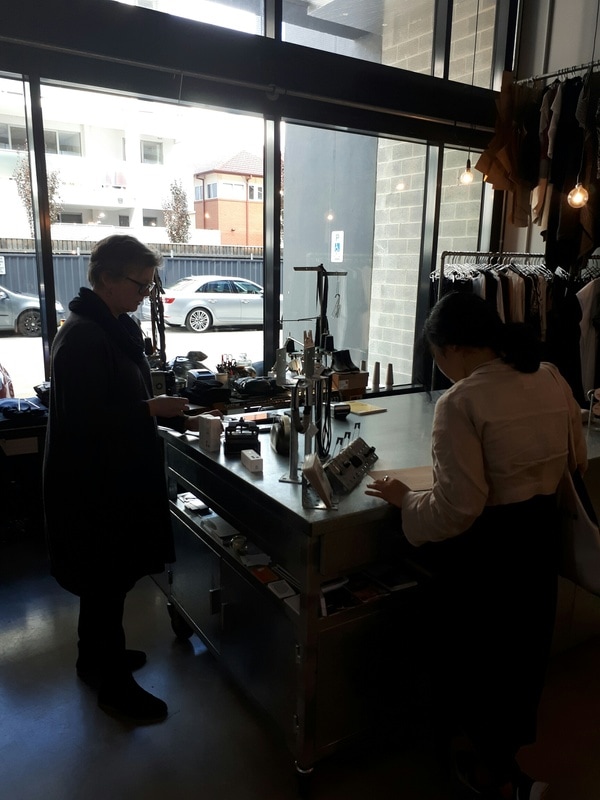 Showing Kate and Eeunhee Assemblage Project and introducing them to Karen Lee 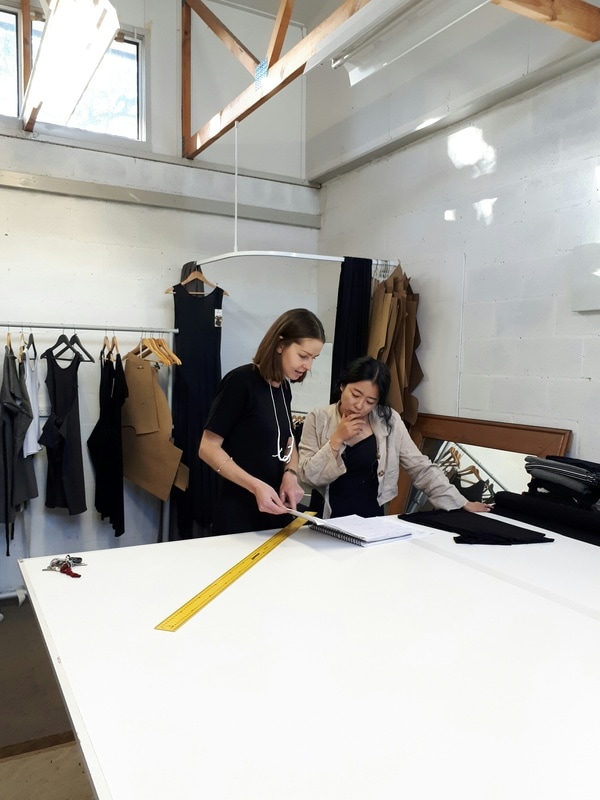 Showing the girls my studio at ANCA and having a play with collaboration ideas
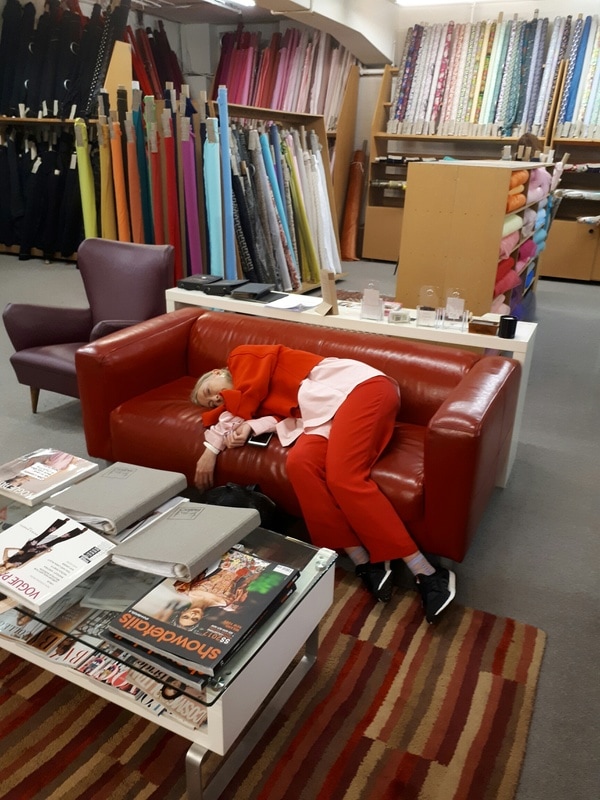 We started off the last day of the program by getting some fabric and I love this photo I got of Clea waiting for me to pay. I think it sums up our week perfectly!
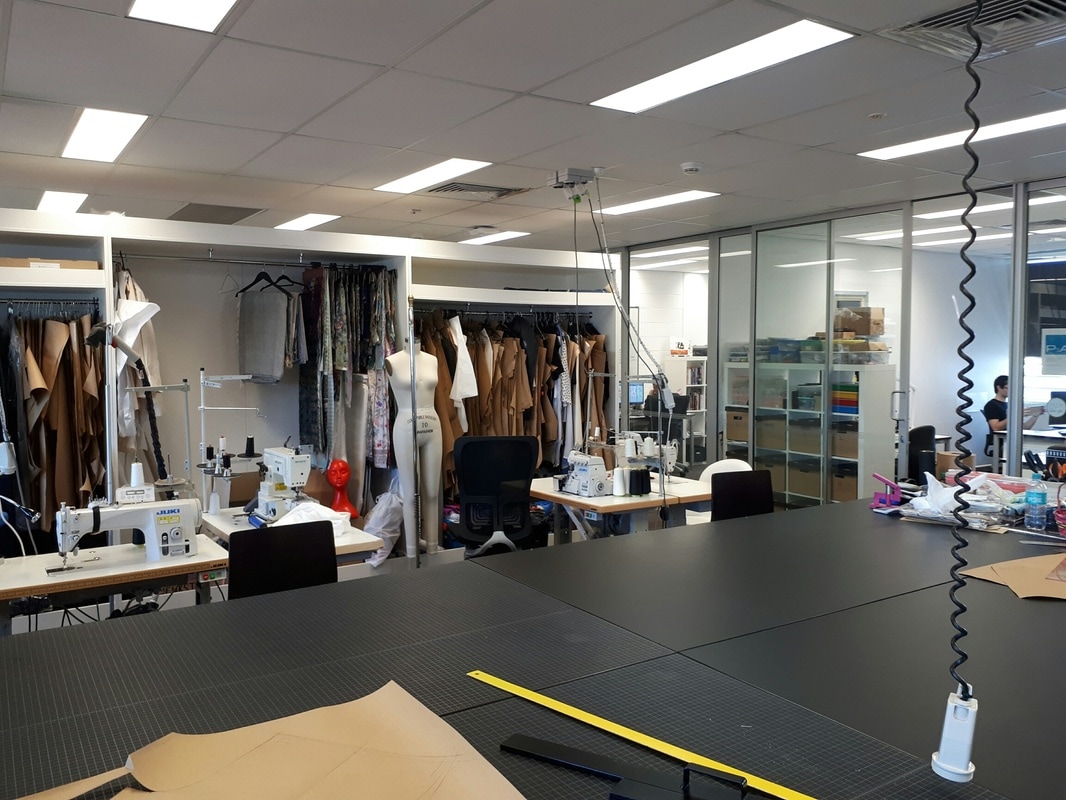
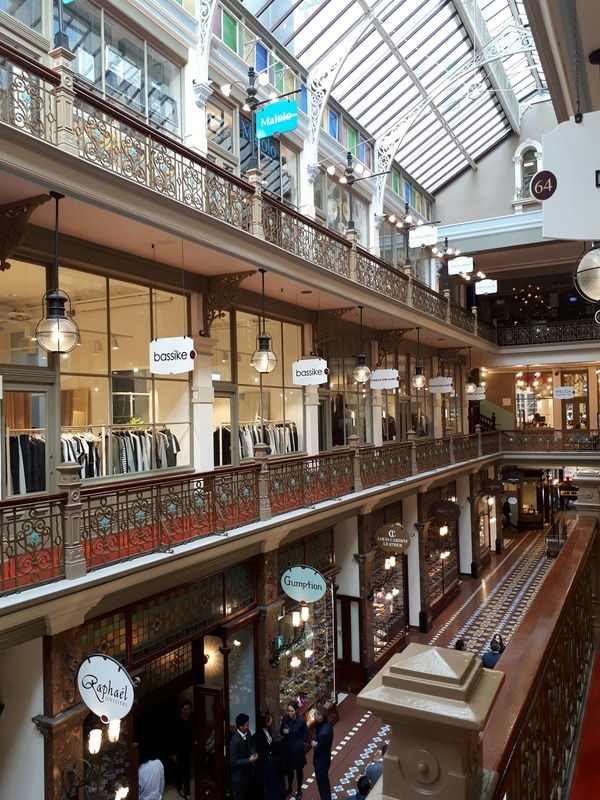 We started off day 4 of the trip by looking at the shops at the Strand Arcade. I especially liked the contemporary jewellery store Courtesy of The Artist 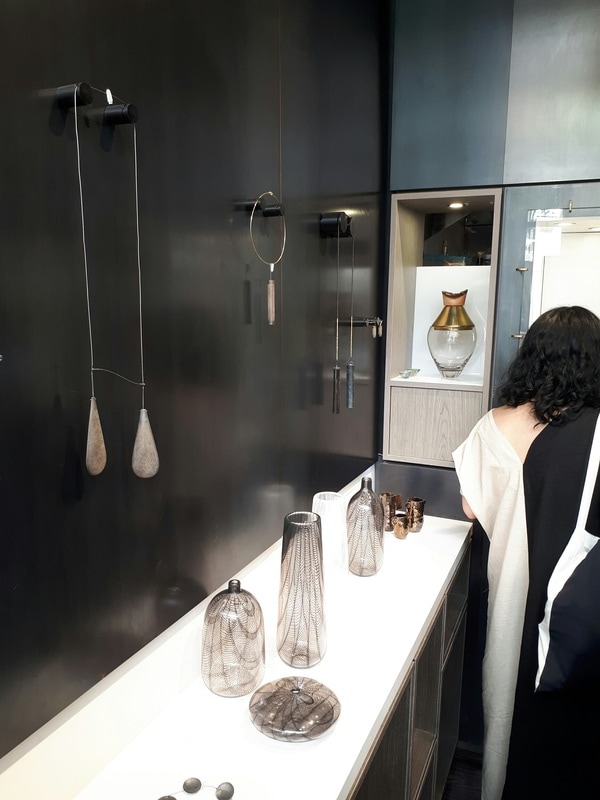 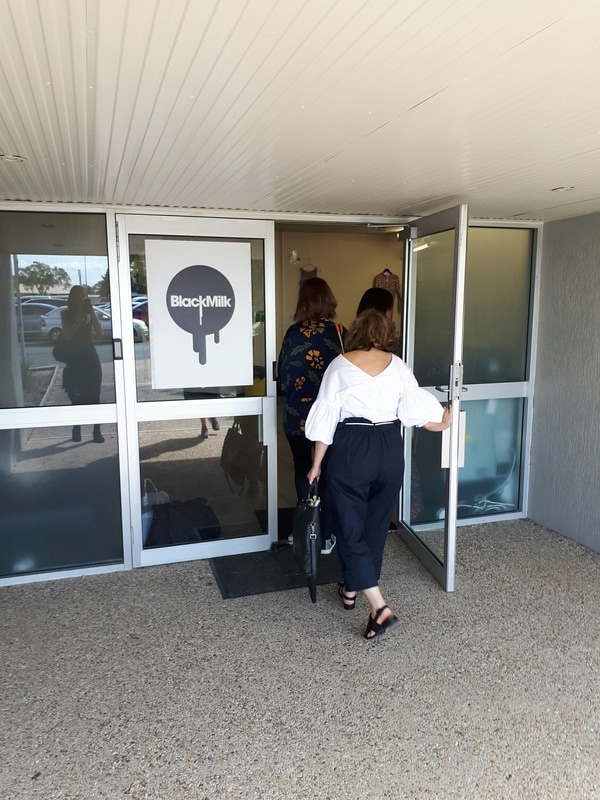 Our Wednesday started with some collaboration time and then we headed to Black Milk. Black Milk is is a Brisbane label with a very different model for marketing and selling, with no shop front all sales are made through social media. The whole process happens at the Black Milk warehouse, from design through to printing, production and distribution happens on site in Brisbane.
 We started off Tuesday by visiting the QUT CEA Incubator. The incubator helps early stage fashion start-ups accelerate their business. It was an amazing space and created a community of like minded designers and makers. We need something like this is Canberra!!
Part 2 of the Australia Korea Foundation Emerging Designer Program! The South Korean's come to Australia and Brissy put on perfect weather for us. 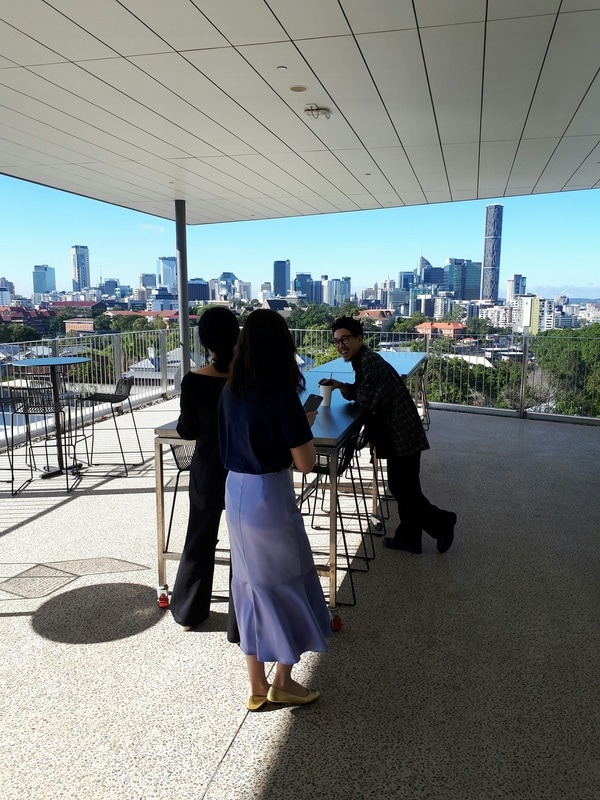 For our last day we went to the Australian Embassy to do a podcast about our time in Seoul and the differences between the Australian and South Korean fashion industries. 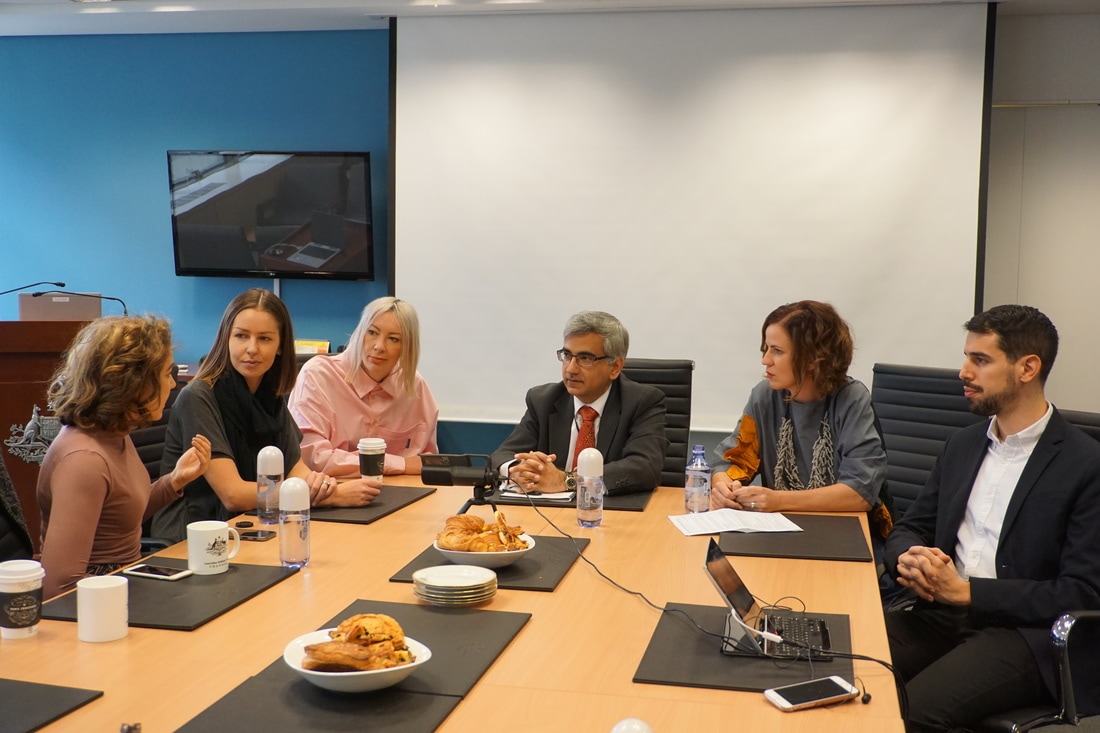 The man pictured in the center is Mr Ravi Kewalram who hosted us at his house on the first day of the program and then on the last day interviewed us on the podcast, our interview isn't up yet but you can see the most recent podcasts by clicking here.
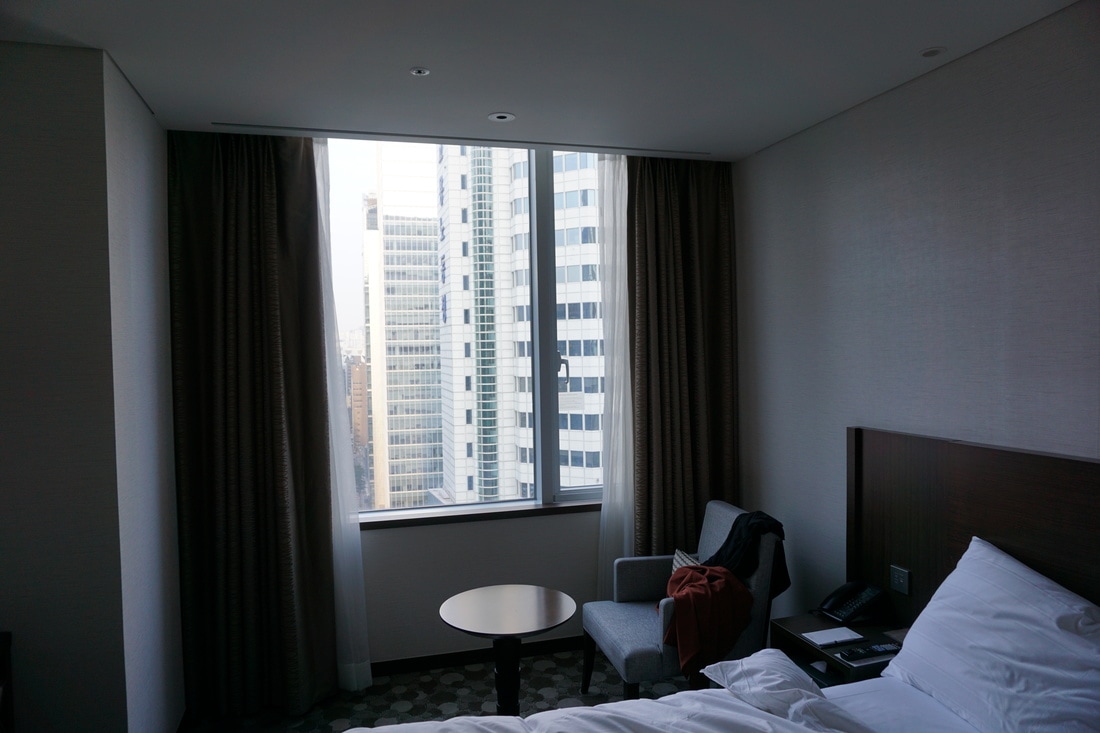 The beautiful view of Seoul I had at the Lotte City Hotel 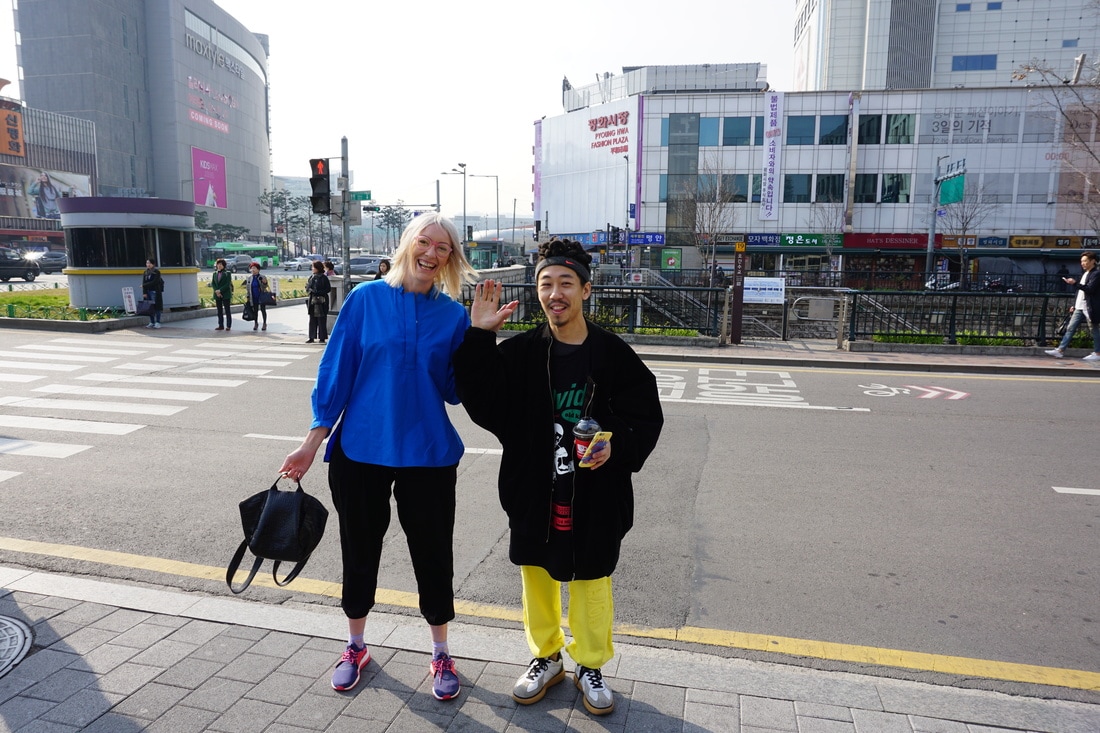 Day 3 began with going to Kate of Katelogy's studio and showroom in the Gangnam-gu area. Kate's jewellery is so beautiful and striking, the perfect statement pieces. I especially love the matte components she cleverly mixes with large sparkly and shiny jewels. 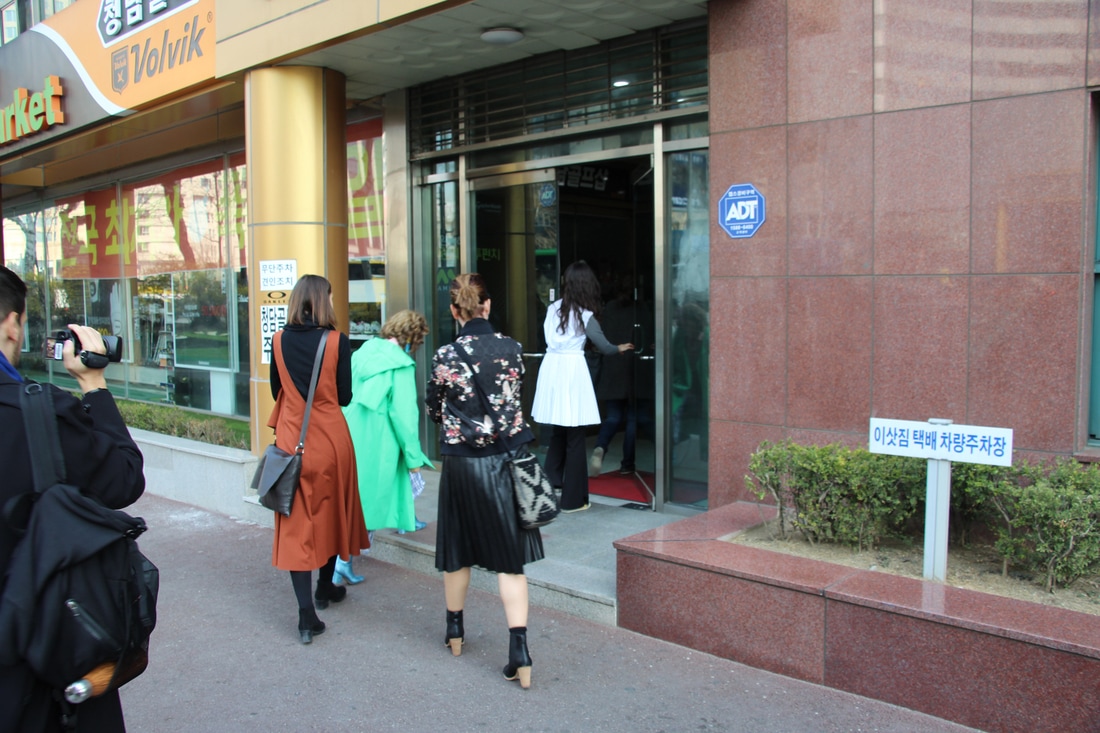 It was great to sit down in Kate's studio and hear about her label and her process of designing.
Day 2 started with going to Eeunhee's studio and showroom, EcommaE. It was great to sit down and hear more from her about her label. 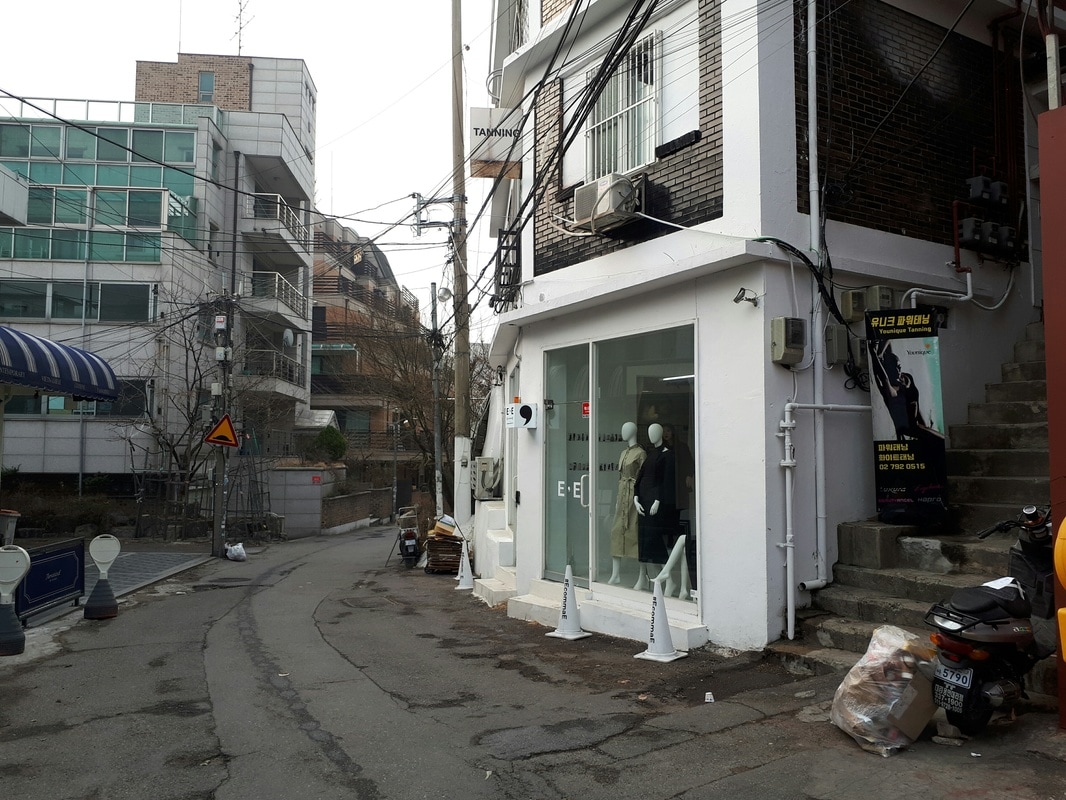 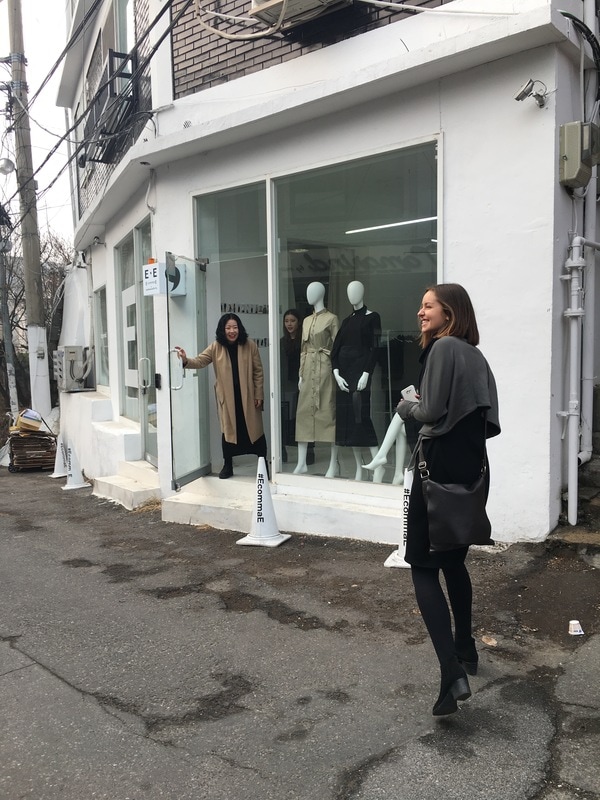 Eeunhee and I decided on the Monday that we wanted to work together on a collaboration, can you tell I was a little excited to see her studio?!
Reflecting on one of the most intense, inspiring and exciting weeks of my life!! We started off going to Seoul National University first thing Monday morning. We got to meet Professor Ha and the 3 Korean designers, Se Hyung of AJOBYAJO, Eeunhee of EcommaE and Kate of Katelogy. Loved seeing the presentations of the 3 labels. 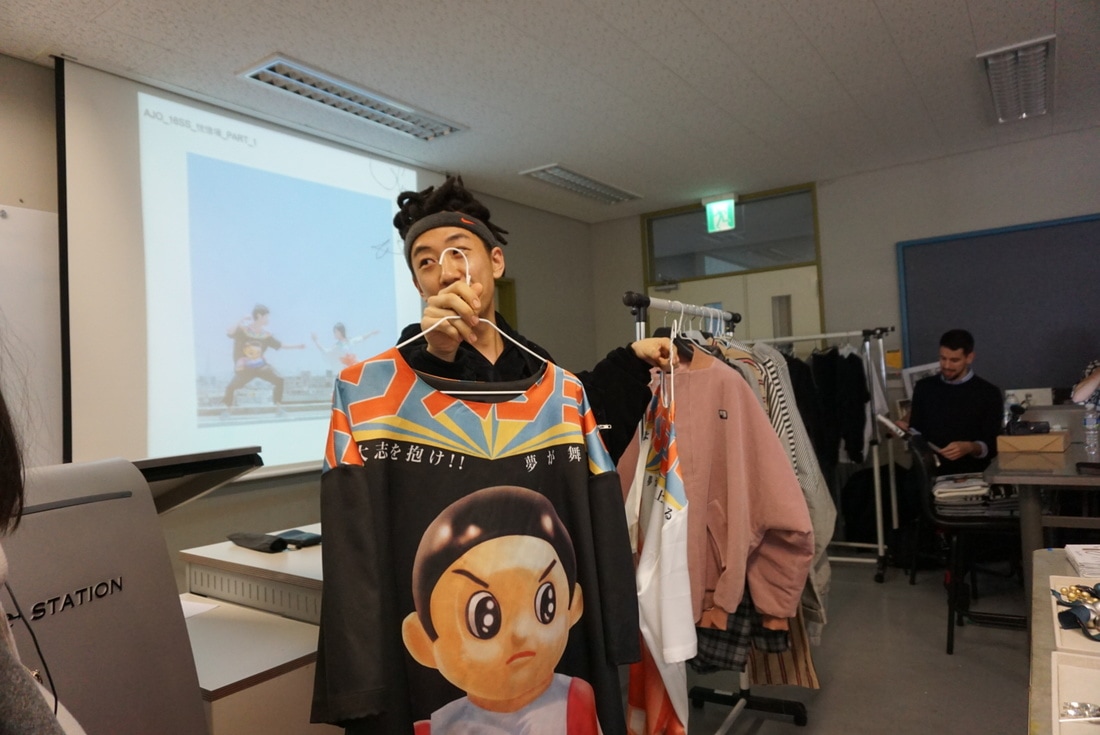 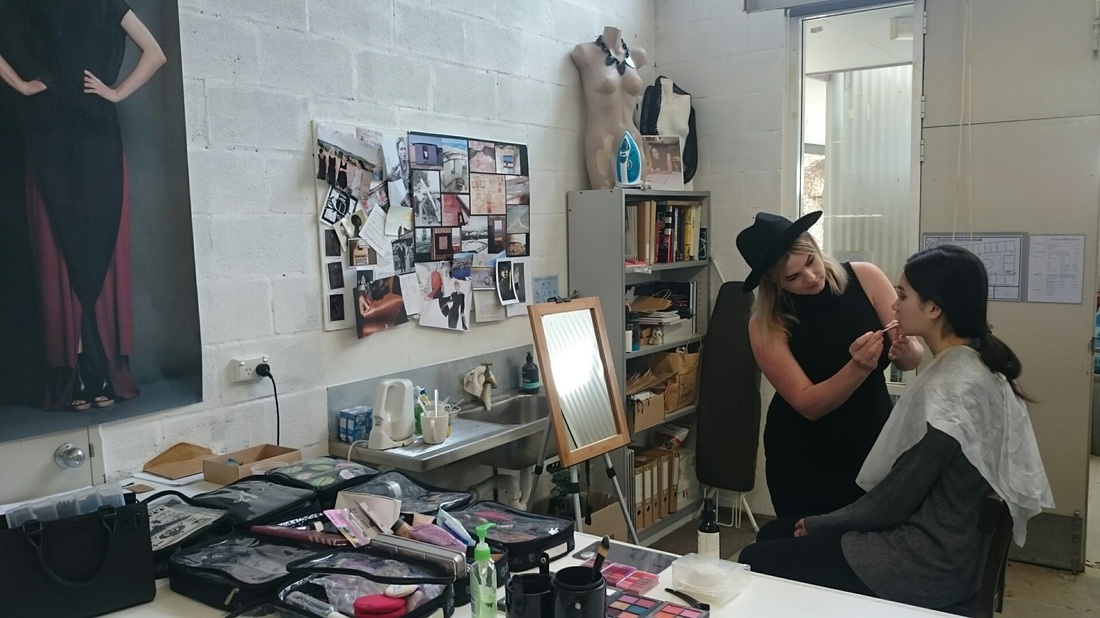 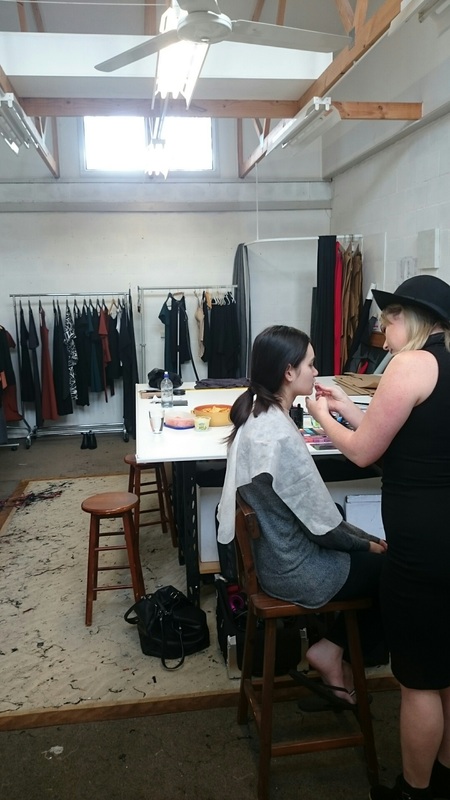 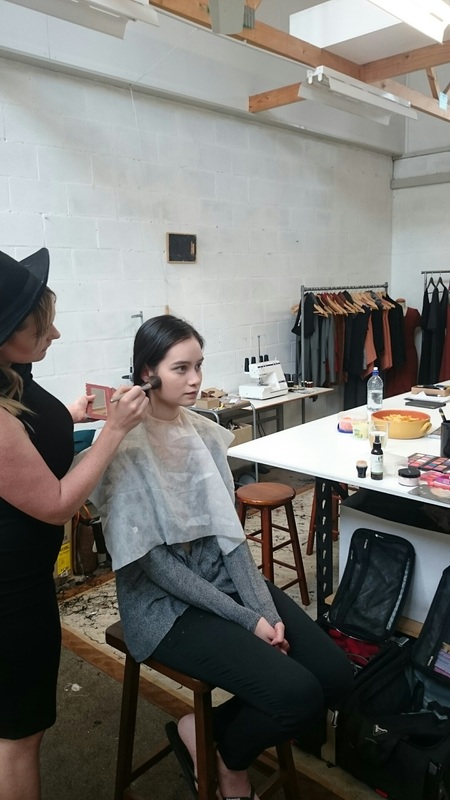 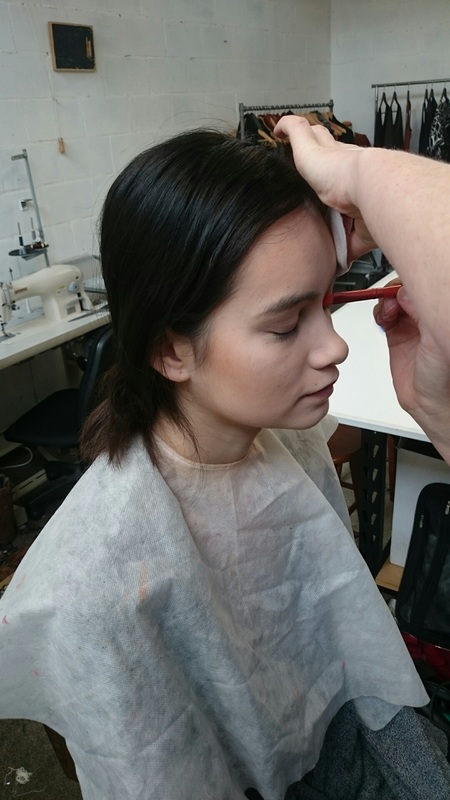 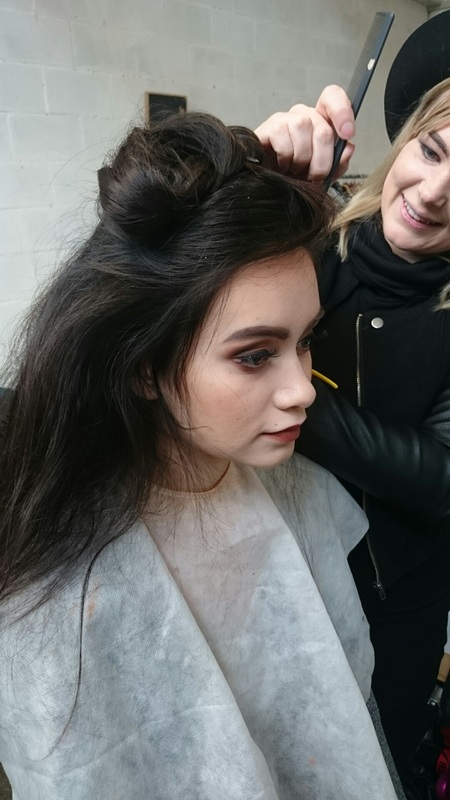 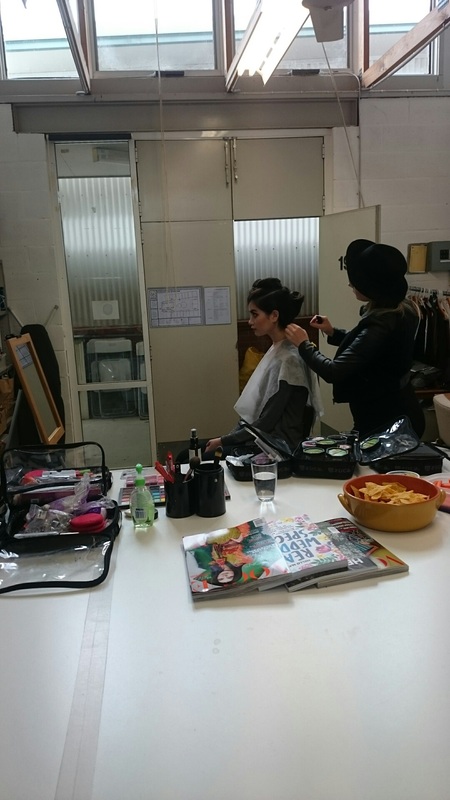 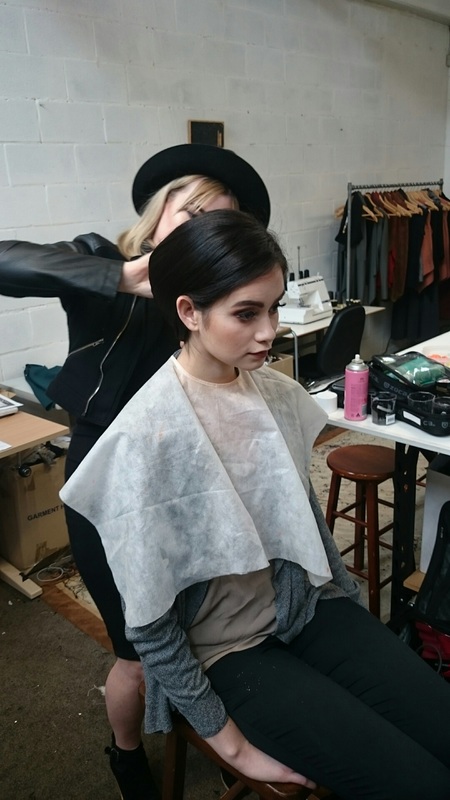 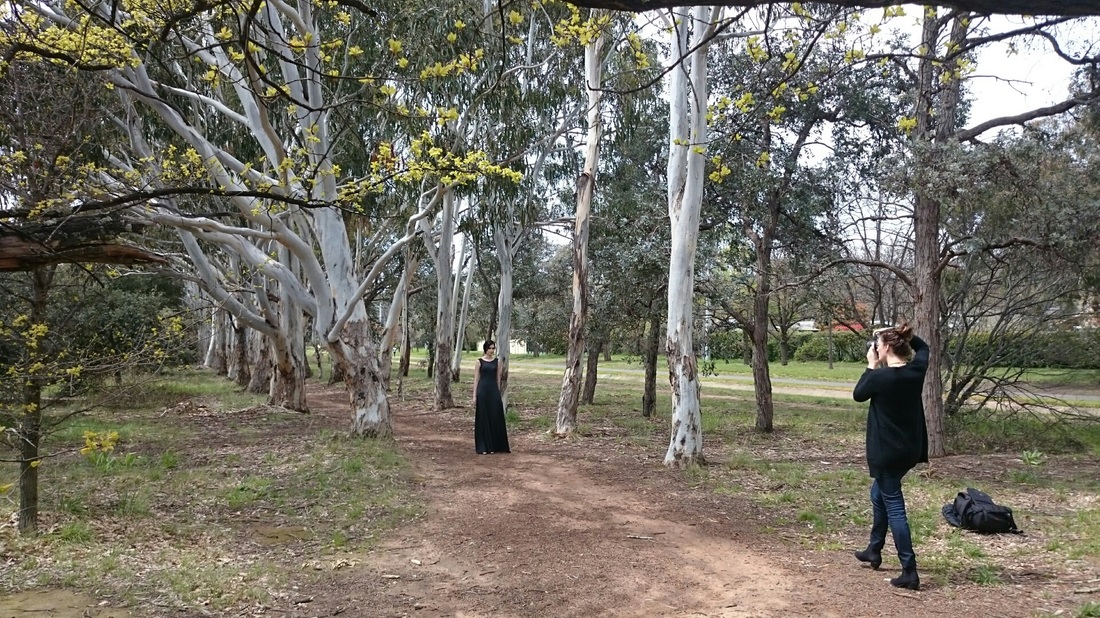 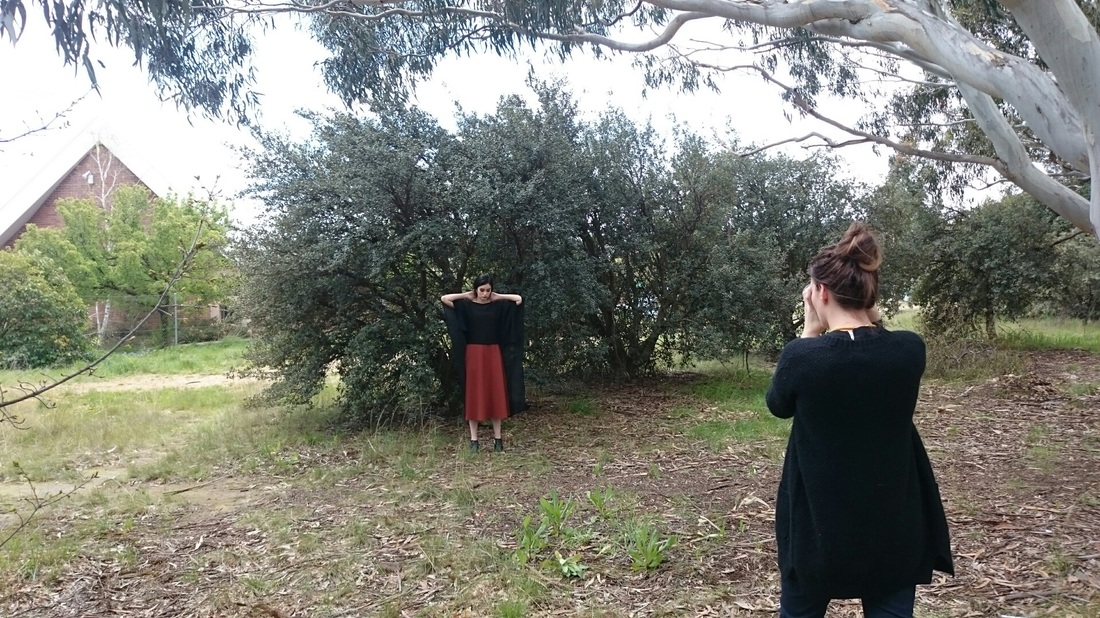  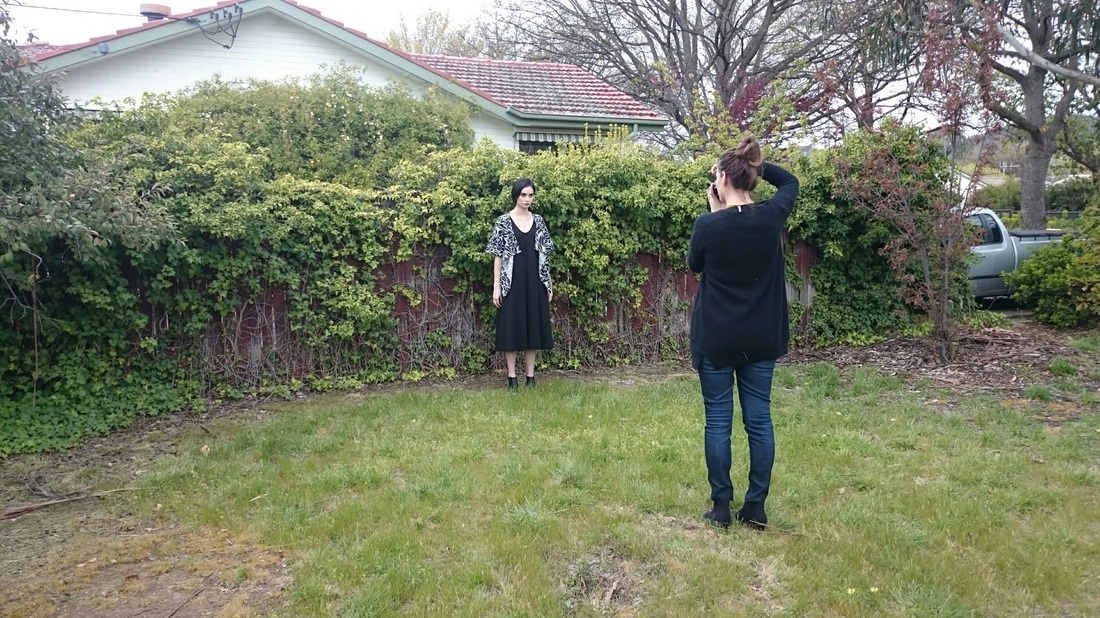  Loved doing a shoot with a wonderful all female team last Friday with Lauren Campbell photographing, Hayley Boyle doing hair and makeup and Hannah Arnold modelling. Stay tuned for final images soon!!
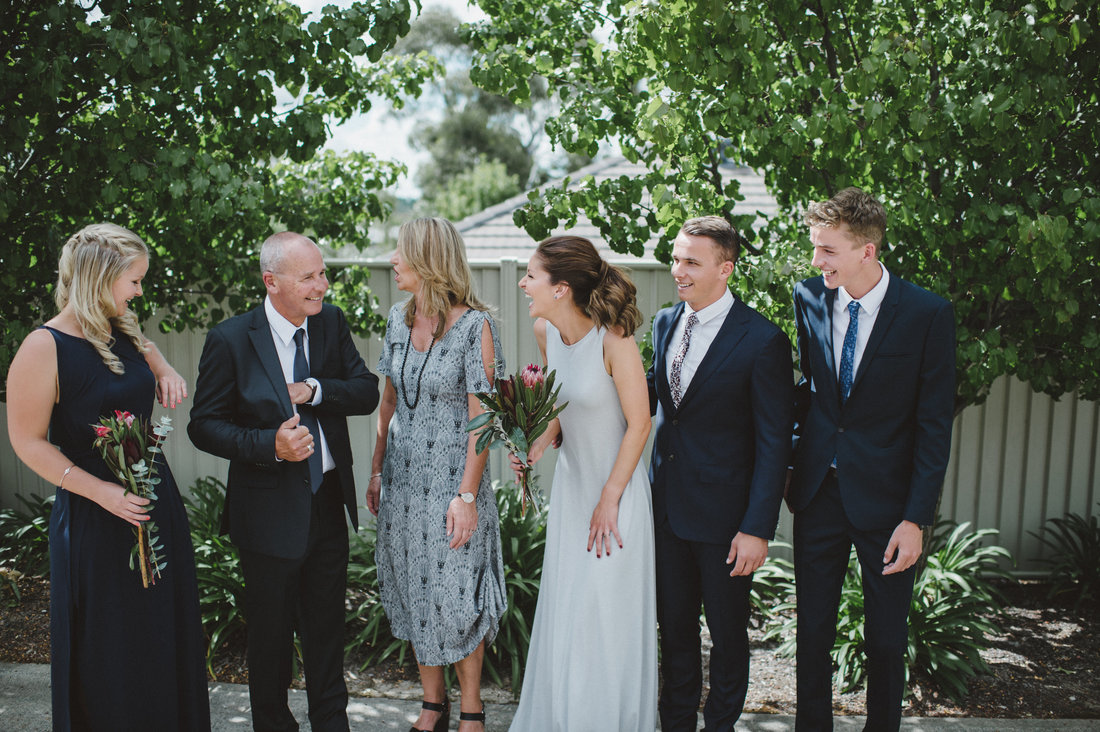
Thanks everyone for the awesome response to the post I did about making my wedding dress! It is great to know that people enjoy what I do, I often feel like what is the point of making clothes (lots of people do it far better than me!) It sounds weird but I can't help it. Even when I am not enjoying it I still feel driven to make. A big thank you to those people who buy EDITION and Aussie made and thank you for coming on this strange journey with me. Making Mum's dress for the wedding was the most difficult by far of all the pieces I did for the day!! But I think and I hope you agree my most successful! I began by thinking about what Mum often wears, black and white, prints and fitted around the bust. I thought I would go down a few different paths and see what she liked. I began with this black cotton print which was sheer in parts like lace. This fabric suited itself to a wrap dress.  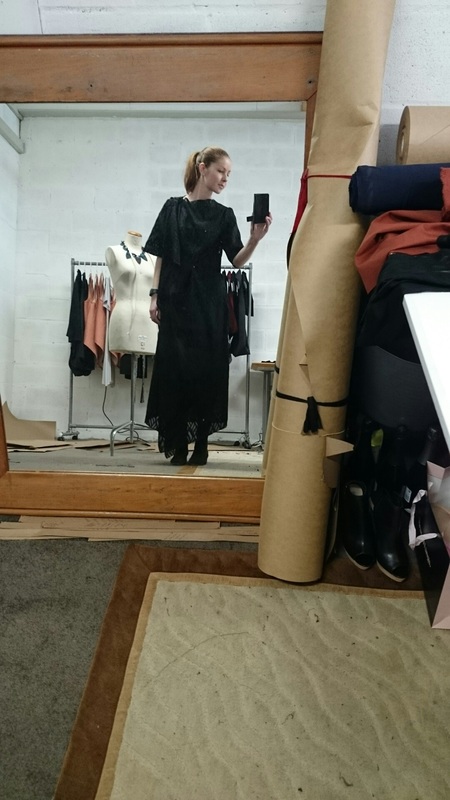 While playing with the black fabric I loved the shapes it was creating, especially as a wrap dress. But the dress was becoming a little 'witchy' (which I usually love!) but I think a little harsh for a 'mother of the bride dress'. I decide that maybe navy would be a good alternative to this and started to explore fabrics. 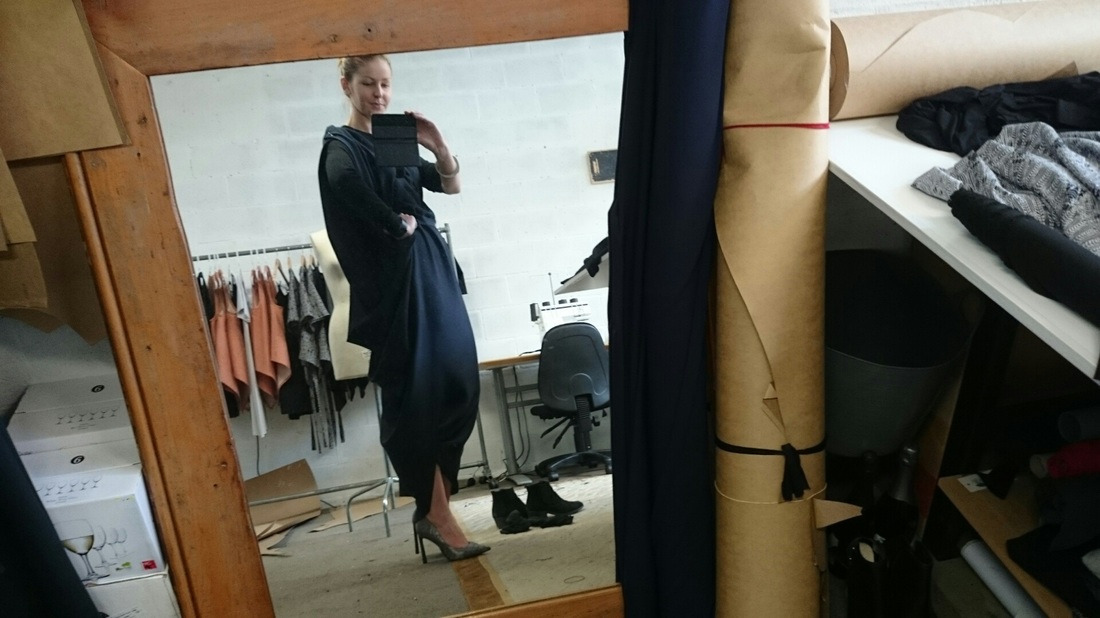 I found this thick cotton navy fabric. It had a beautiful weight and I thought I would start experimenting with it. As I use a lot of jersey fabrics in viscose and wool I often get people saying that the fabric clings to their thighs. With this thick cotton I thought I might be able to avoid this for Mum but I found that it didn't fall in the way I wanted. Mum felt that it left her looking a bit boxy and not what either of us had imagined for the dress. 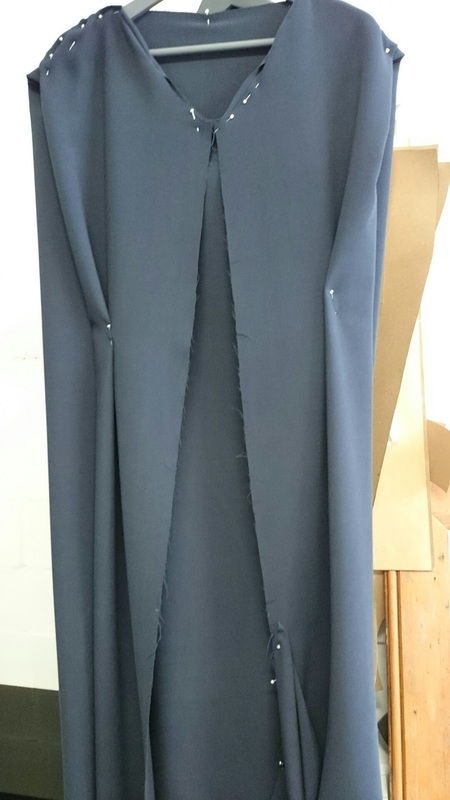 This was a shape that I have worked with for a while since my first collection with the 'Peel back' dress. I loved working with this shape and how it fell when worn but I couldn't work out a way to finish the raw seams and not become too structured. 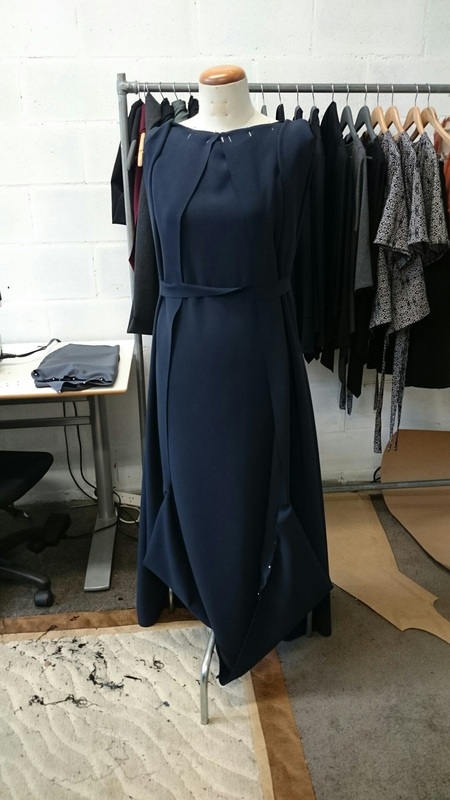 Even though I was experimenting for Mum's dress, the dress above ended up being a great starting point for the dress I made my sister. When I made it in viscose I could leave the seams raw and therefore keep the dress looking slinky and beautiful. 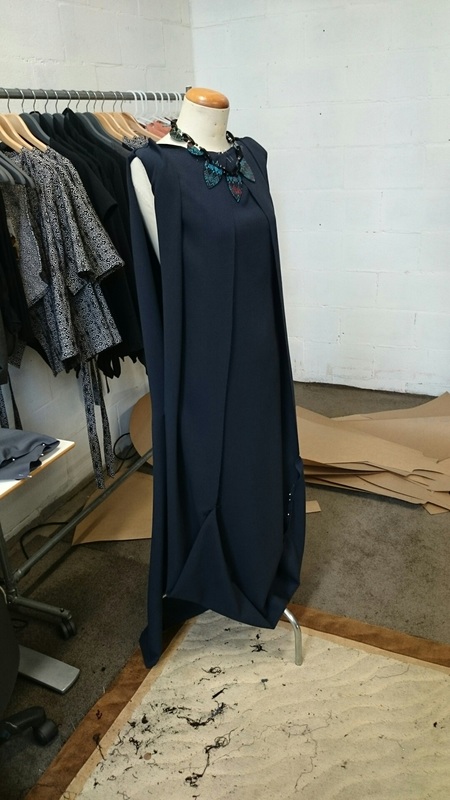 Below is Mum in the viscose navy version of the dress. I think she looks really elegant but again it is quite clingy and I wanted Mum to feel super comfortable all day and night. She liked the longer length of the dress and thought maybe sleeves would be a good option. 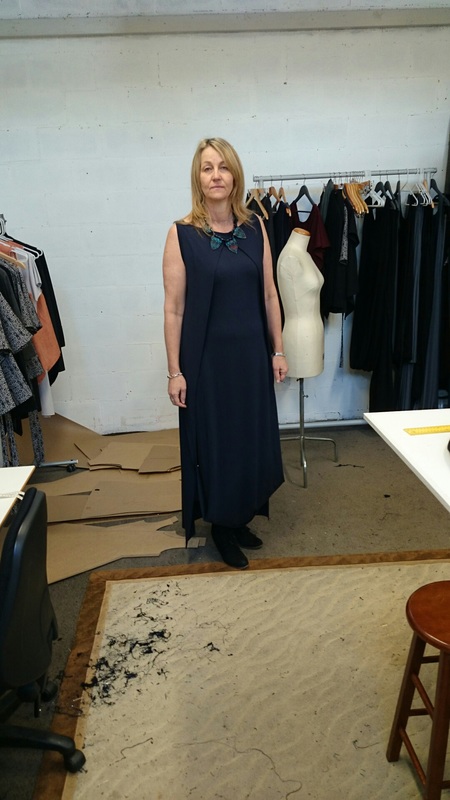 I then started looking at a viscose dress with a small sleeve but I think would still be quite clingy. 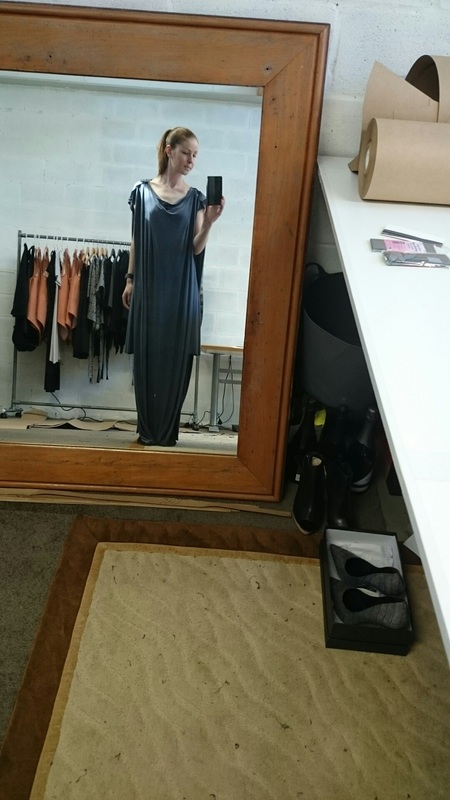 A little while later I went up to Sydney and found this great print. I would have ideally loved for the fabric to be 100% silk but this poly blend was beautiful and would also mean a little easier for me to sew! I loved that this print was feminine but cool and black and white was perfect for a 'mother of the bride' dress. 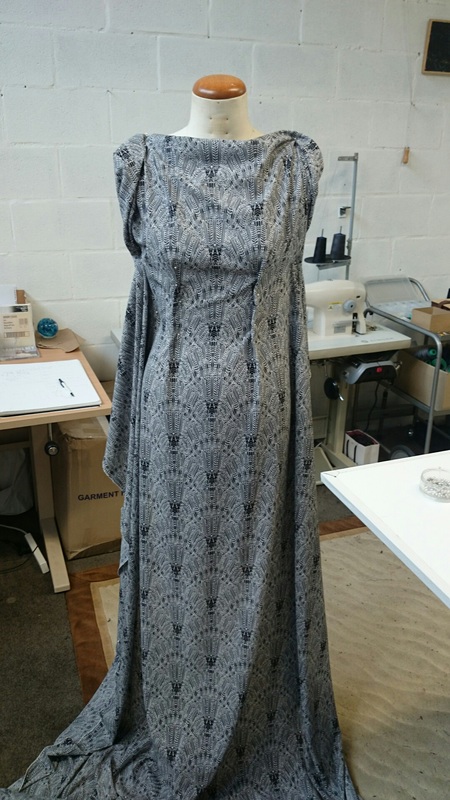 The whole wedding thing got me a little hung up on making Mum's dress more traditional and I started looking at darts and using the mannequin. 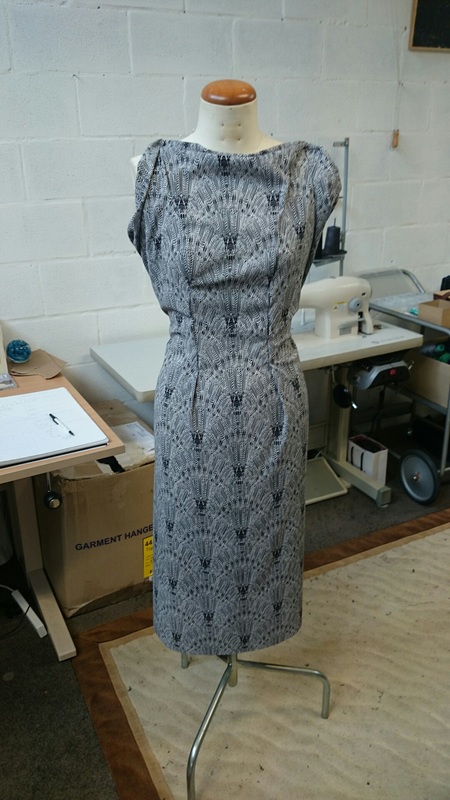 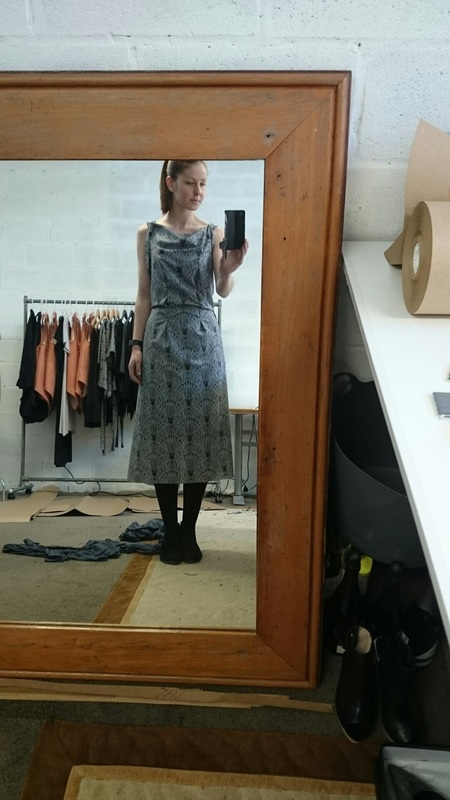 I finally realised that I never work like that and that I should just do what comes naturally so I used some of my own blocks and started playing with shapes. The below dress is obviously way too short! This was just to test that the bust and neckline of the dress would work for Mum with this print. We thought it looked great, very flattering and elegant yet not a typical 'mother of the bride dress'. 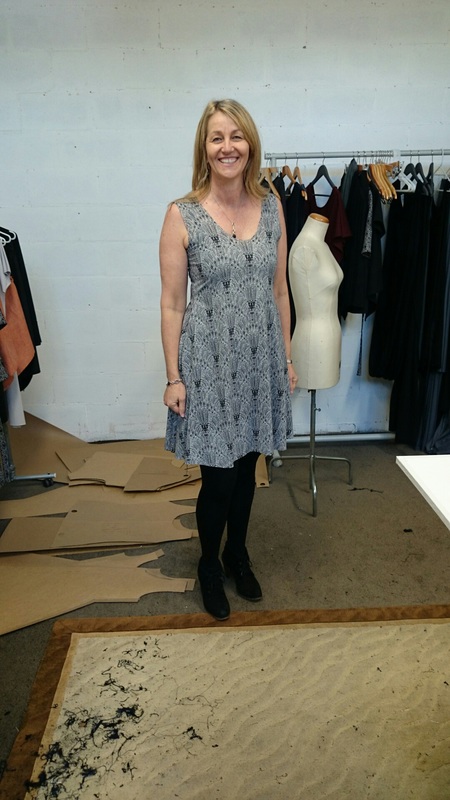 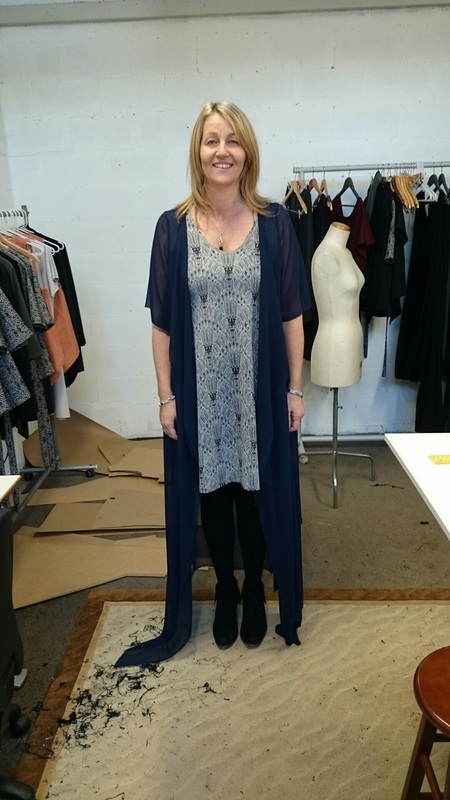 Mum had said she wanted sleeves to cover her arms and I thought about trying something sheer over the top of the dress if it got too hot it could be taken off. In the end I thought an interesting sleeve would work better. 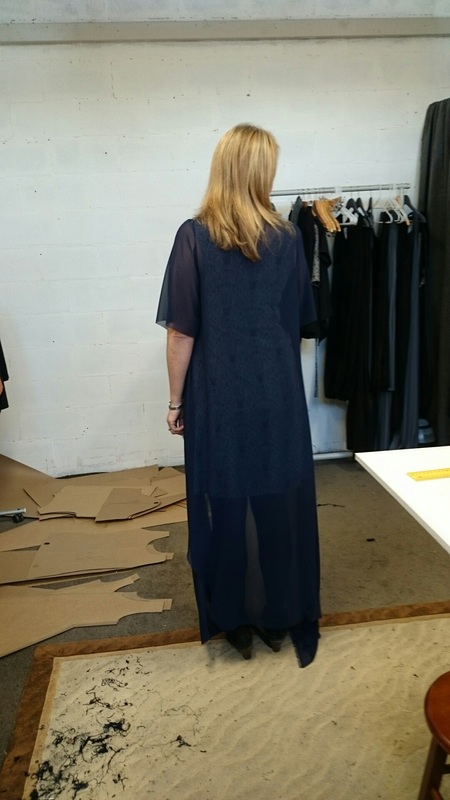 I decided to cut out Mum's dress extra long so that there was lots of room to play with the length. 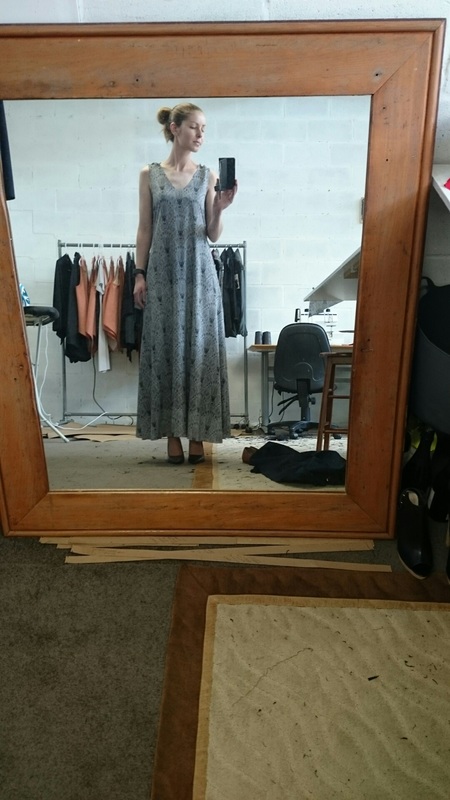 Starting to look at sleeves, something a little oversized I thought would look great but I think needed to be a little tighter for a wedding/formal setting. 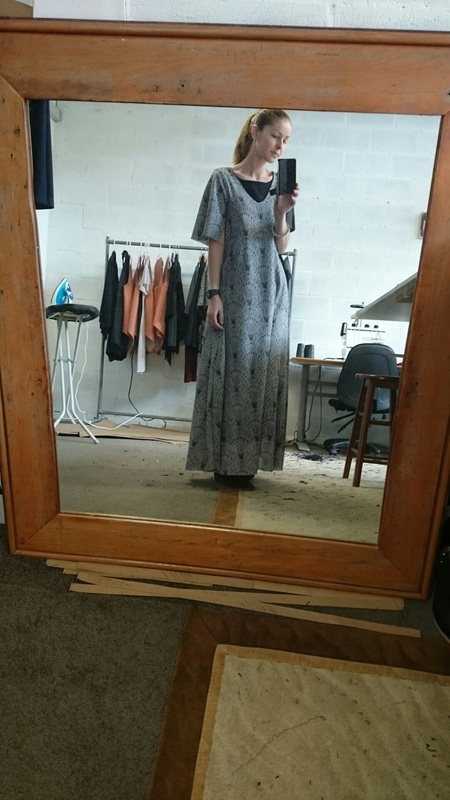 Once I decided that a slit would look the best for the sleeve I then began looking at what binding to use. I decided to cut it from the same print fabric to be as subtle as possible. This was very time consuming making my own binding but I think it was worth it for the sleeves to keep them as delicate as possible. 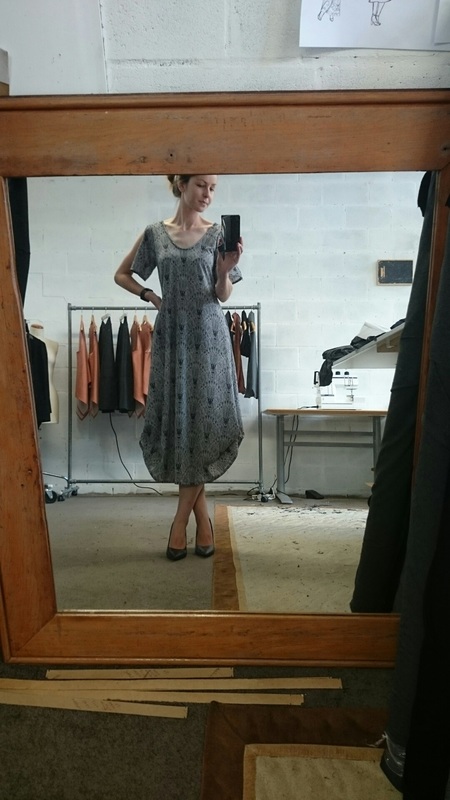 Once the dress was almost finished I put it on Mum and we started looking at what length she would like. While I was playing around the hem I sort of scrunched it up and it created some pleats and Mum loved it. We decided to go with the extra detail at the bottom to make the dress more formal and I loved the floaty look of it. The floaty base of the dress was the perfect contrast with the thick black heels Mum wore. 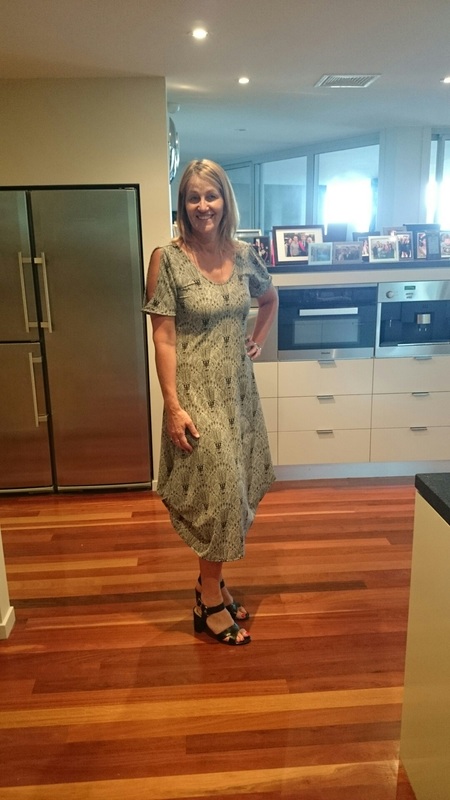 Mum and I on the day, she looked absolutely stunning! 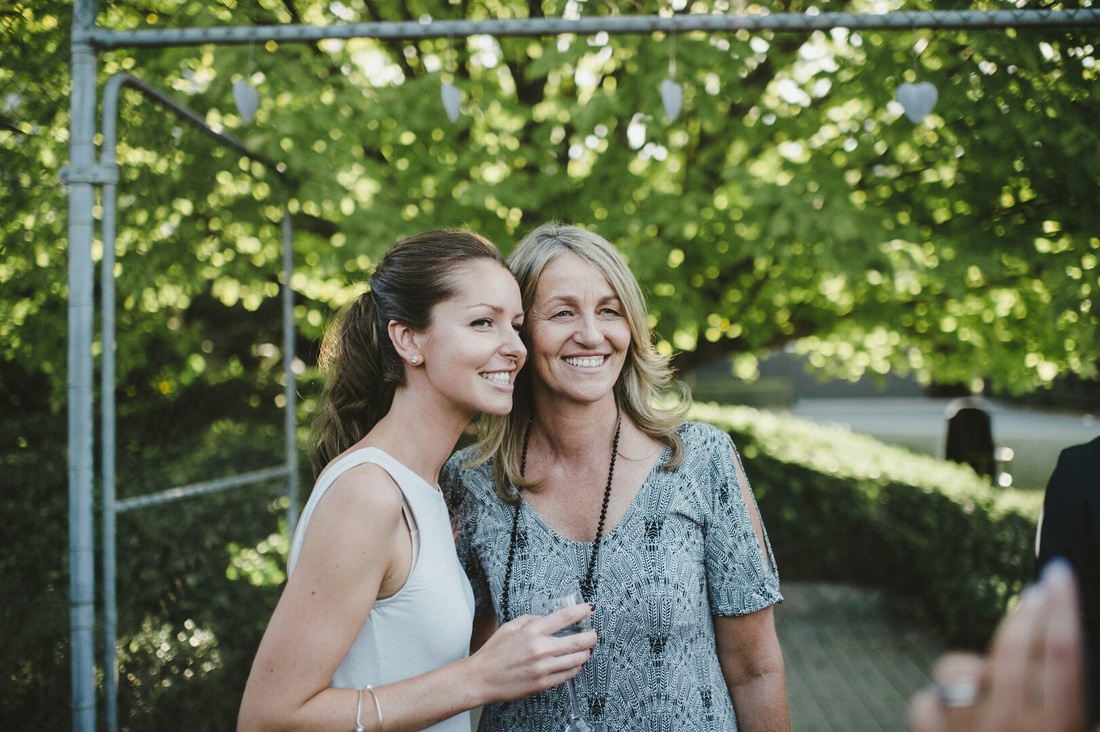 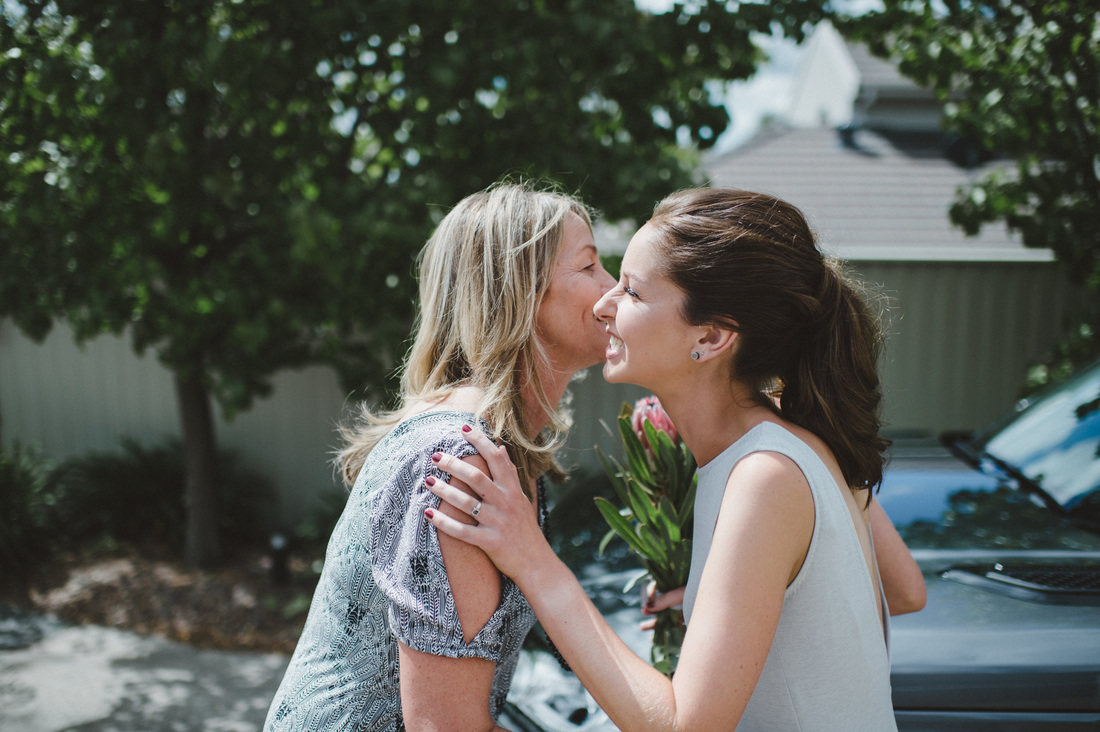 Sleeve detail of Mum's dress, perfect for a Summer wedding or event to cover arms and look elegant at the same time! 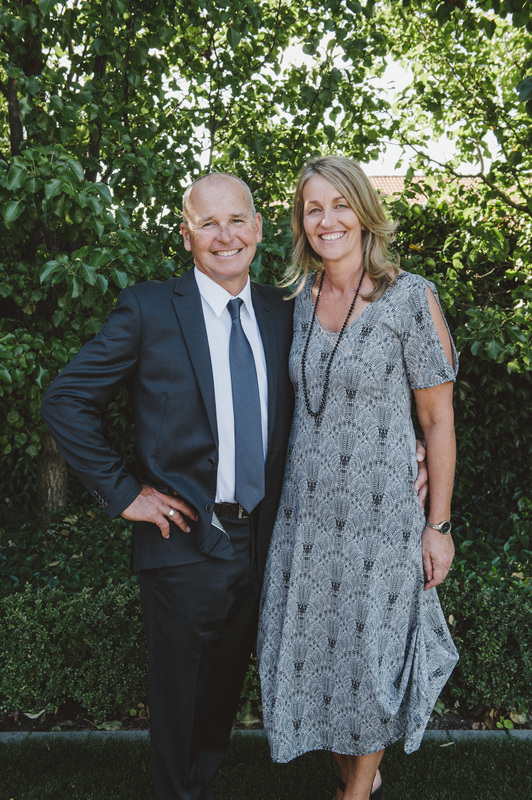 Mum and Dad looking very beautiful. So happy with how the dress turned out and I know Mum was too! Again get in touch if you would like a custom made dress for any special event!
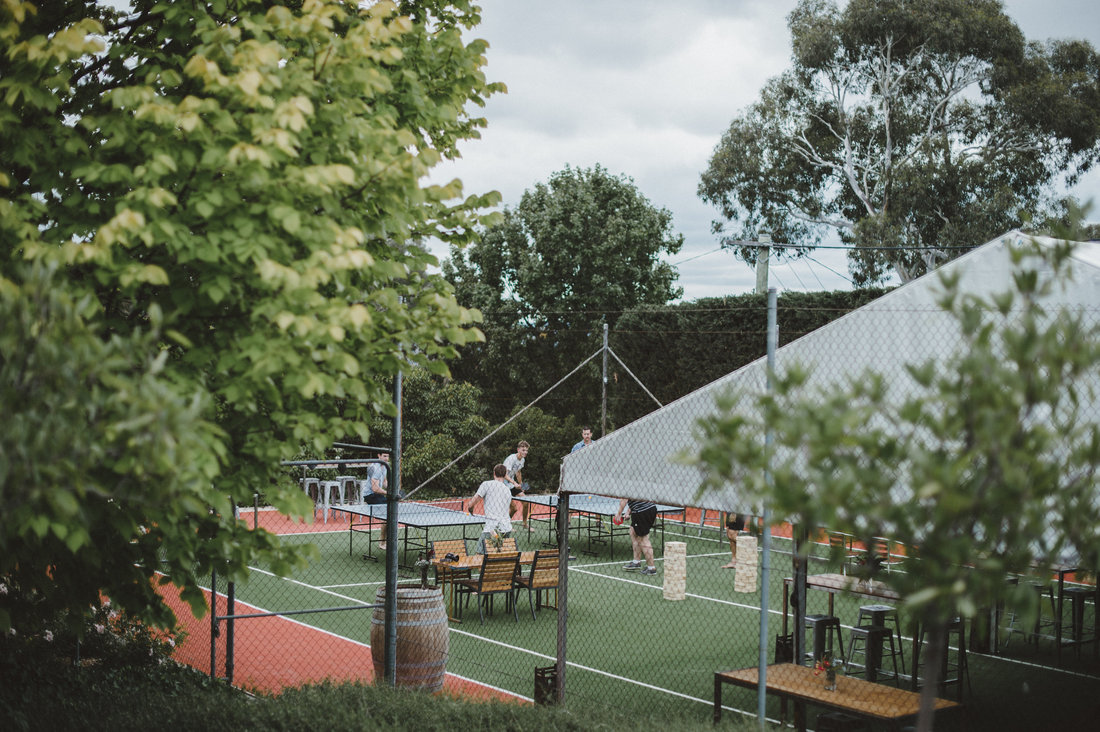
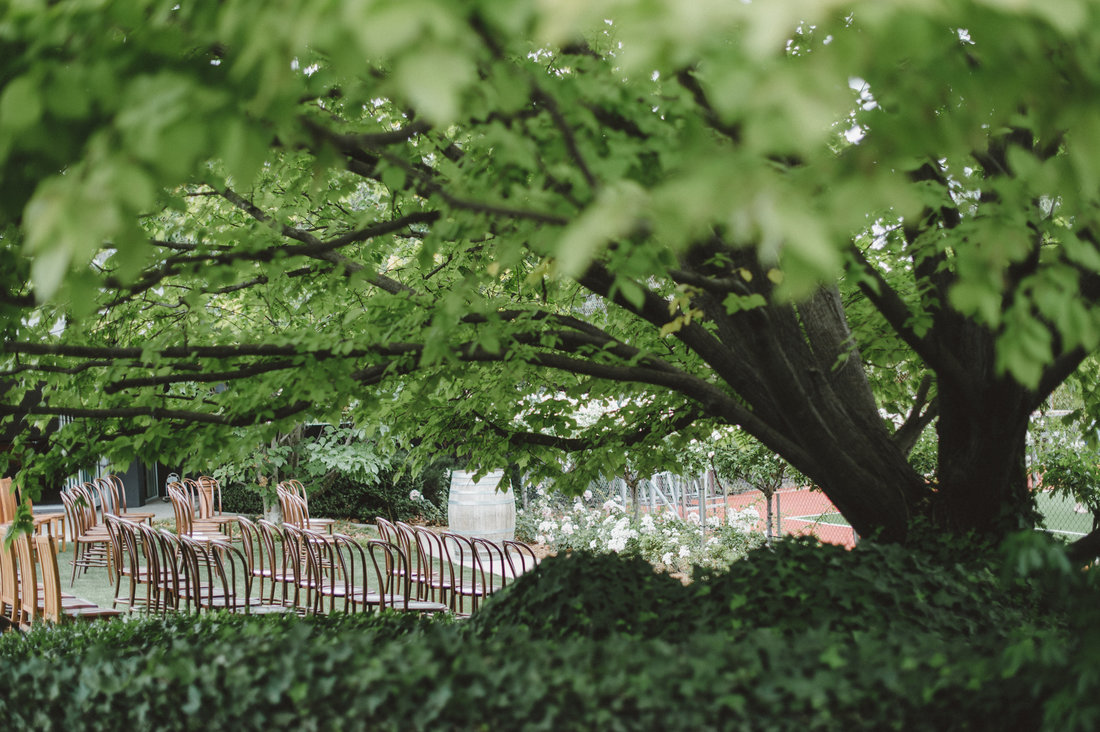
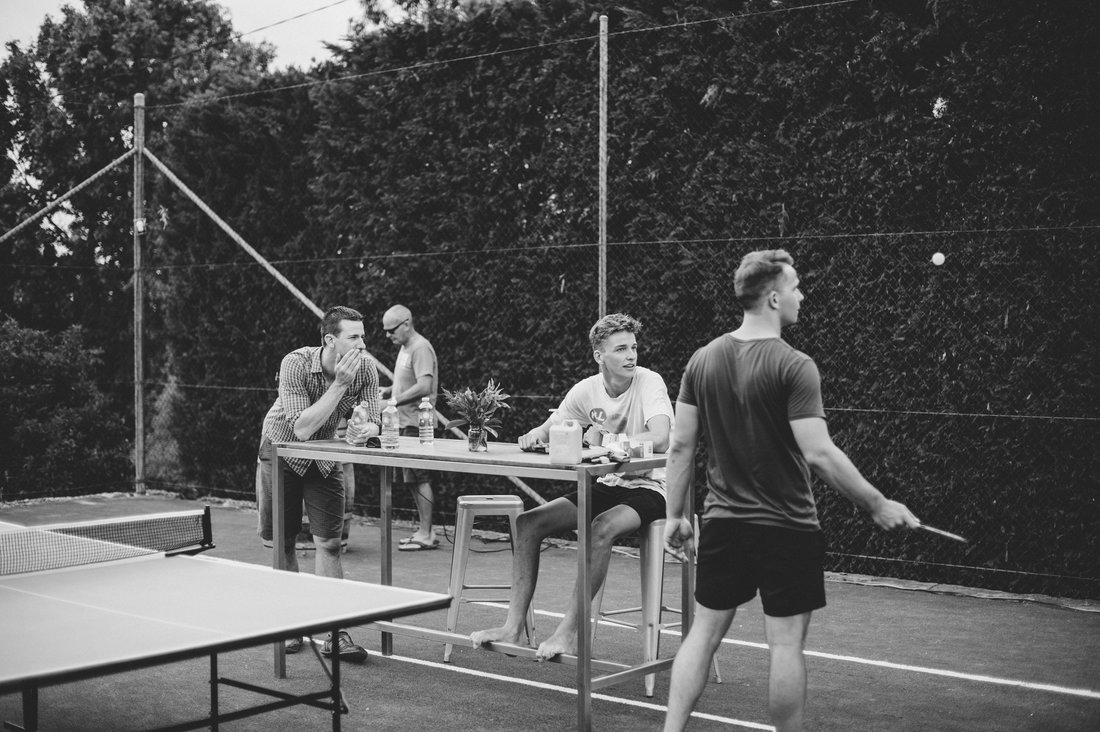
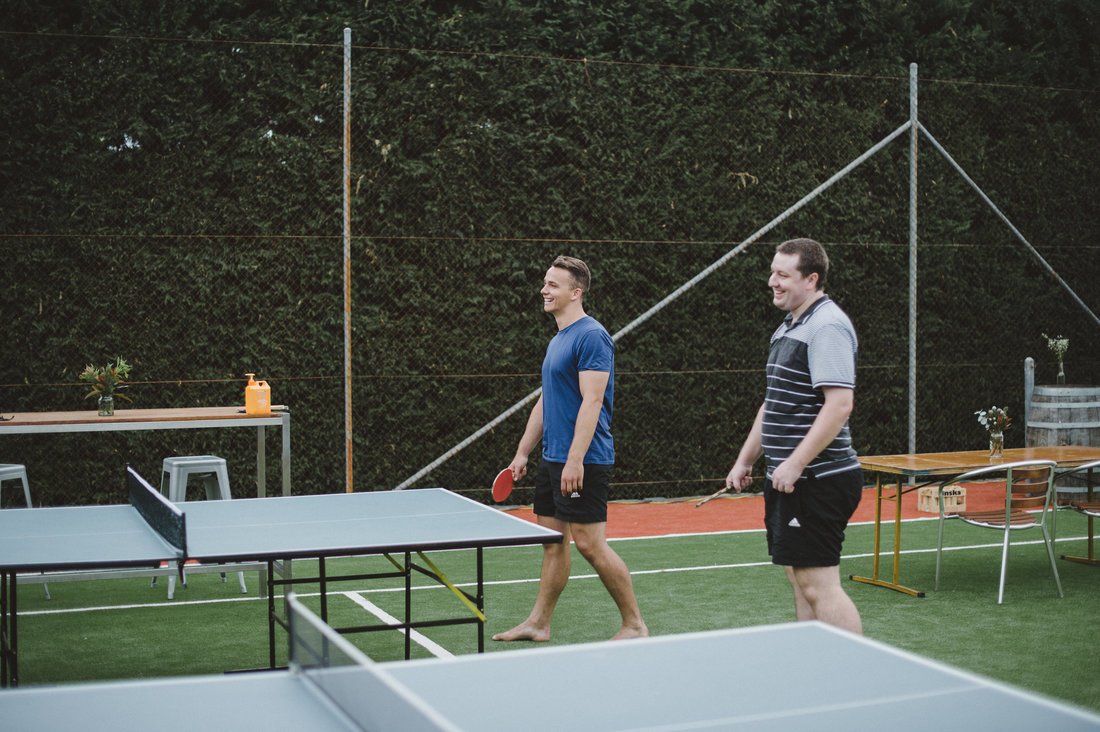
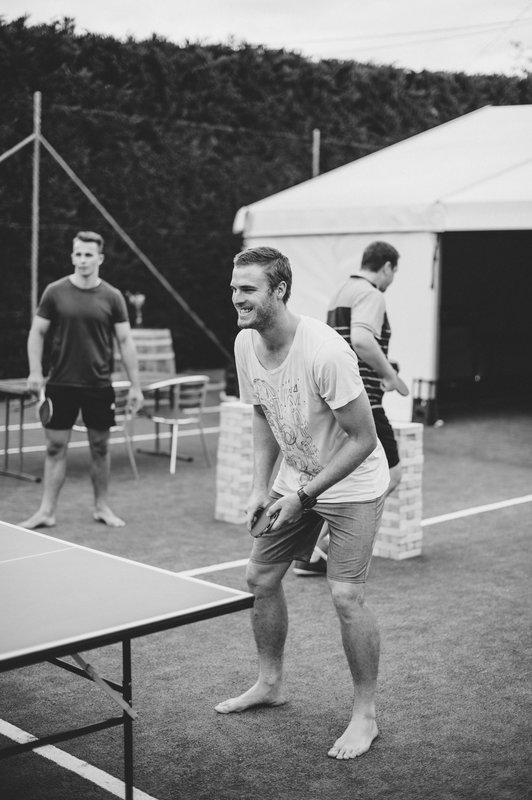
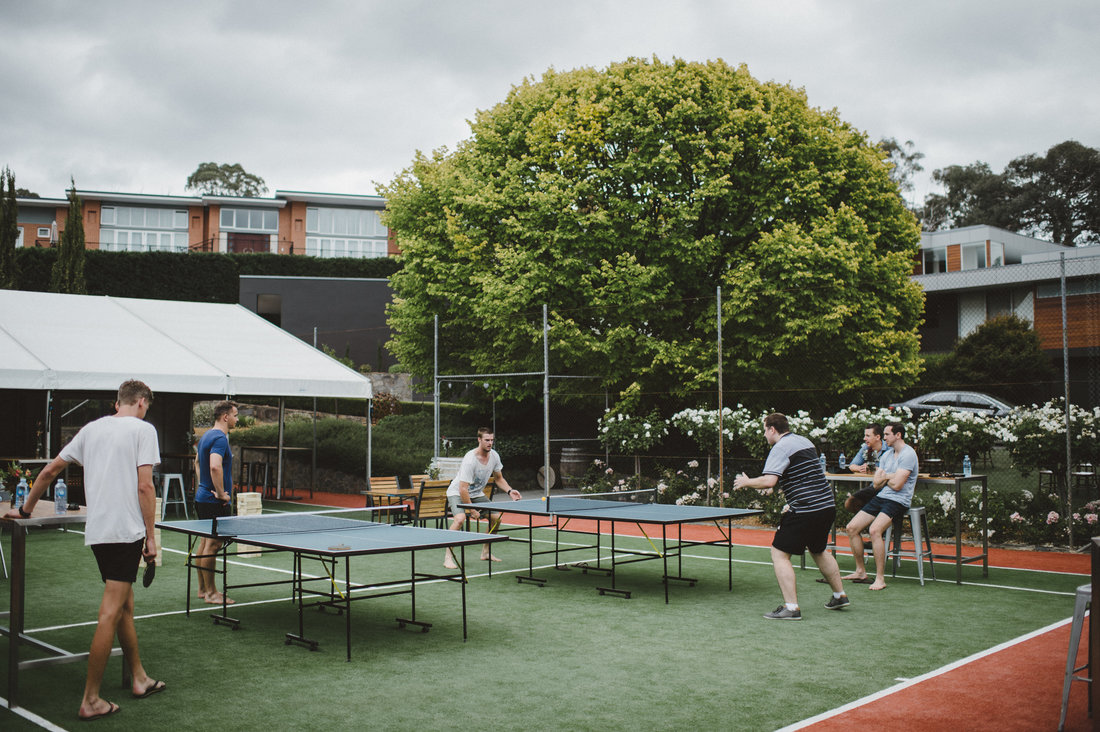
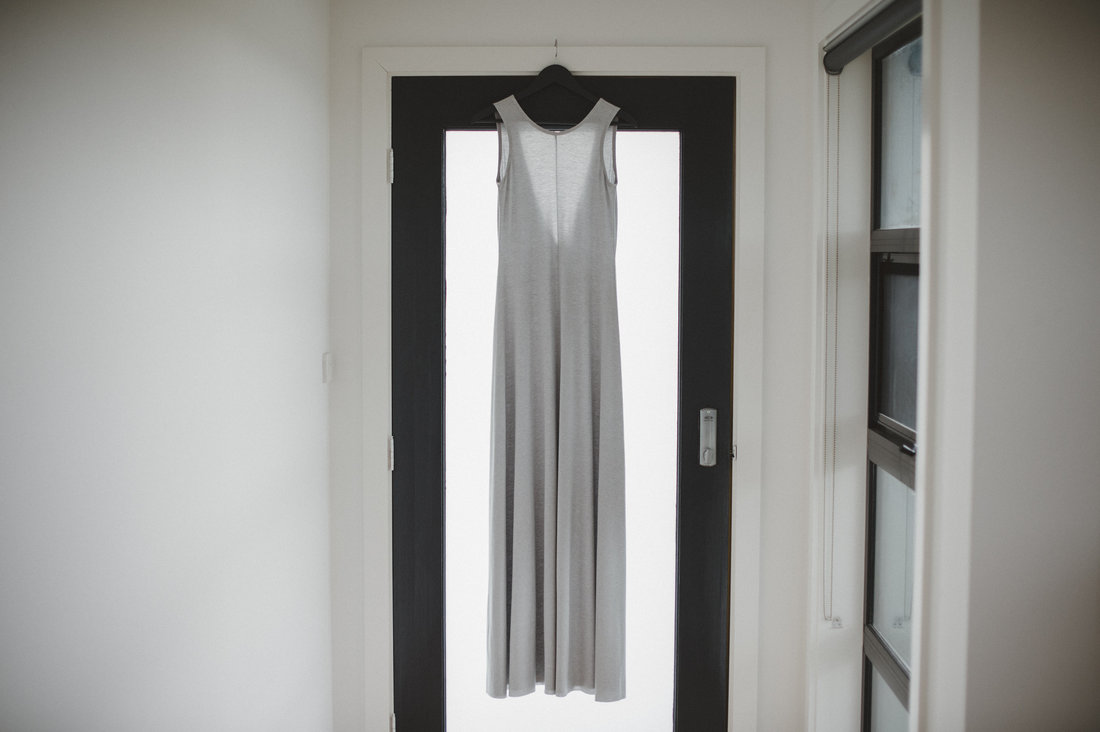
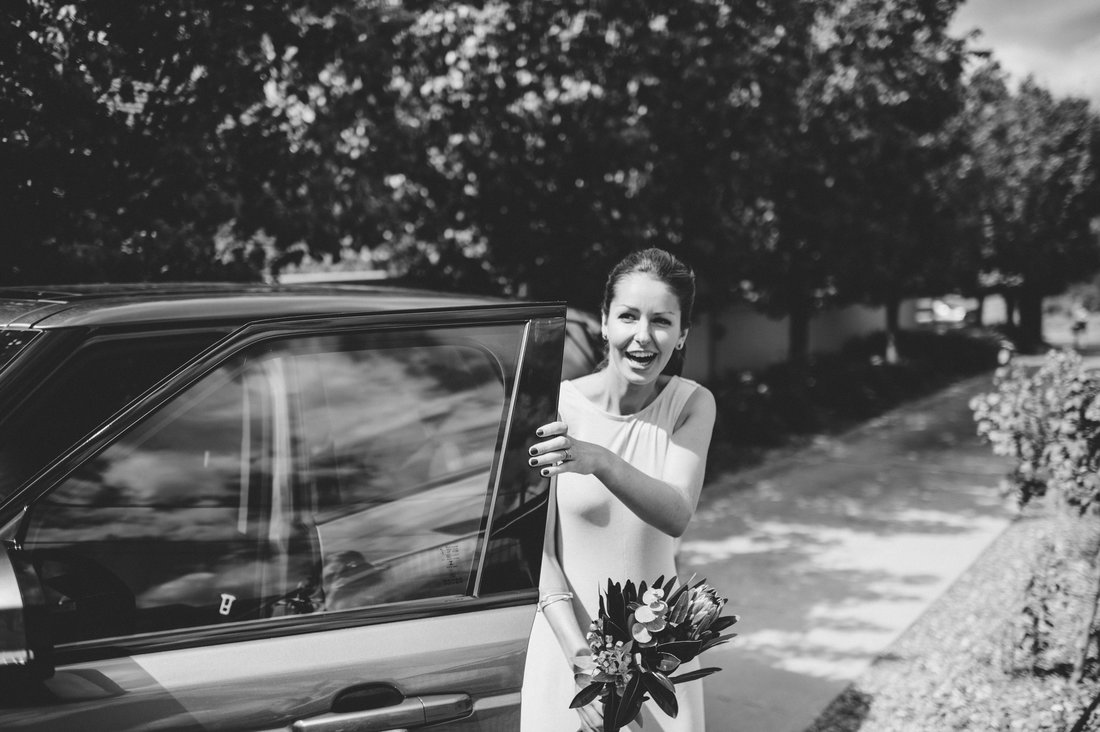
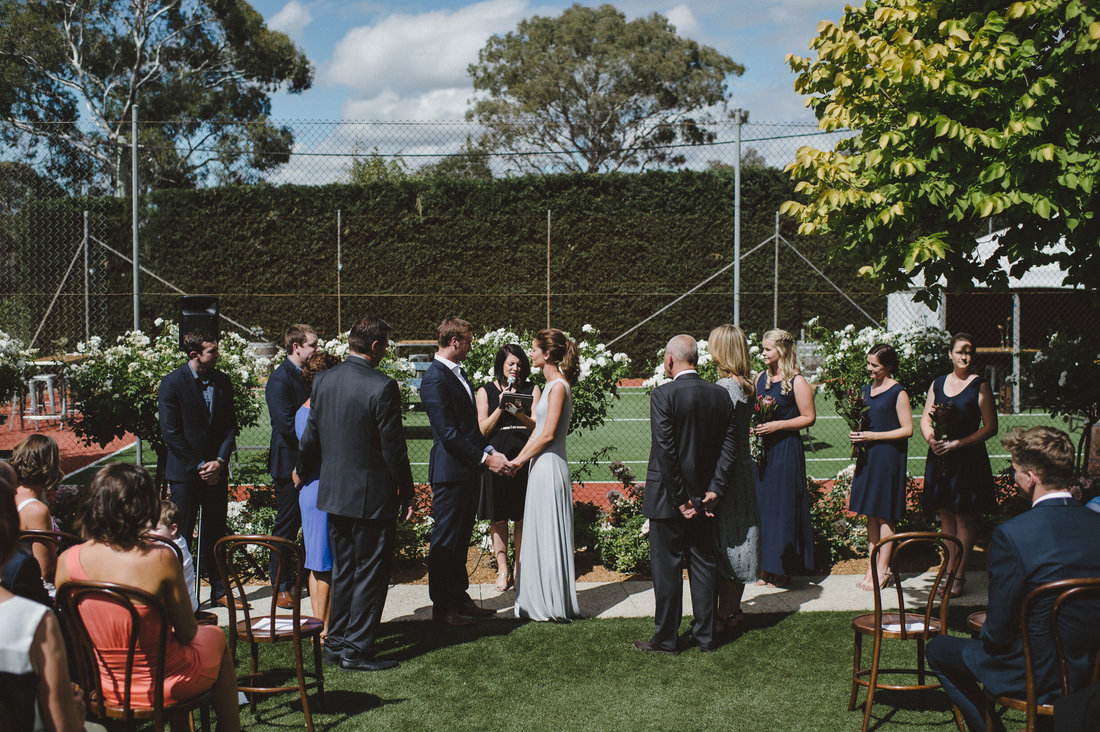
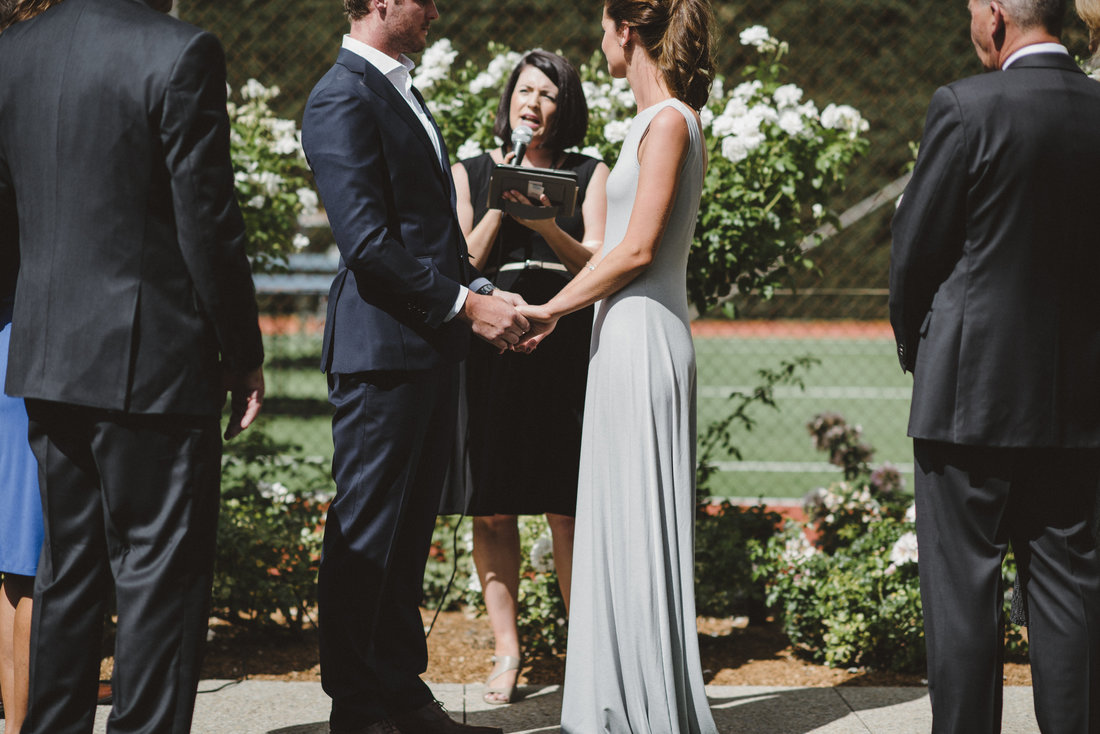
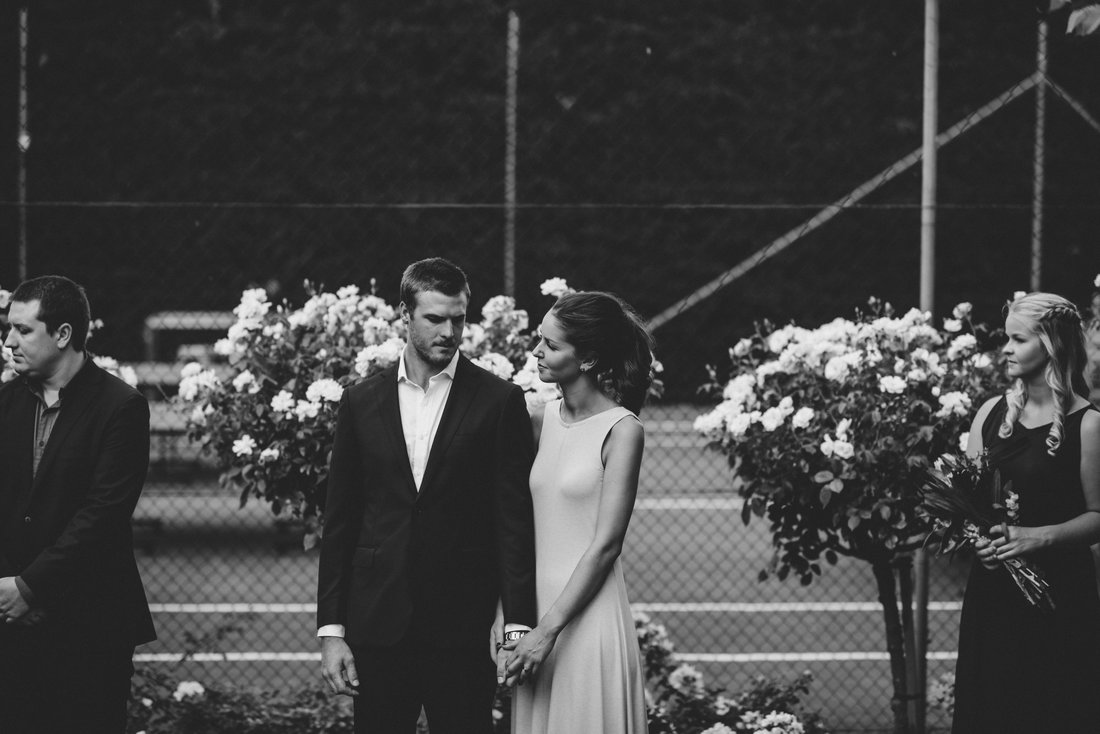
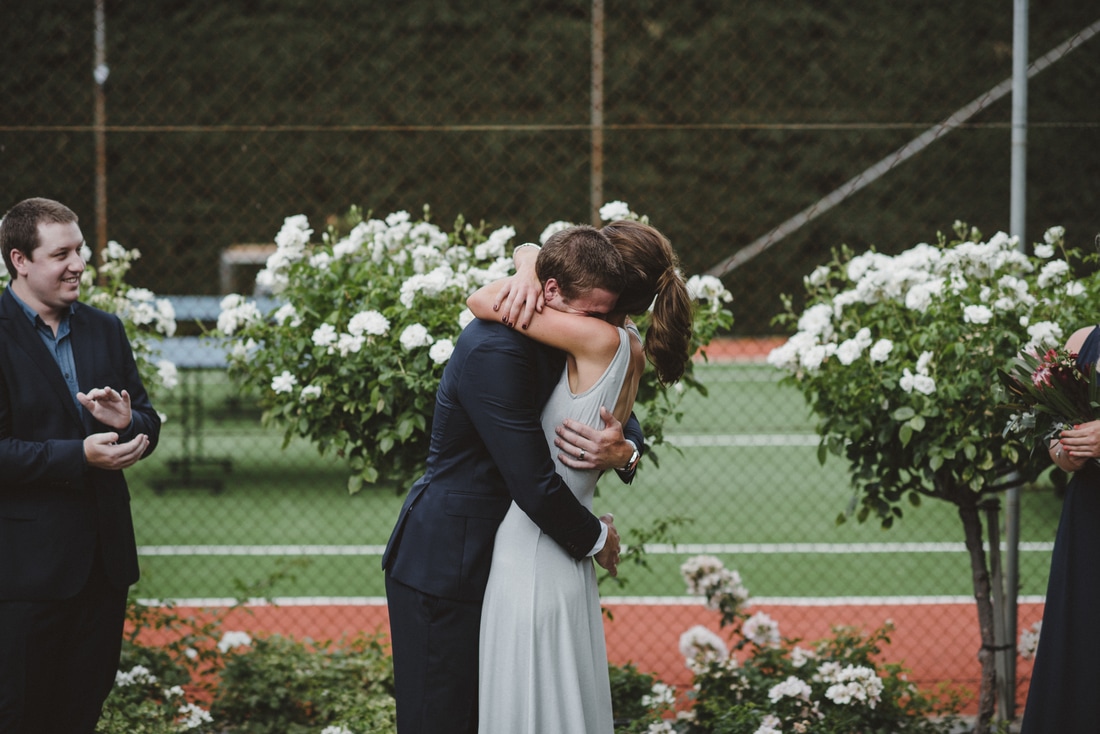
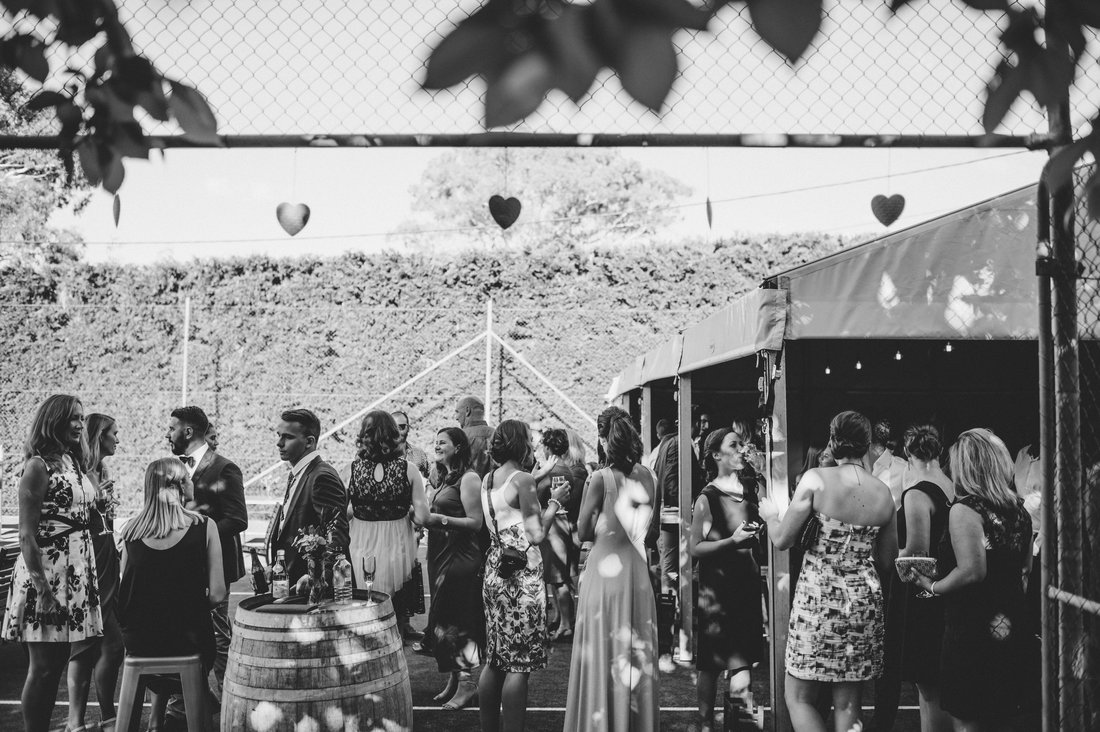
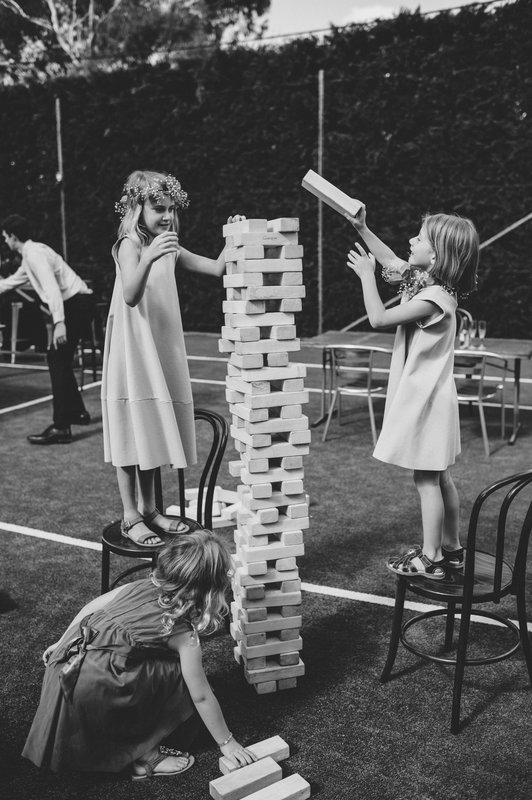
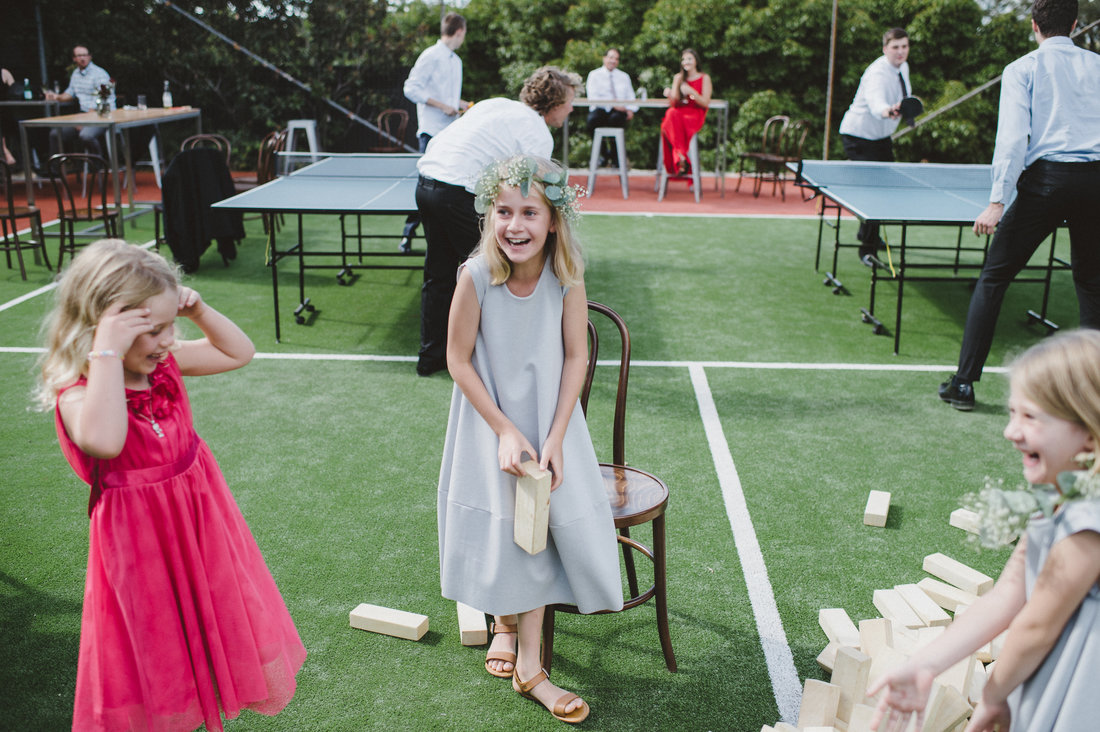
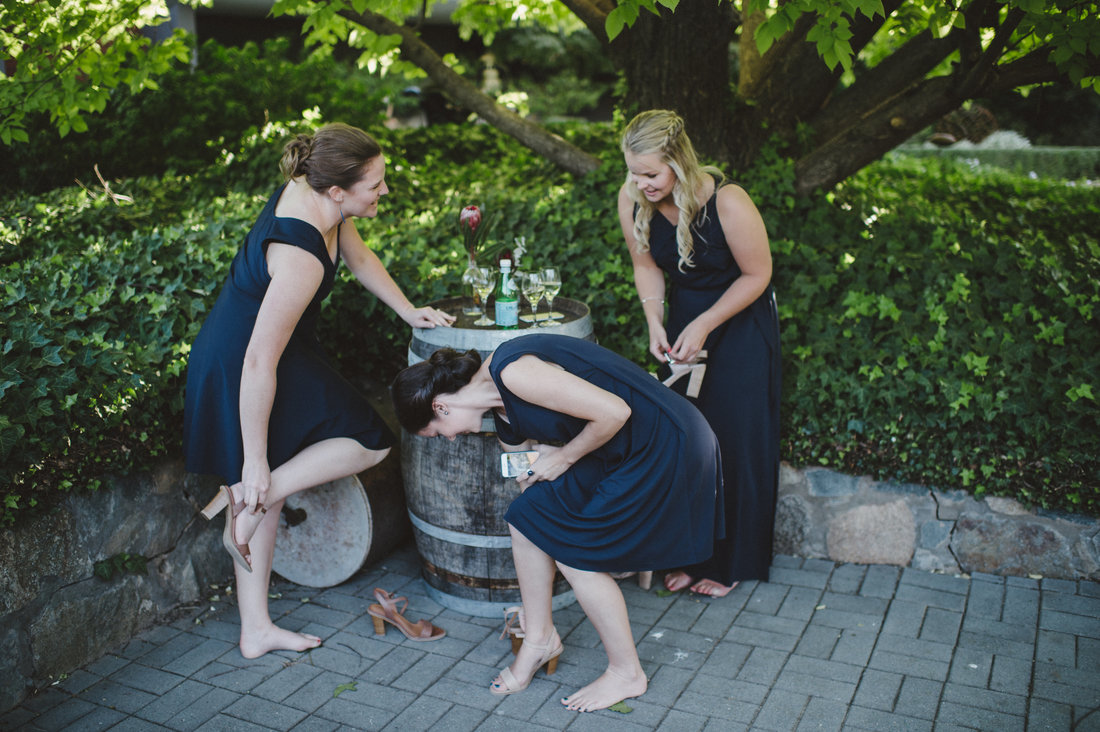
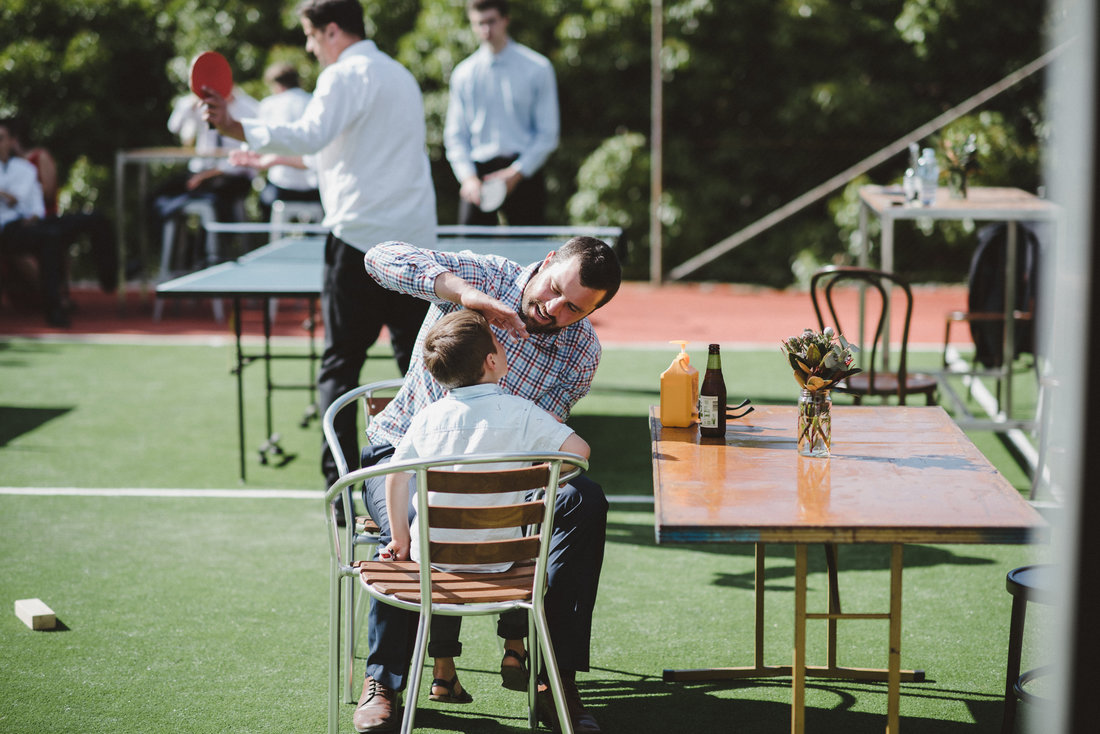
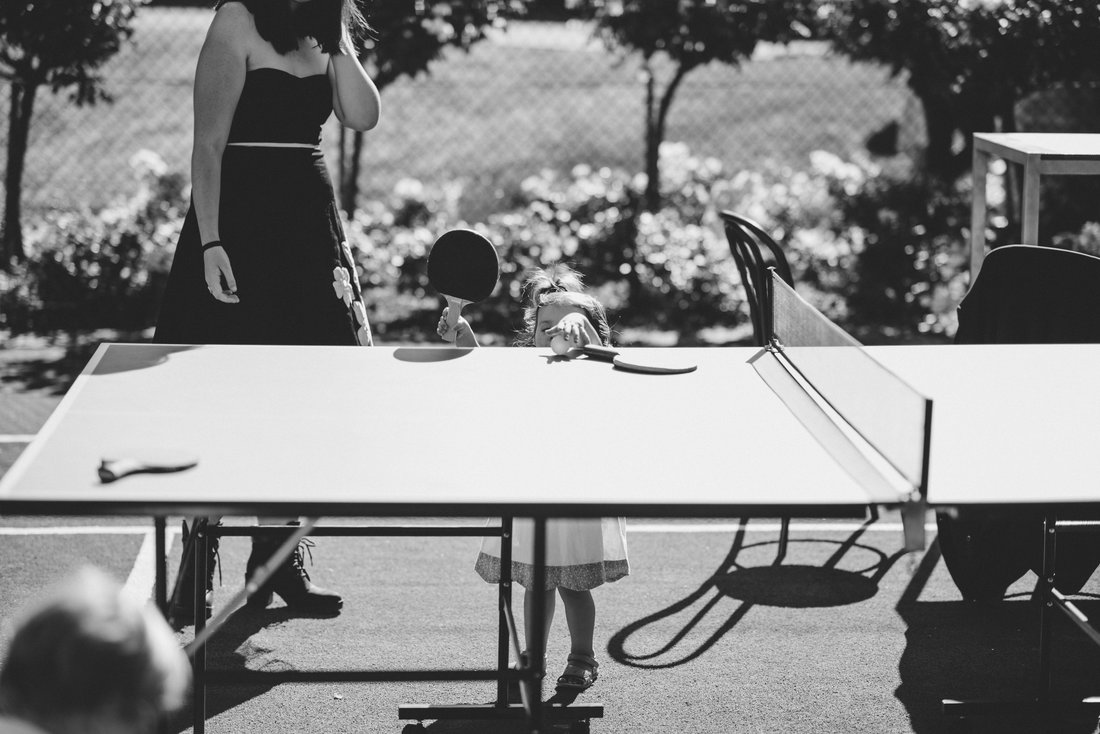
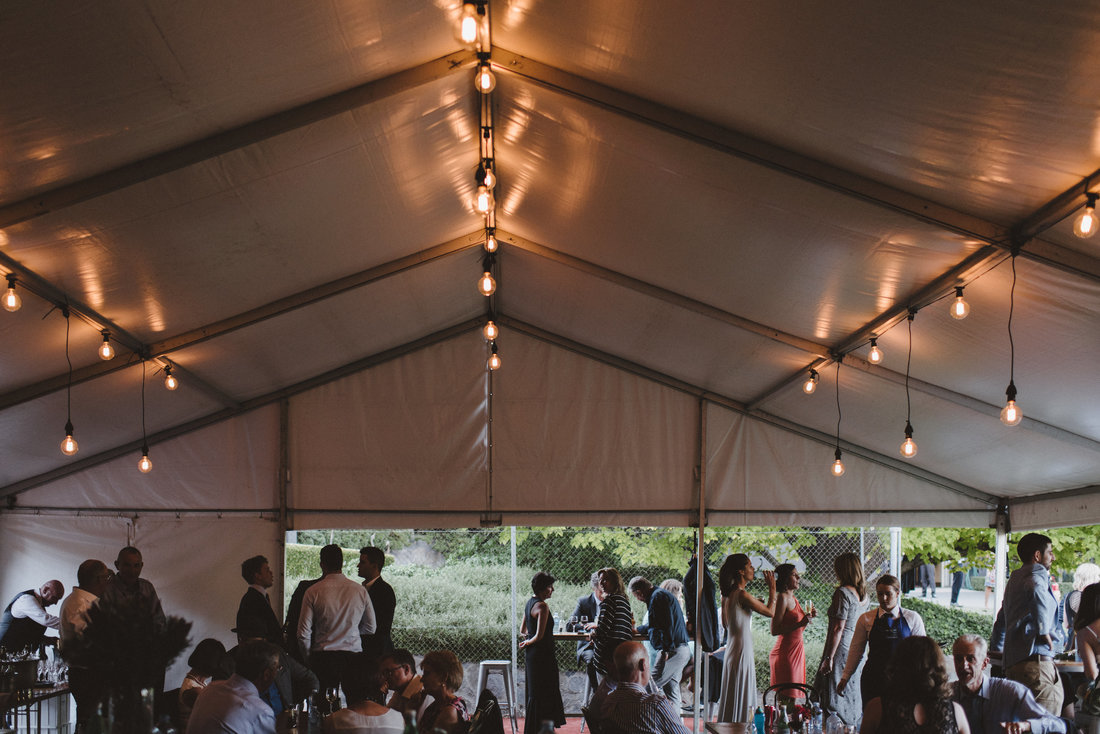
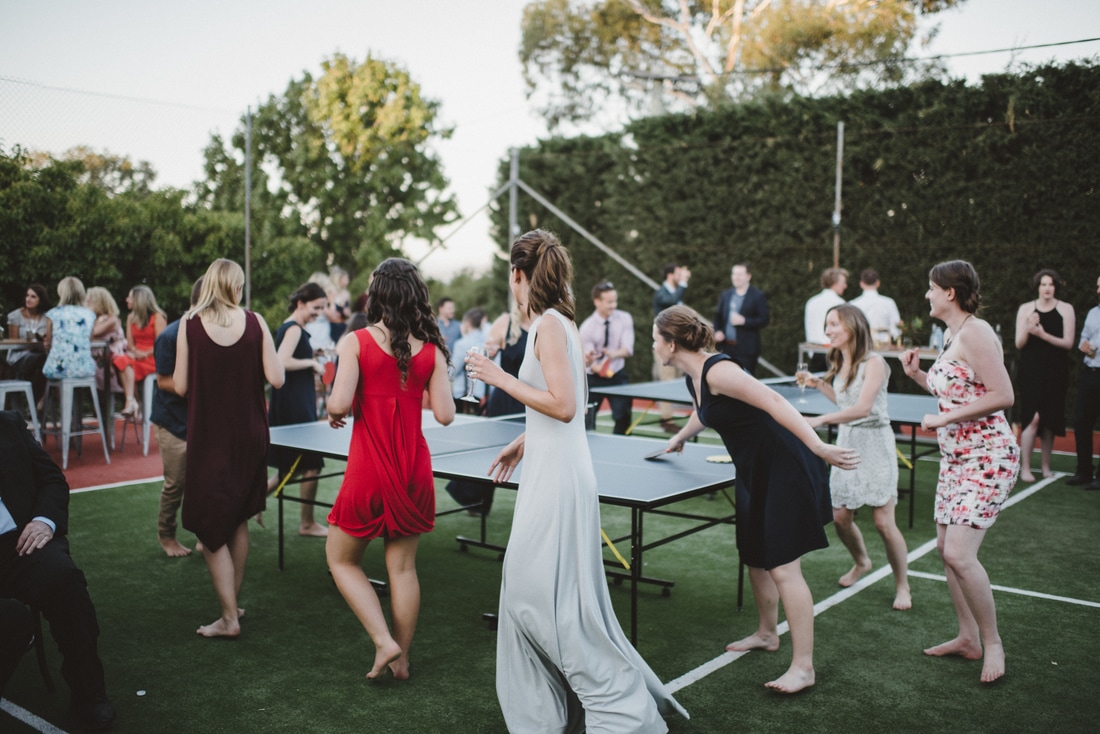
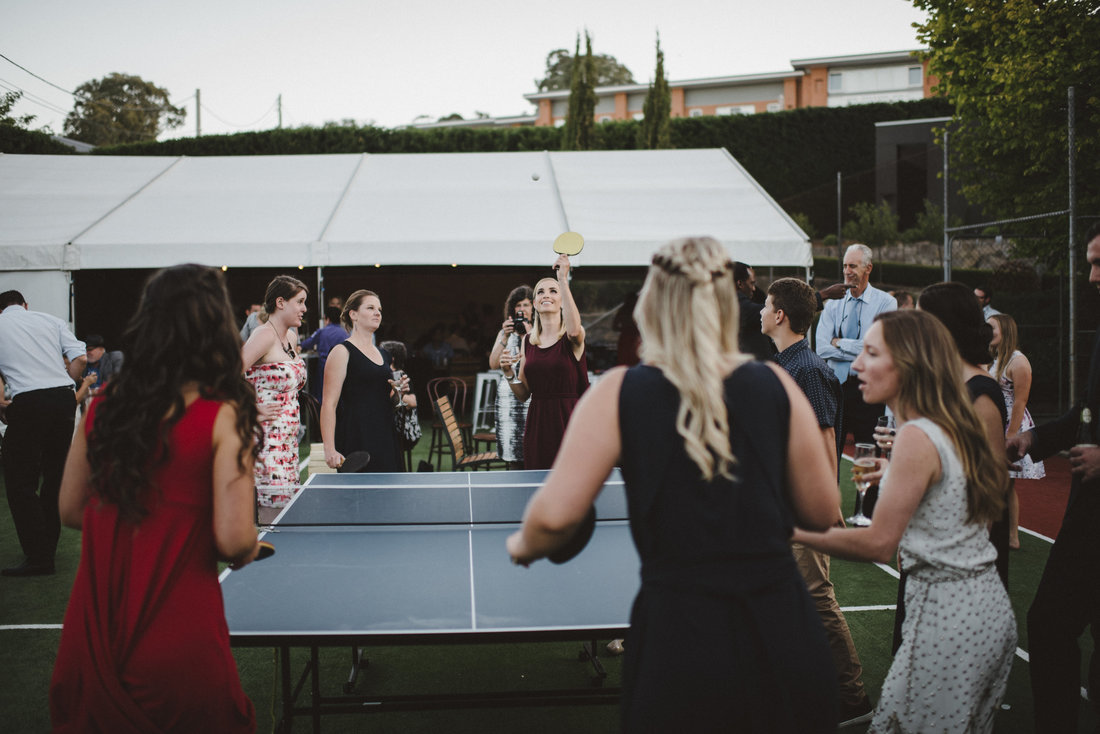
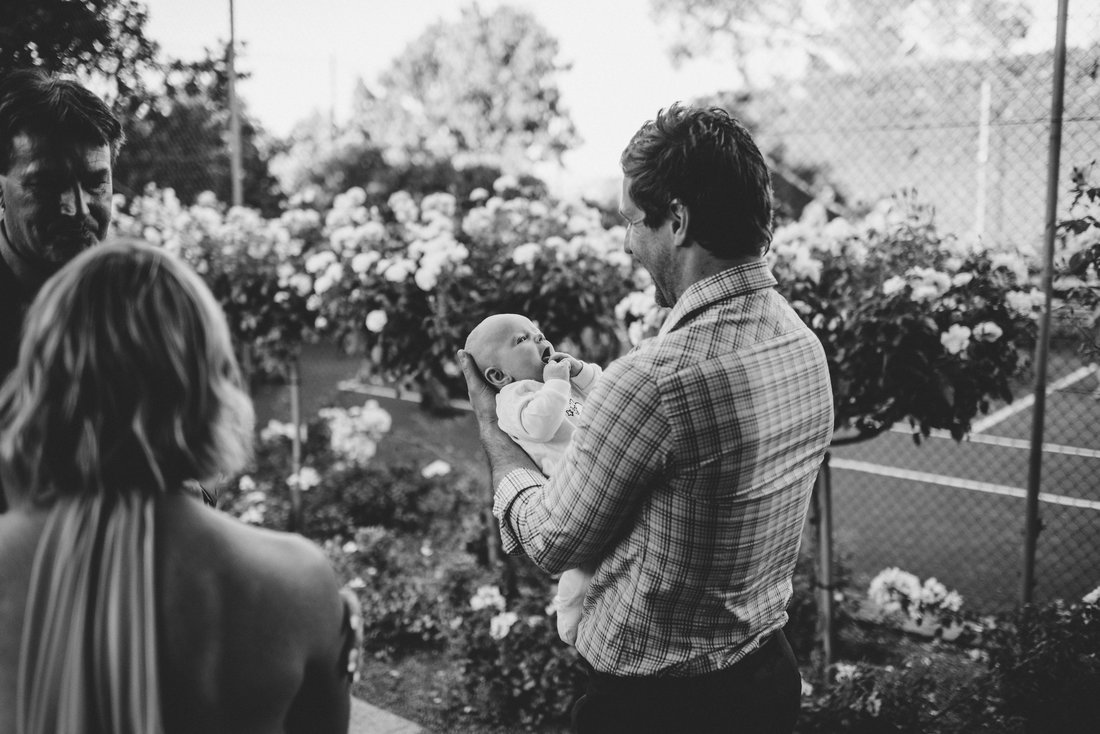
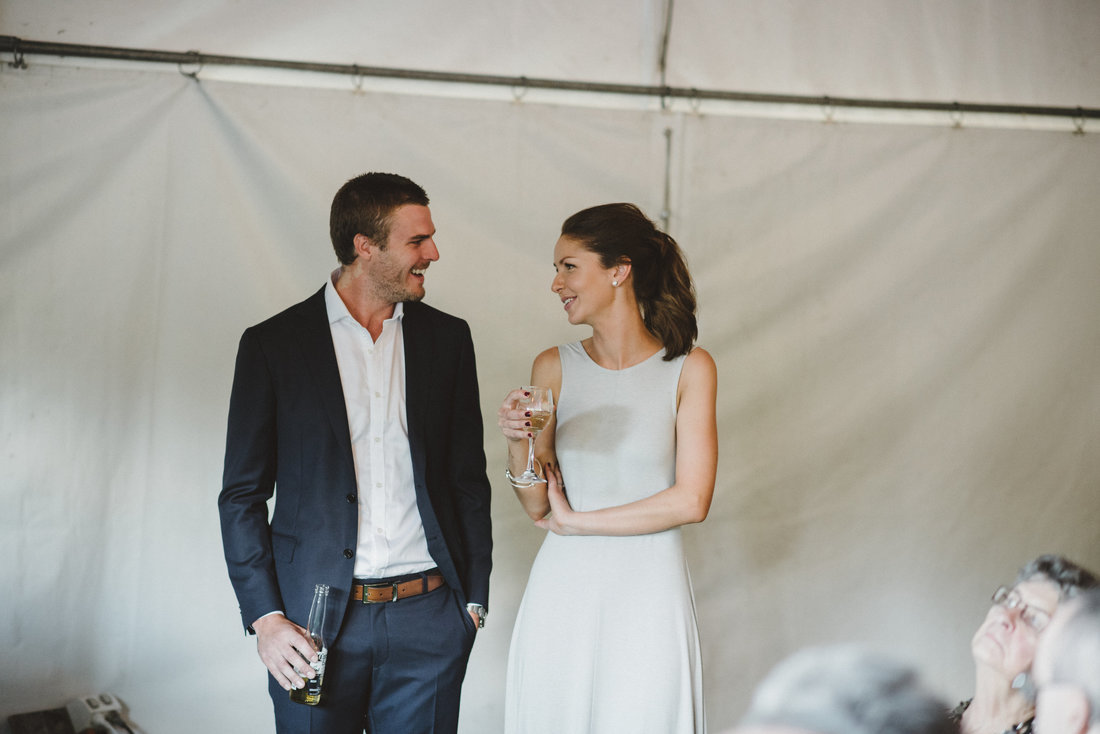
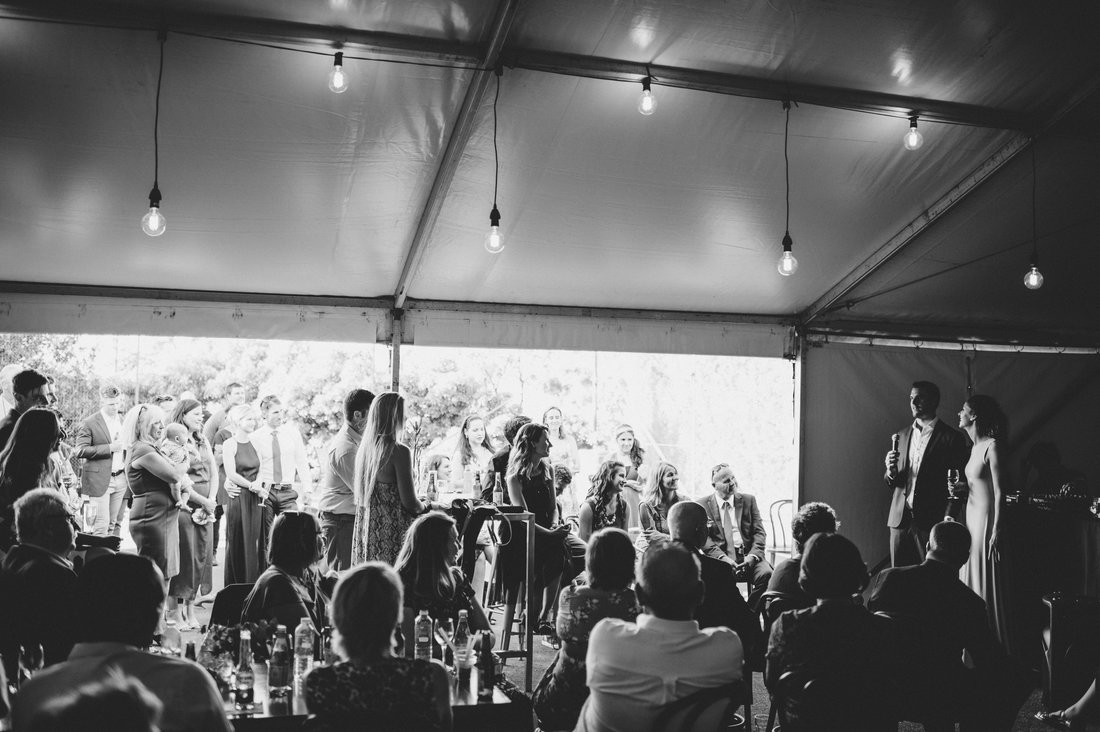
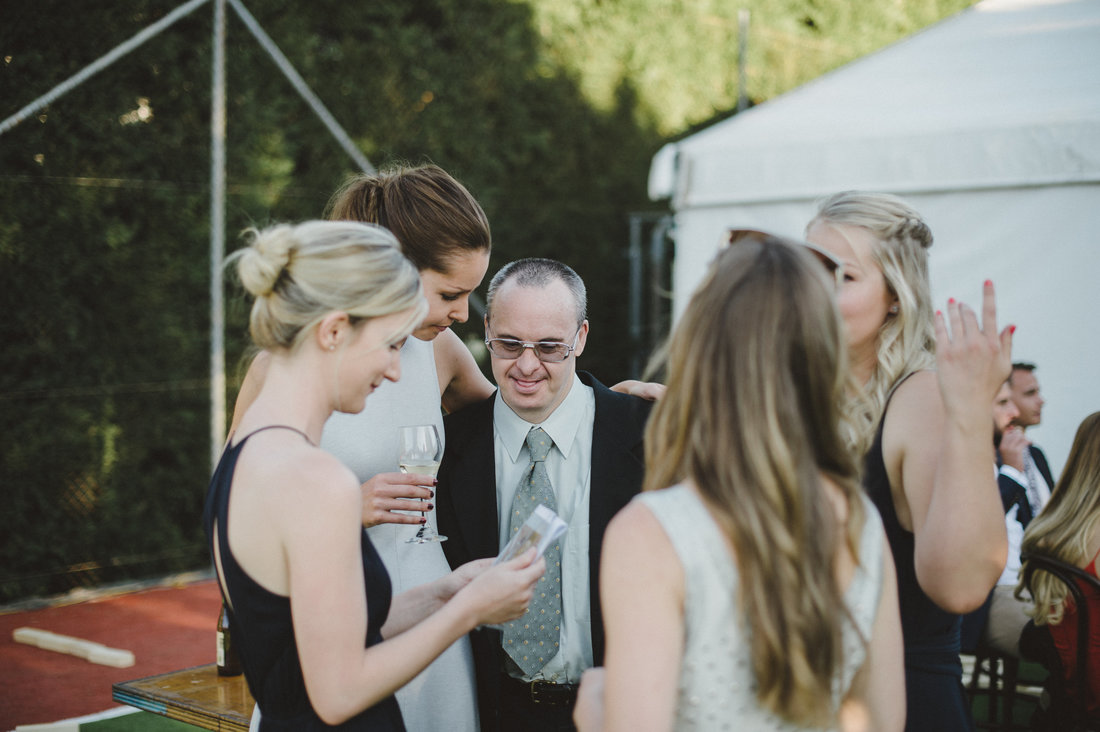
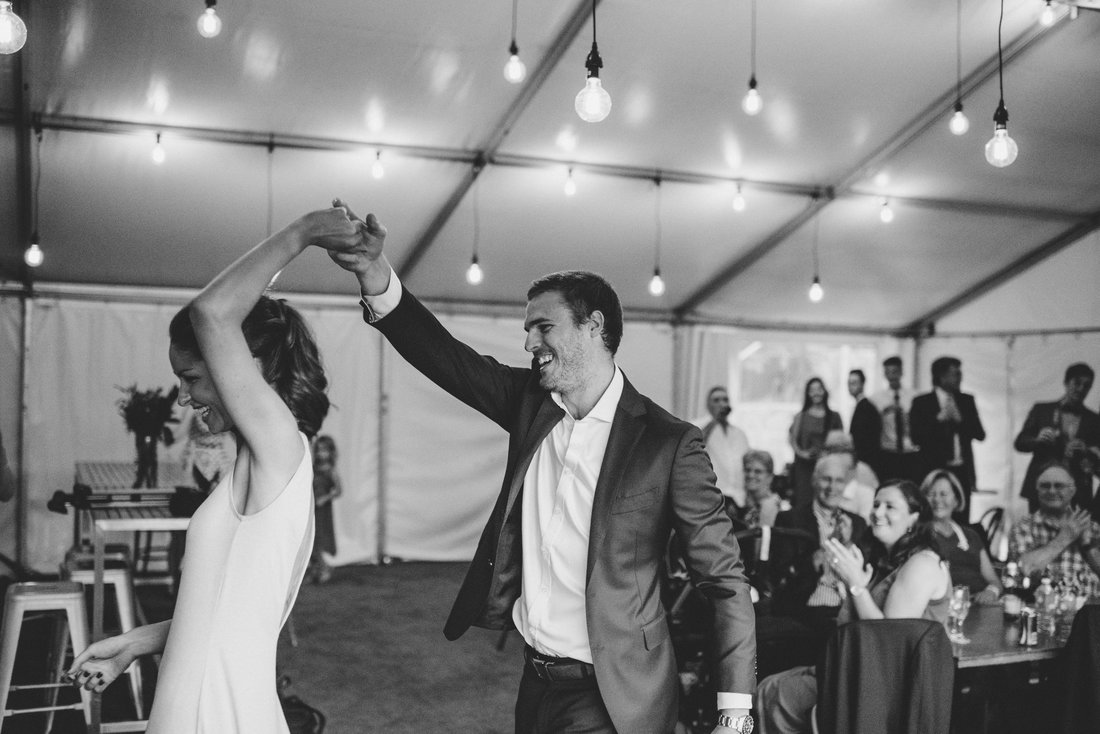
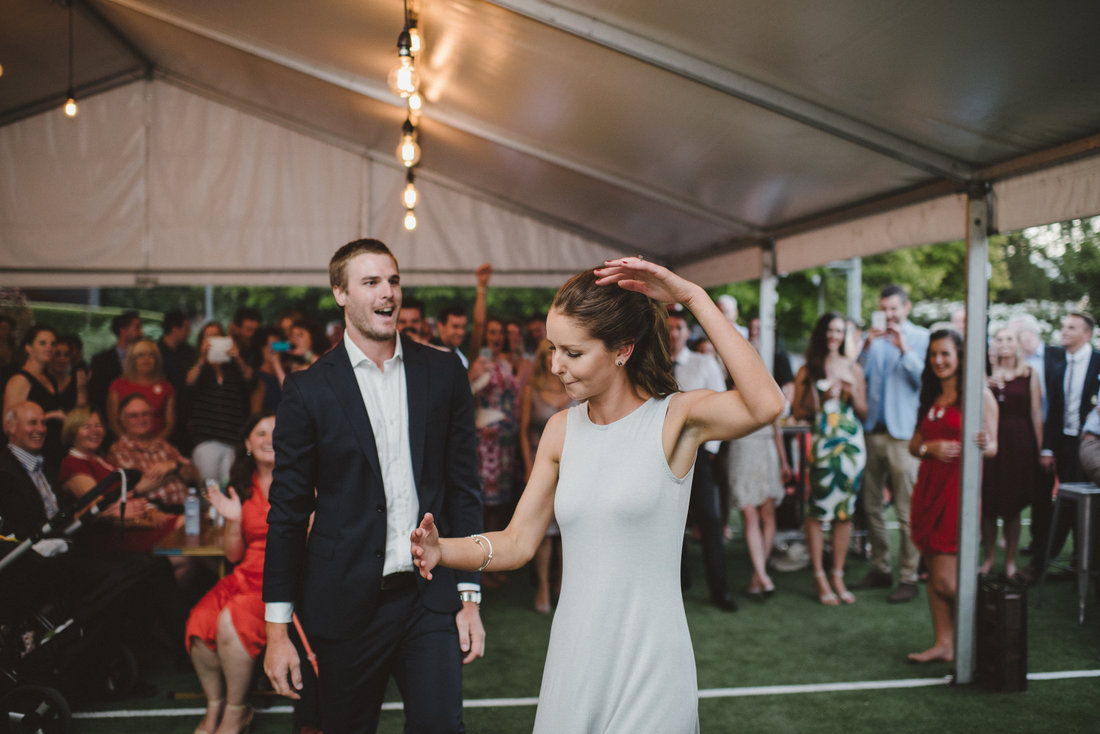
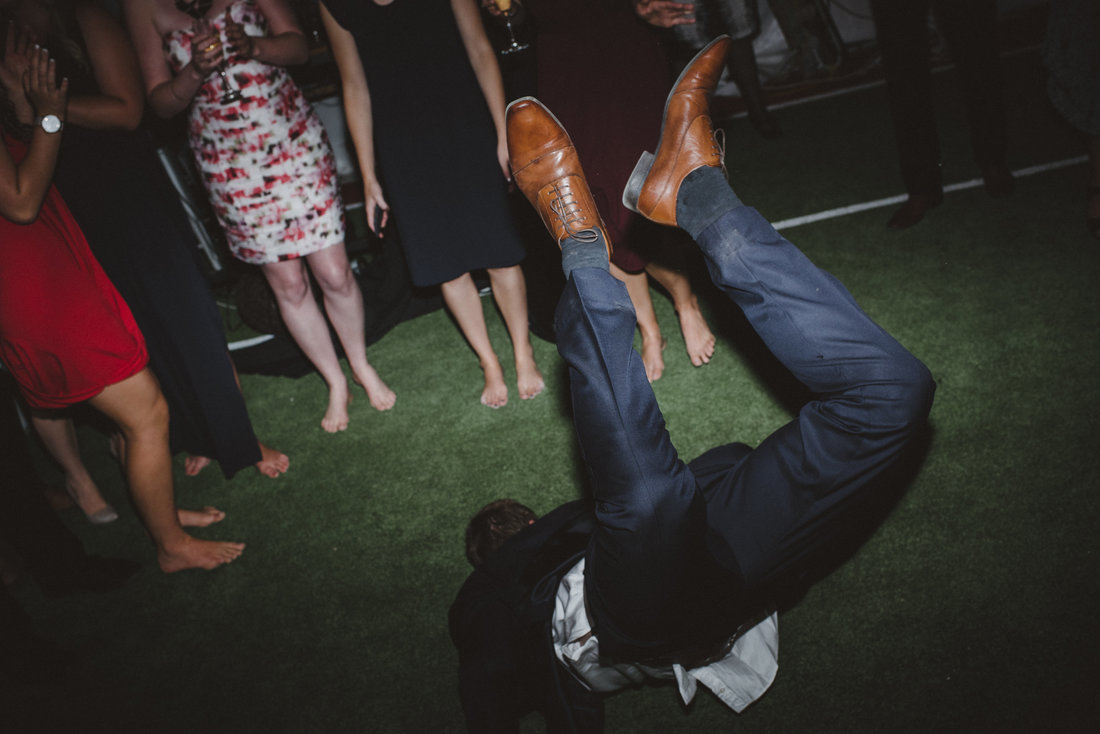
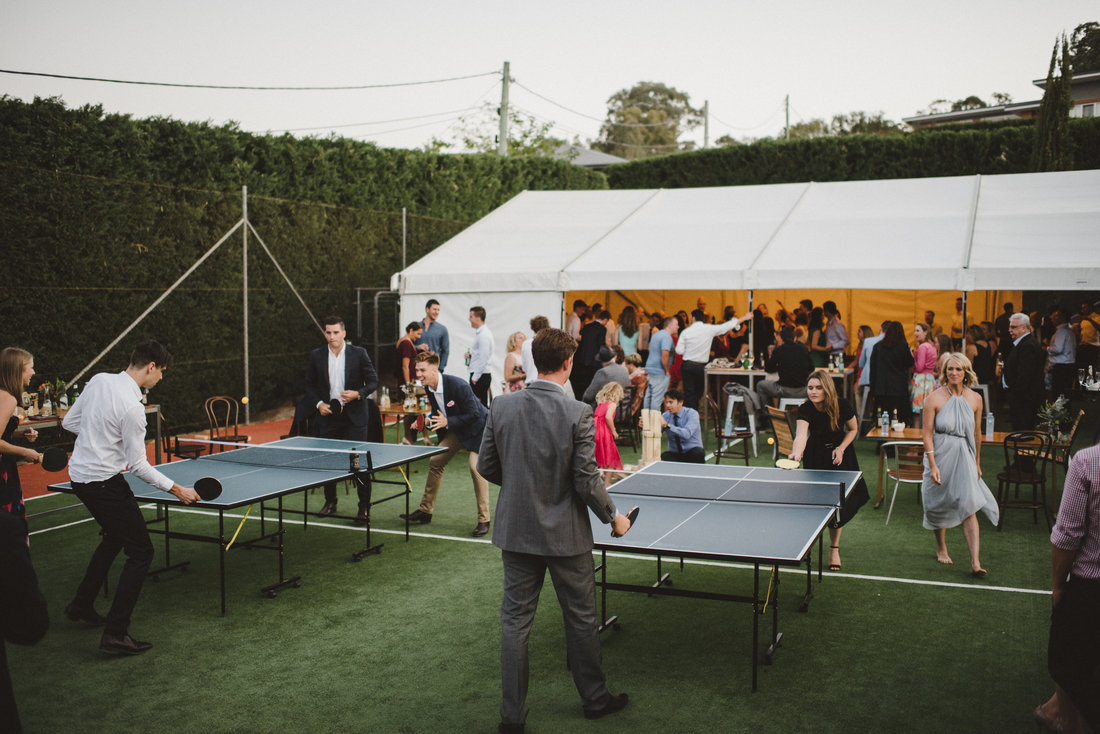
I loved documenting the process of making my wedding dress and watching it evolve from the first ideas to the final garment. If you would like me to make and document your wedding dress creation or anyone else in your bridal party please email me for a quote. My prices are competitive and I will give you the most authentic experience of creating your wedding dress, with an EDITION dress you know the dress is made for you, and only you. It will also allow you to be comfortable all day and night (even play table tennis with a glass of wine in hand!) 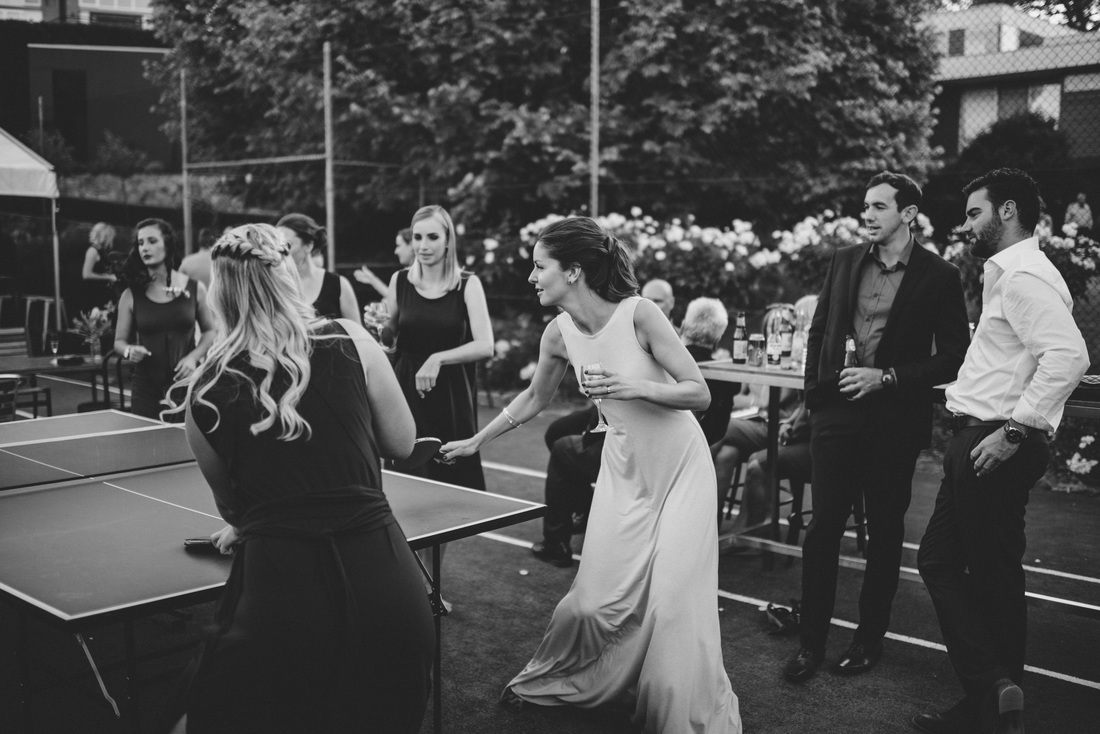 Photographer | Lauren Campbell - laurencampbell.com.au 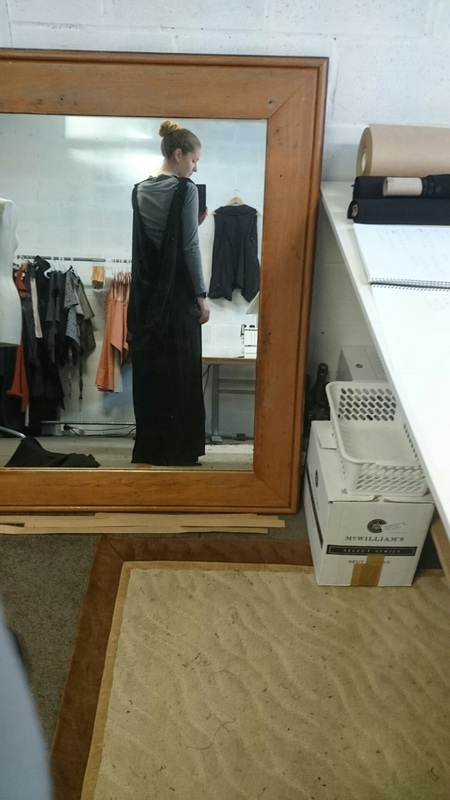 I knew from the start that I wanted to flatter my body shape, feel comfortable and for the garment to have great movement. I wanted to show off my back as it is my best feature and have a high neck so it looks elegant and hides my neck rash! 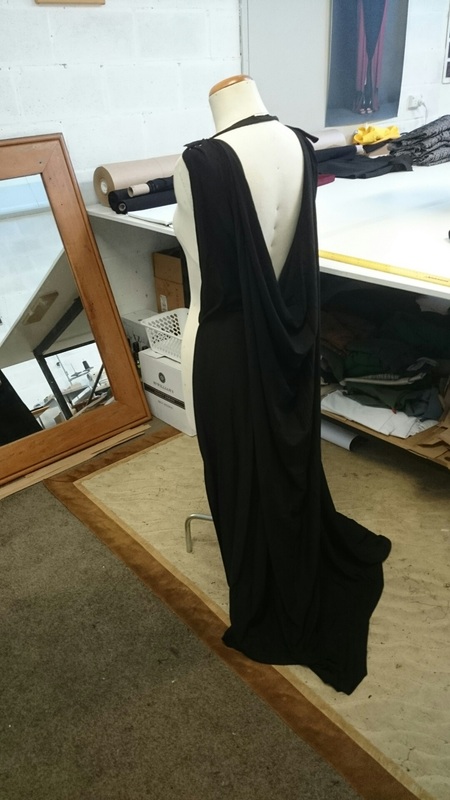  I love simple dresses and love a center seam as it elongates the body and adds some subtle detail. This practice garment had the slinky feel I was after. I wanted to walk the line between sexy (but not too sexy!) and elegant. 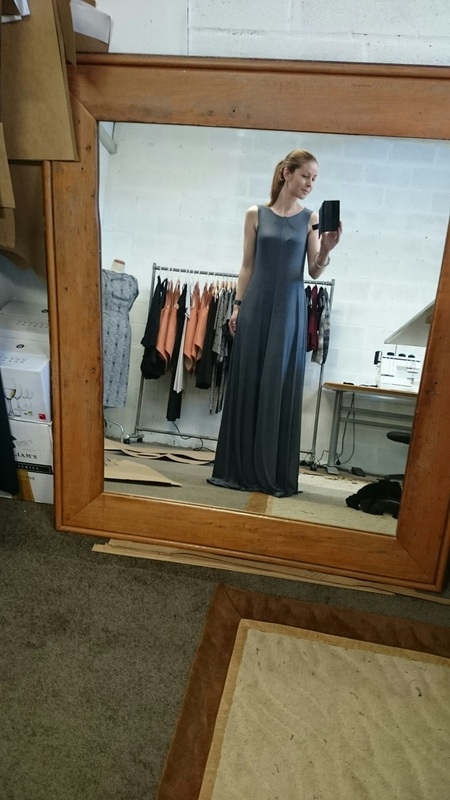 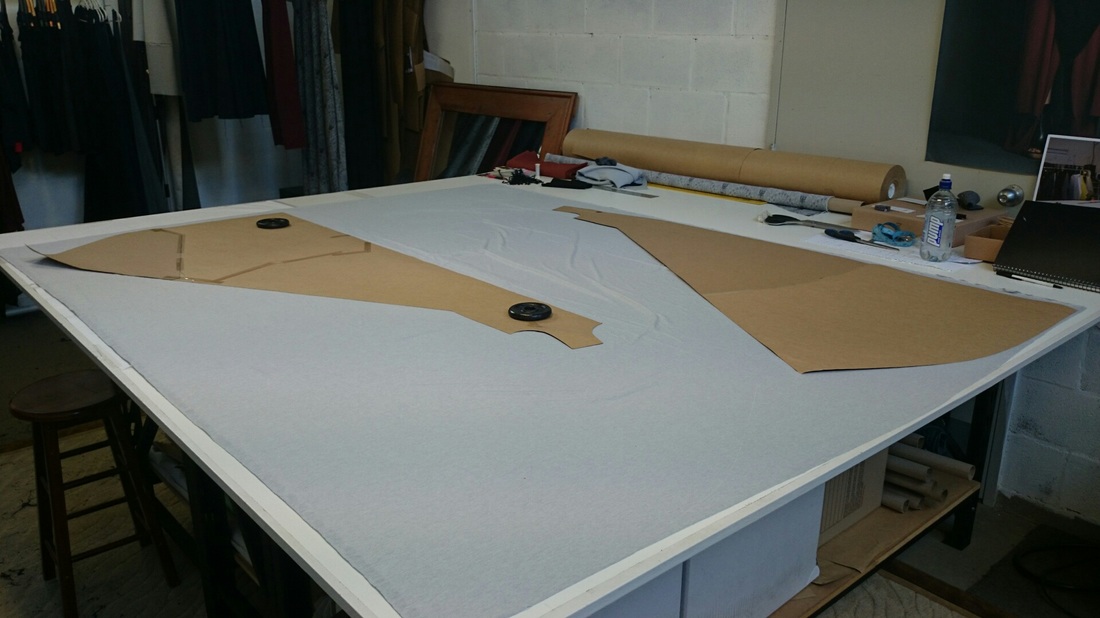 I found a beautiful Merino wool blend fabric in a silvery/grey in a small fabric store in Canberra. I bought 2m of the fabric as it was 160cm wide so I knew I could fit my long dress on it. With this dress I wasn't able to make it with zero waste as a very small amount of fabric was left over around the armholes but it was minimal waste. 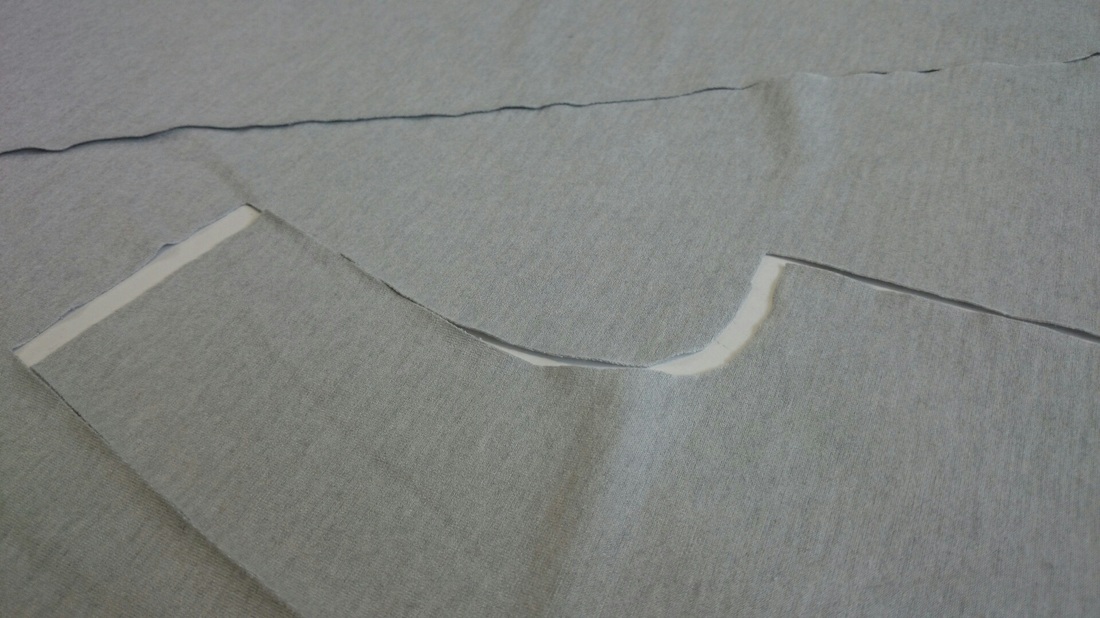 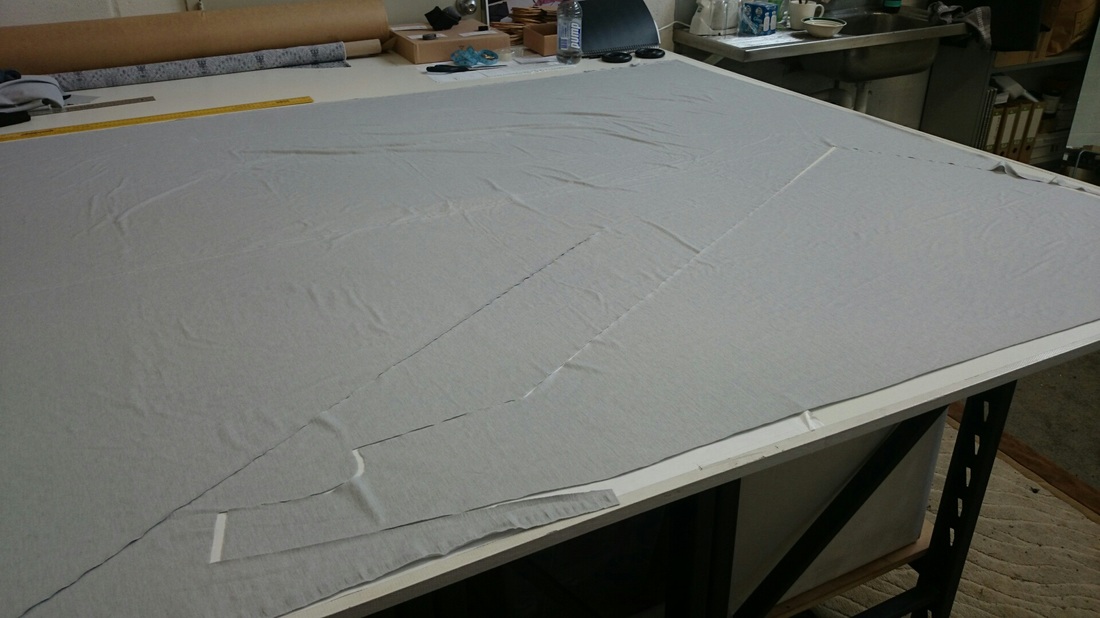 Once I cut out the fabric I pinned it and looked at it on my body to make sure the fabric was falling in the way I wanted and the colour was what I wanted. 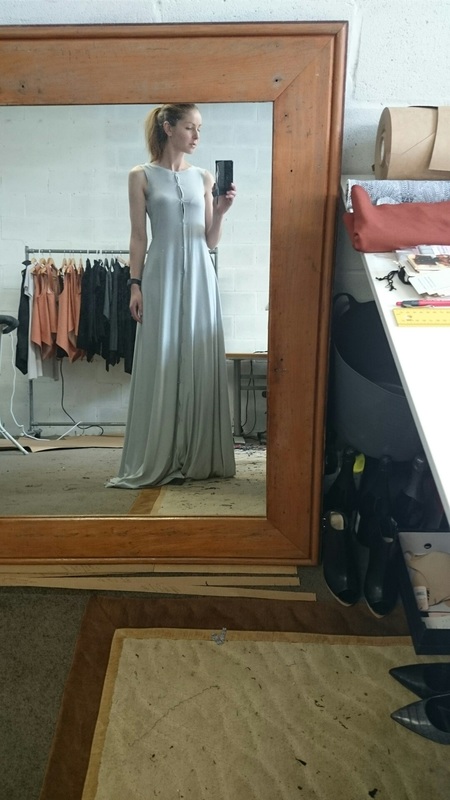 I decided to overlock the center back and centre front of the dress so that their wasn't a bulky seam as I wanted it to be a subtle feature of the garment and sit close to the body. 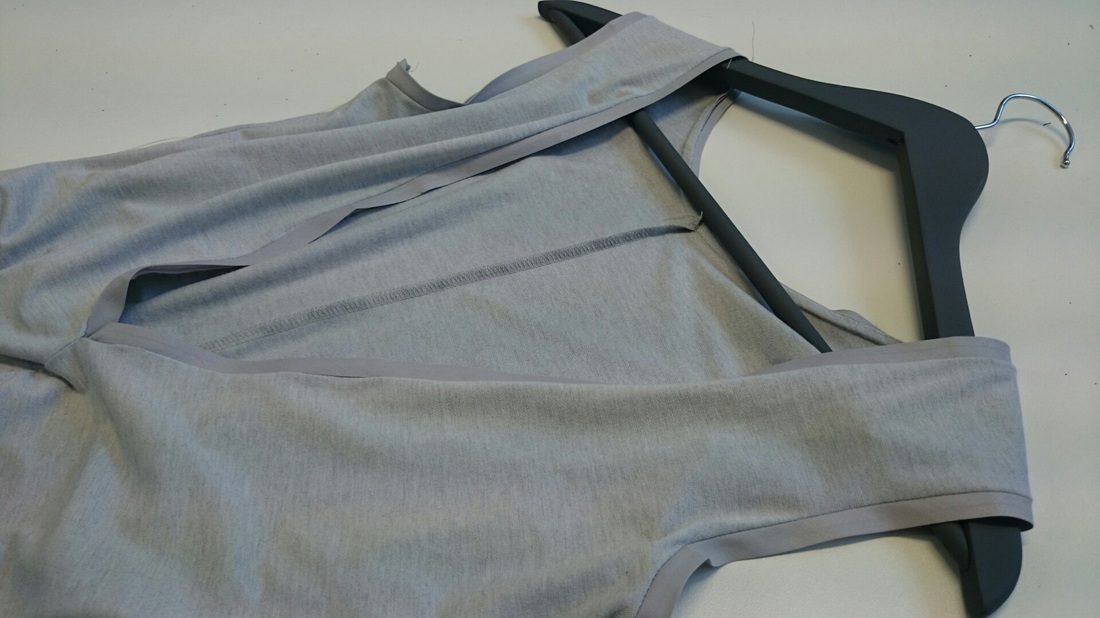 Around the armholes and neckline that continued down the back I thought I would use binding as the Merino wool is a stretch fabric I didn't want it to stretch and the binding would create a beautiful detail. 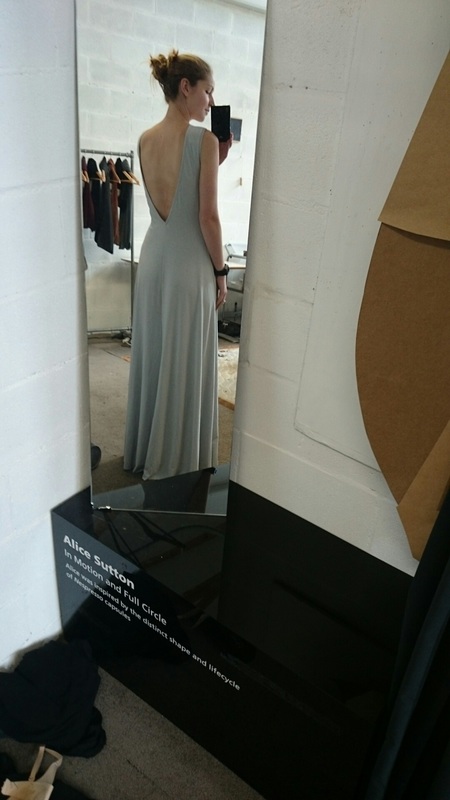 It took a long time to work out how low I wanted the split at the back to go to as it was an important part of the garment but I also didn't want the straps to fall off my shoulders during the day. 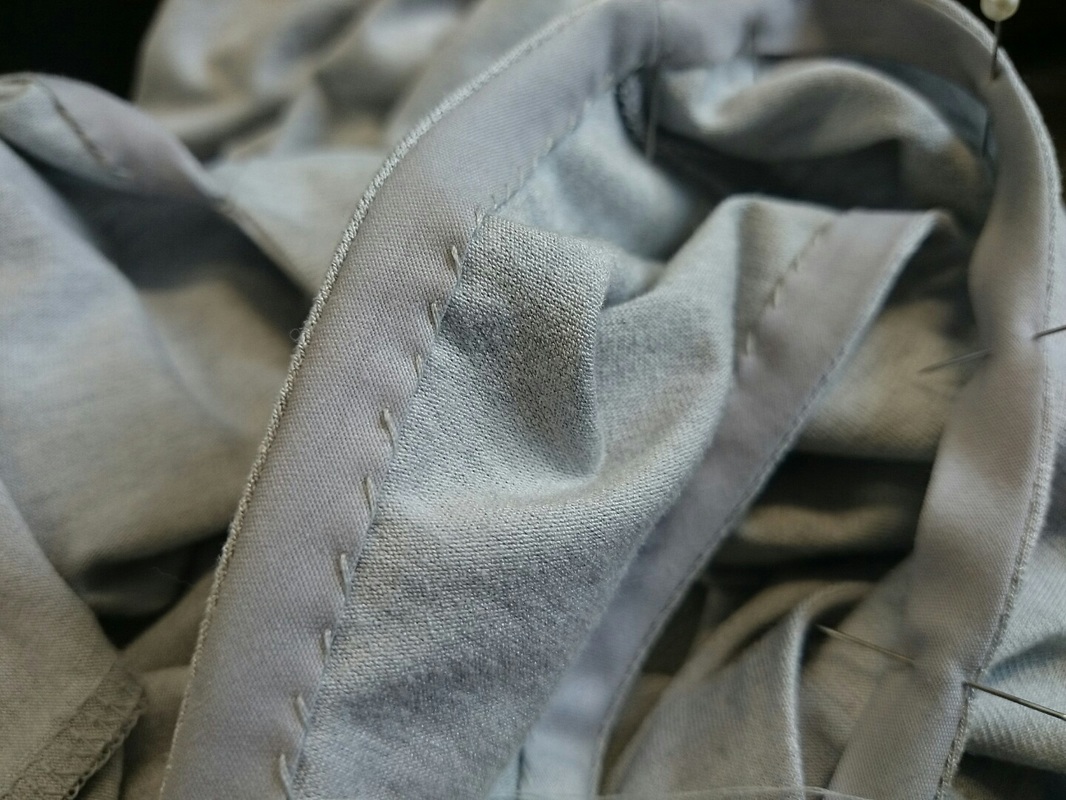 Once the binding was stitched on to the dress with my flat machine I decided to hand stitch the binding down around the armholes and neckline that continued down the back. I loved the hand stitched detail (once finished!) during the process I was going a little nutty!! 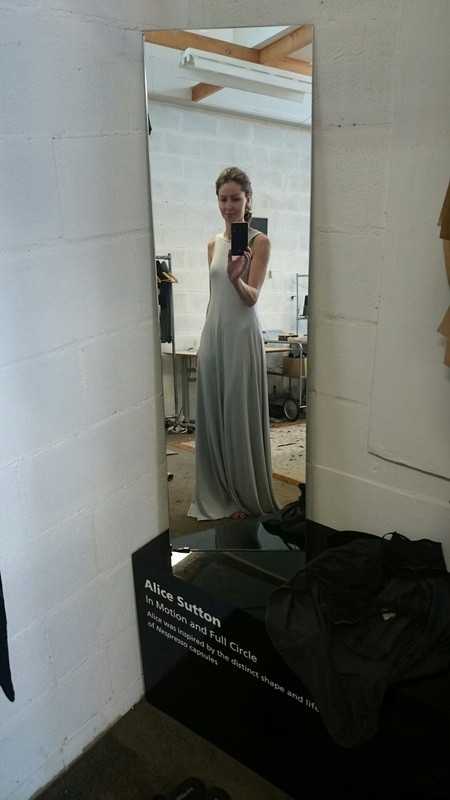 Once I bought my shoes I was able to work out what length I would hem the dress, as I wanted it to be as long as possible without tripping on it! 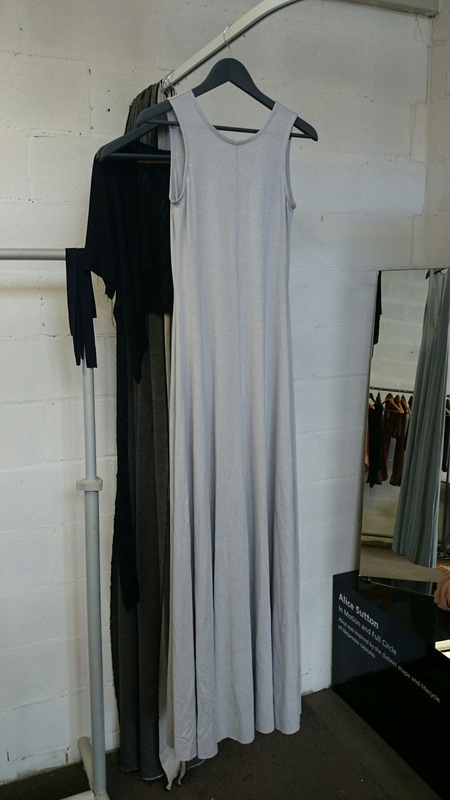 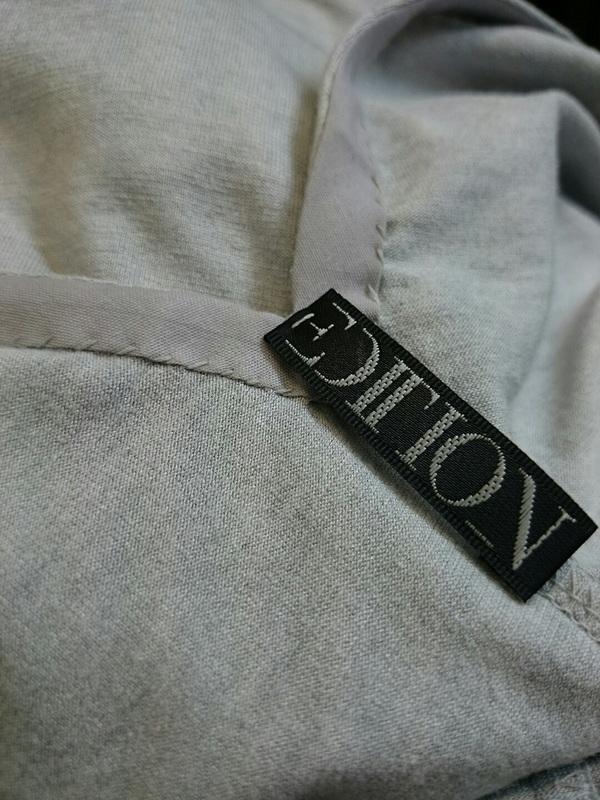 The finishing touch was to add the EDITION label and then the dress was good to go! 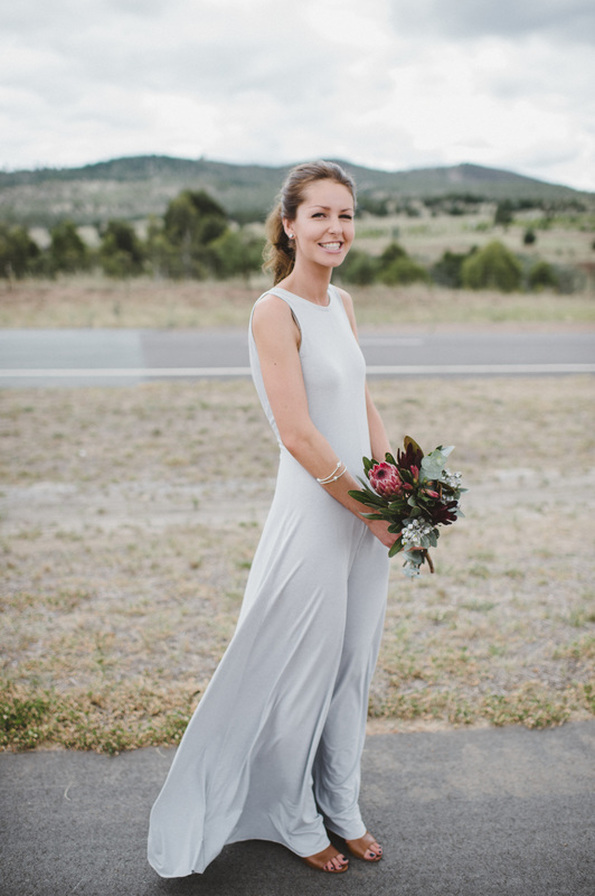  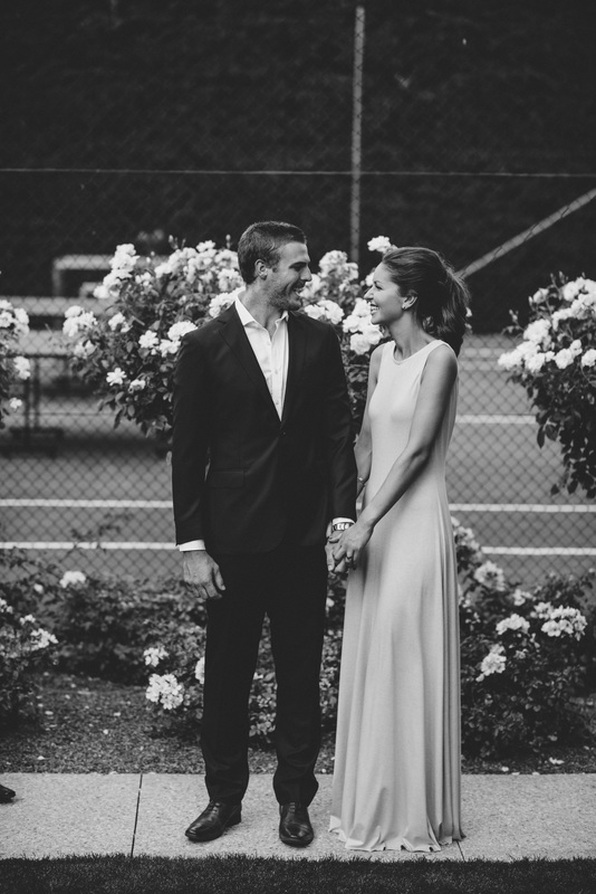 In the image below hugging my Dad you can see the hand stitched detail around the back and armholes of my dress. 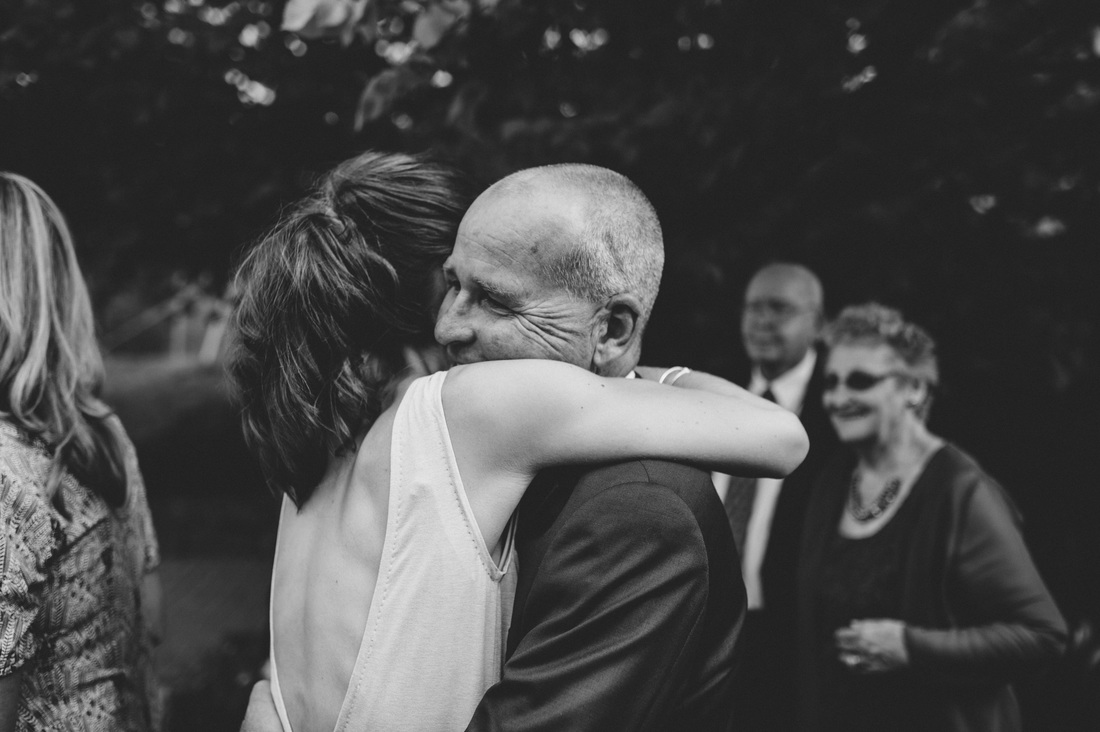 The last 4 photos are by photographer Lauren Campbell. My hair was done by Leslie Henshaw and makeup by Hayley Boyle.
|
Archives
June 2023
|


 RSS Feed